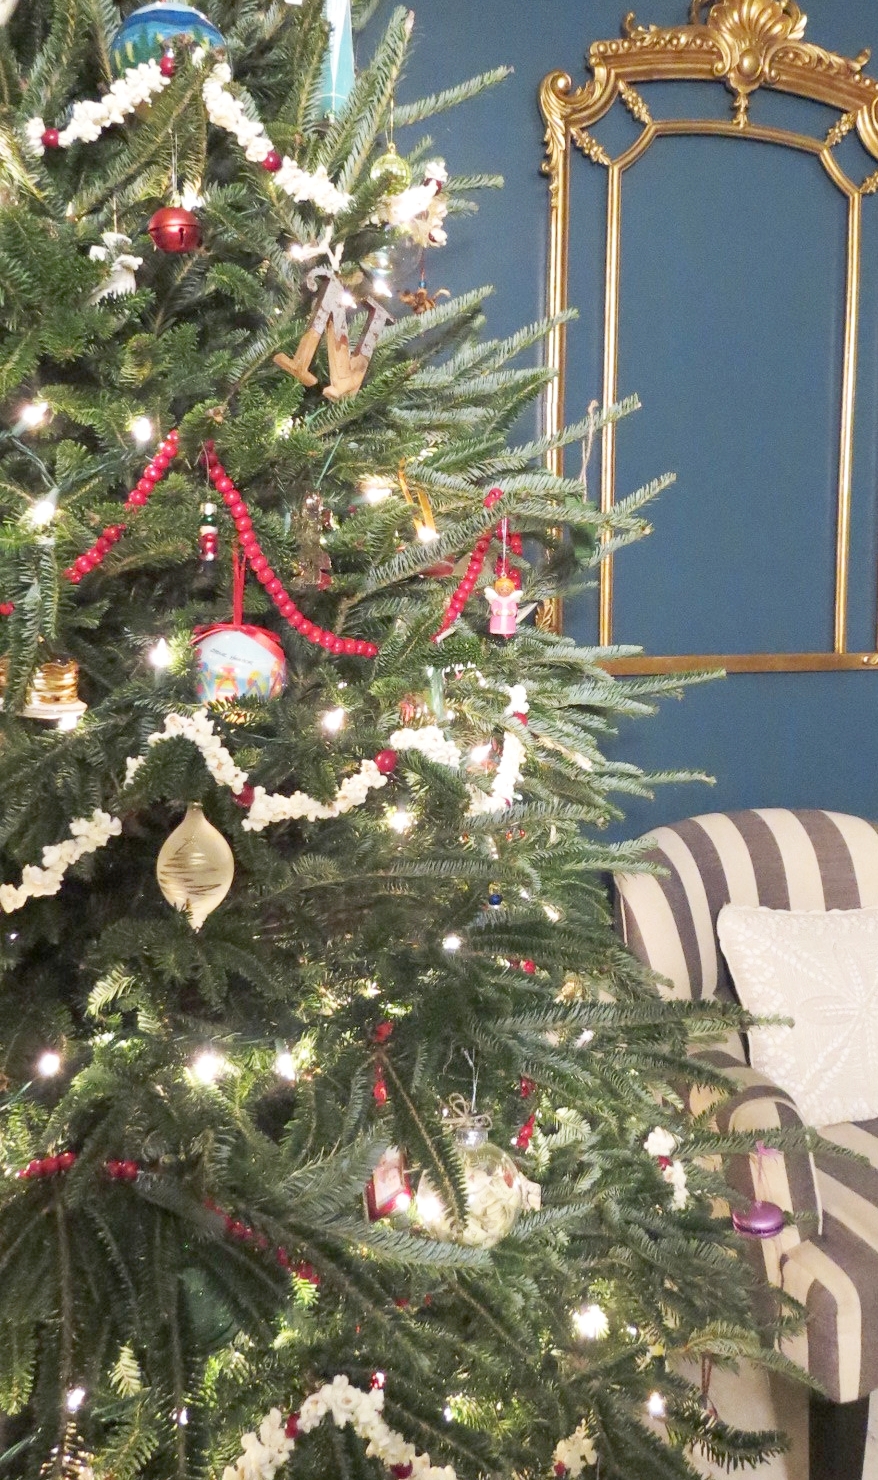


I remember when I was younger, my Mom always had shelled nuts in the house around Christmas time. Though, I didn't really eat many of them, I still to this day love the idea of them. Nuts bring back memories linked to Christmas and the classic ballet, The Nutcracker, which I love.
I am using fresh greens for a large garland in the house, this Christmas, so I decided to go a different route for some hand made wreaths. I am using shelled nuts! To create a wreath made of nuts, you only need a few things. The main ingredient is nuts and hot glue. Deck the halls, Y'all! xo RCN

If your local grocery store does not carry mixed shelled nuts, you can order from nuts.com. How cute is the nuts.com packaging!? I used a 14" round floral craft wreath from Michael's. For one 14 inch wreath, you will use about 2 1/2 pounds of shelled nuts. The bag pictured here is a five pound bag.

In order to make the wreath have a good background color to match the nuts I used a spool of about 5-6" burlap and wrapped the burlap around the foam wreath to cover all green areas. It is easiest to cut three or four strips and glue and overlap them around the foam. See below for reference. The strips will be easier to manipulate and smooth close to the round edges of the wreath.


Once the wreath is covered in burlap, start hot gluing the nuts. Glue larger nuts first and then go back in and add smaller nuts. I covered the front and interior/exterior curves of the wreath. The back I left without nuts so that it is easiest to hang on a flat surface.


A bow and some fresh greens add a little Christmas attitude to the wreath and give a pop of color against the neutral shells. I cut about a foot and a half of cotton striped ribbon and tied a freehand bow, just like a shoelace. Wired ribbon is best, in order to manipulate and adjust as you need.

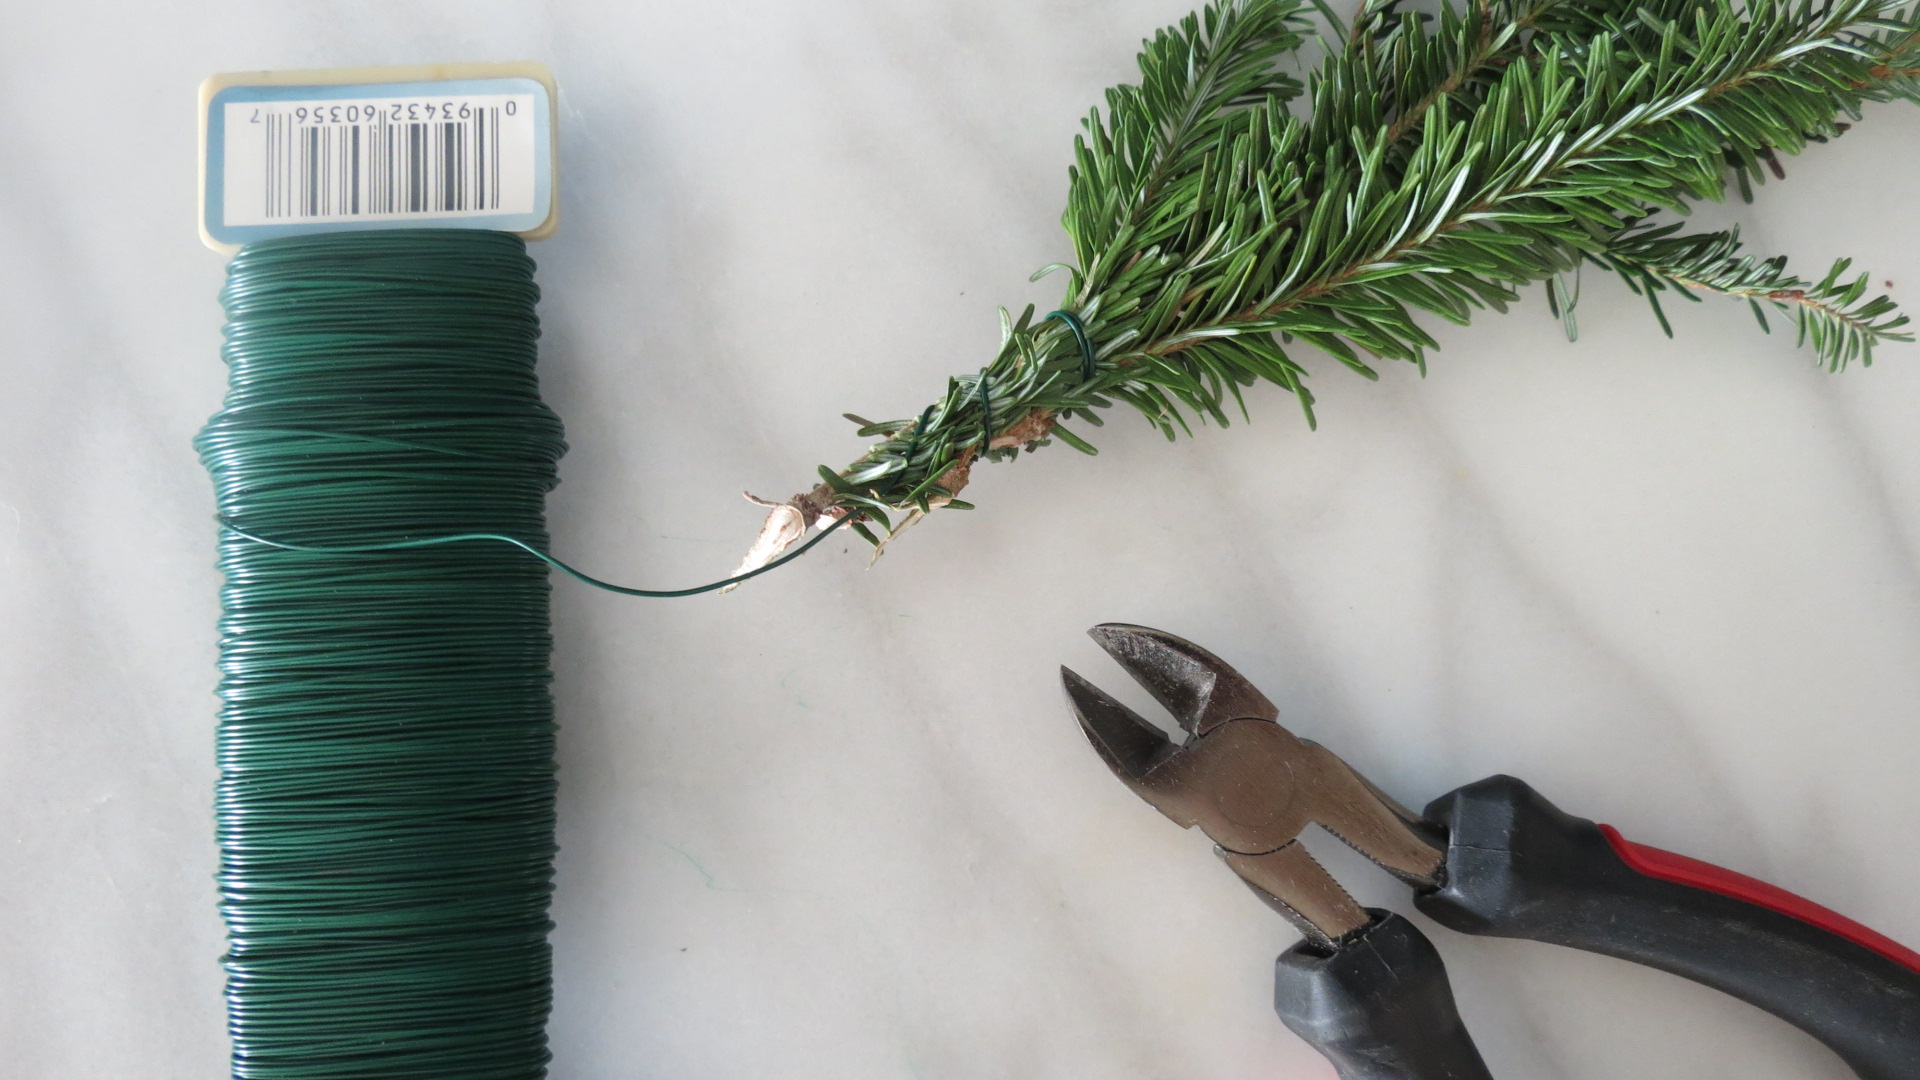
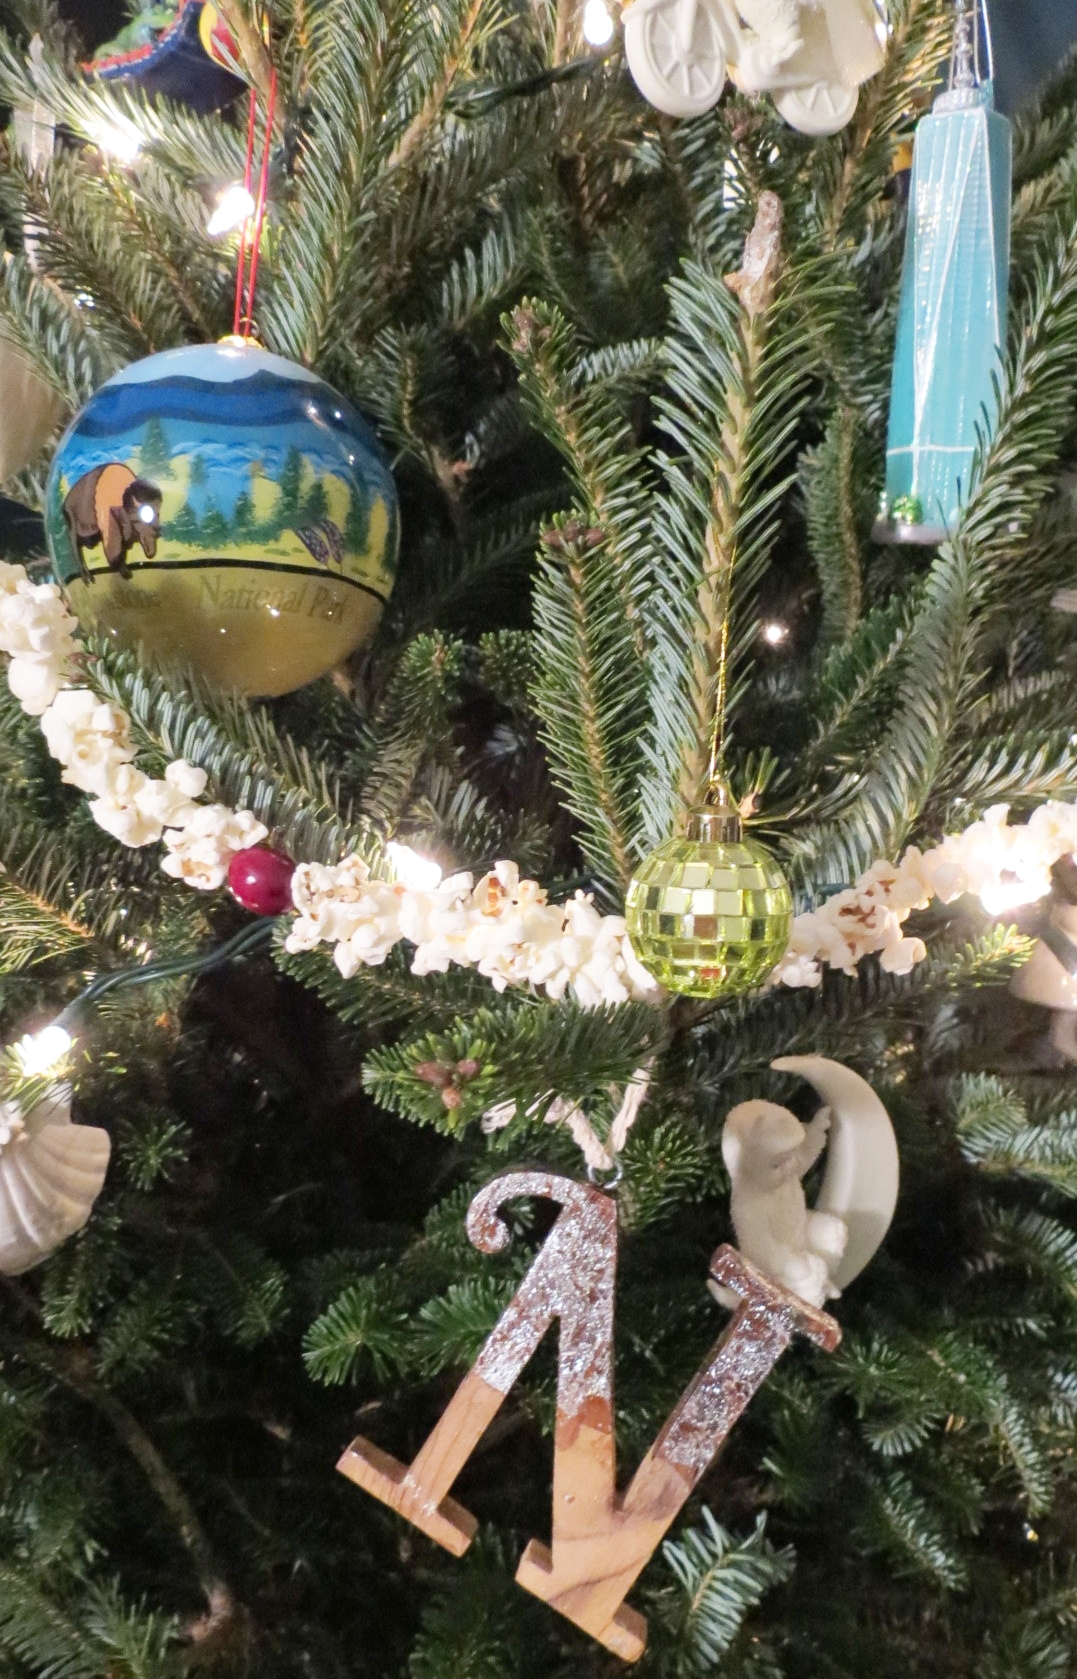
I pulled some greens straight off the back of our Christmas Tree and made two small groupings. I wired each of the groupings individually at the bottoms with floral wire before wiring them both together with more wire.

Then I slipped the laurel of greens through the back loop of my bow. I also cut a few inches of floral wire and lopped that through the back of bow. This small piece of wire will allow me to attach the bow and greens onto the wreath. I didn't want to glue the bow or greens, as I will want to change the bow for other occasions. The nut wreath would look great for Thanksgiving or other occasions with different trimmings. By using the wire, the bow will easily be removed and replaced for future uses.


You will need to cut ribbon or wire to attach to the top of the wreath for hanging purposes. I cut a little over 2 feet or floral wire. First, I looped the wire around the wreath and twisted it a couple times to secure it, then I took the other ends of the wire and looped it from a frame on the wall I was hanging it from. I continued to twist the wire at the end near the frame to double secure it.

I added the bow with wire. Lastly, I took some additional greens and threaded them through the wire hanging on the wall, in order to hide the wire. That't it!