Fiesta Time

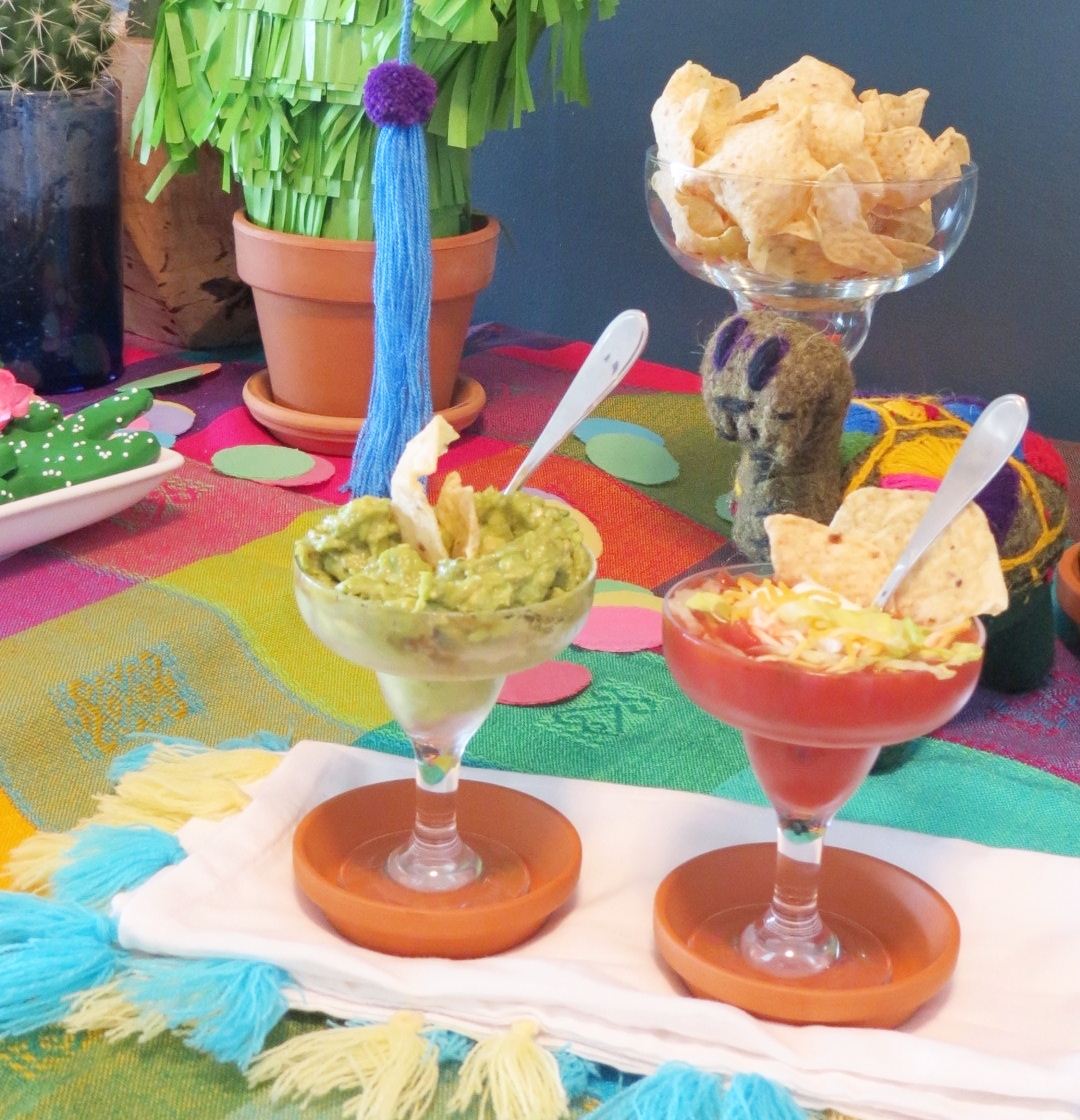
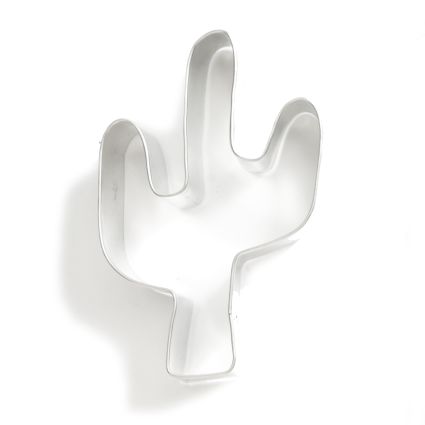
It's quite fitting that Cinco de Mayo falls on a Saturday this year. More fiesta time with less hesitation to imbibe one more margarita-- knowing that the office bell doesn't ring in the morning (just Church or something like that). But, anyways, it's party time. If you're having a few friends over with no extraordinary plans in mind, no need to hustle and bustle over the setup, just pull out the salted rims, gauc and chips and maybe a sweet treat like these adorable cacti cookies.

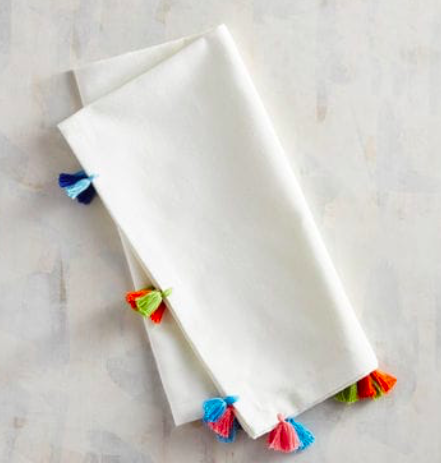
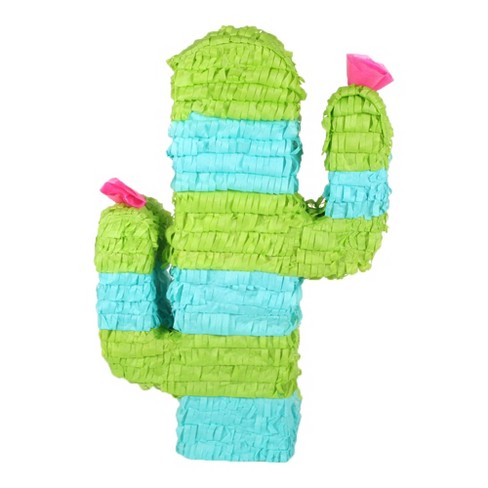
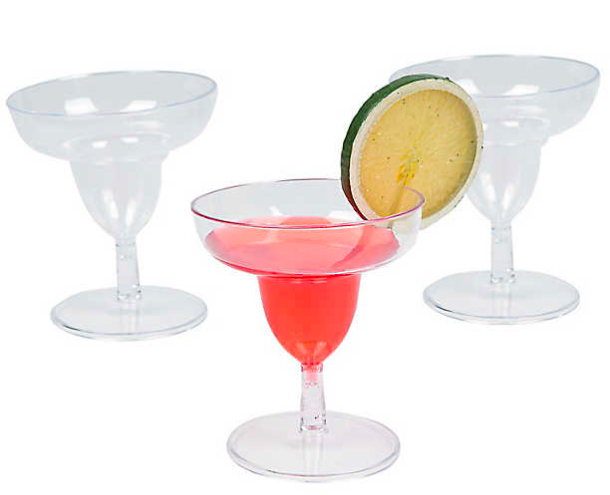
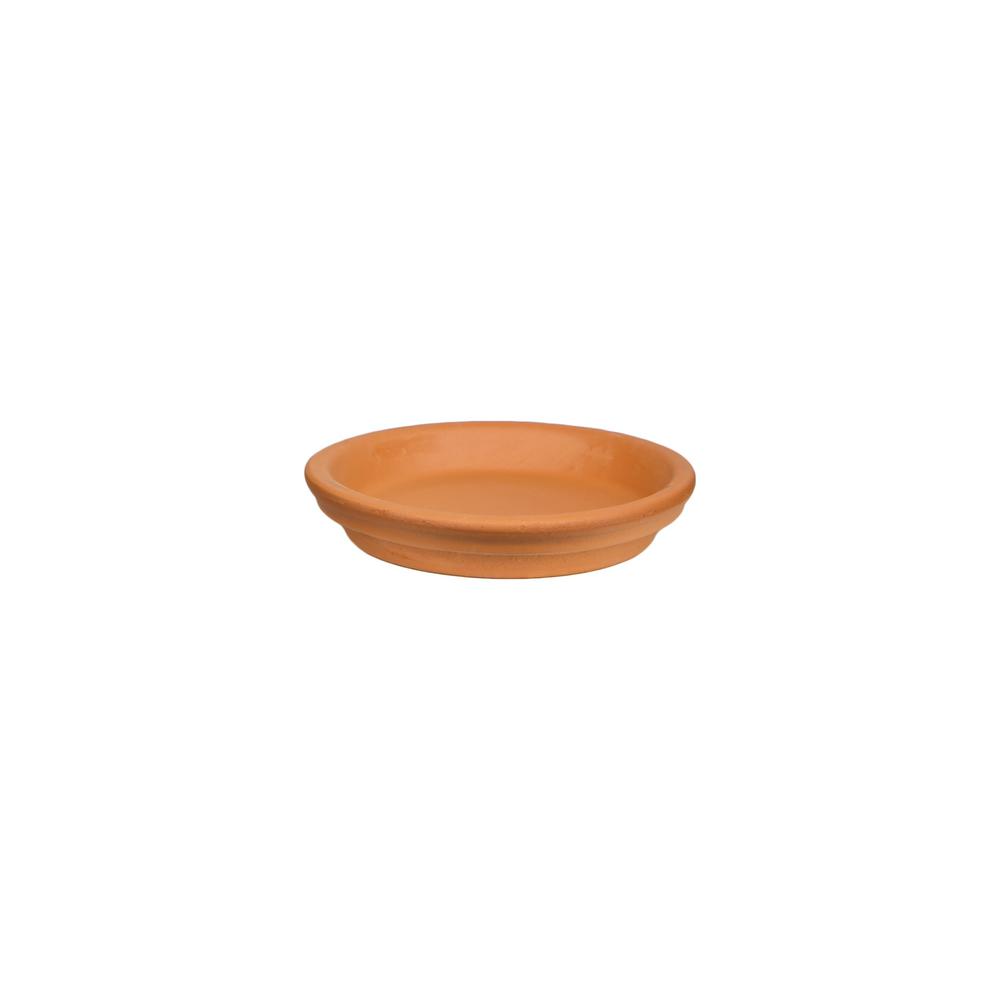
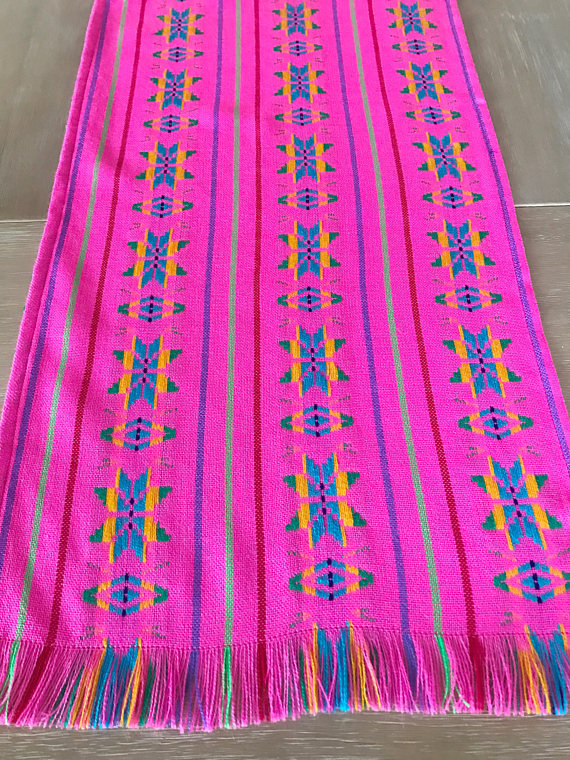
If you're feeling extra festive, then maybe a few of my decor ideas will lend a hand. I pulled together some of the cactus plants I had laying around the house to spruce up my table along with a colorful woven tablecloth from my latest travels to Mexico. A clever use of some extra terra-cotta pot saucers made for the perfect app size plates. A fun centerpiece idea, a piñata! If you don't have the time to make my DIY version, I'm sure the party store has a few Cinco de Mayo worthy paper pieces in stock. The mini margarita glasses were a Homegoods, as were the tassel trimmed napkins. Find more alike pieces linked below. Enjoy!


Creep It Real Bar Cart

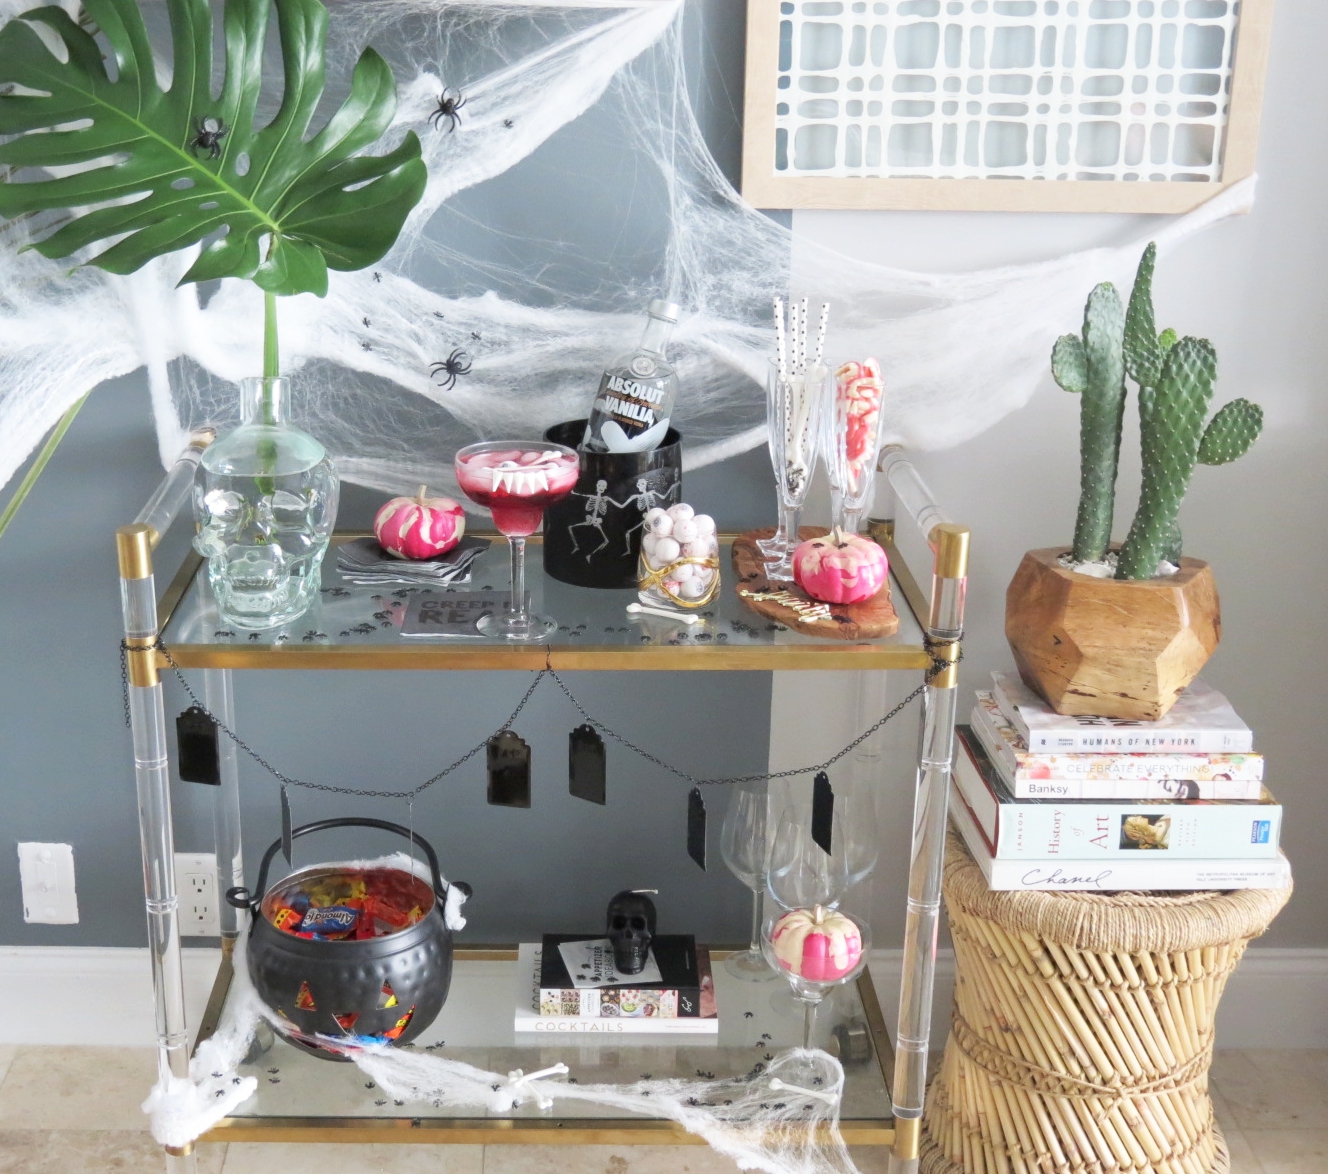
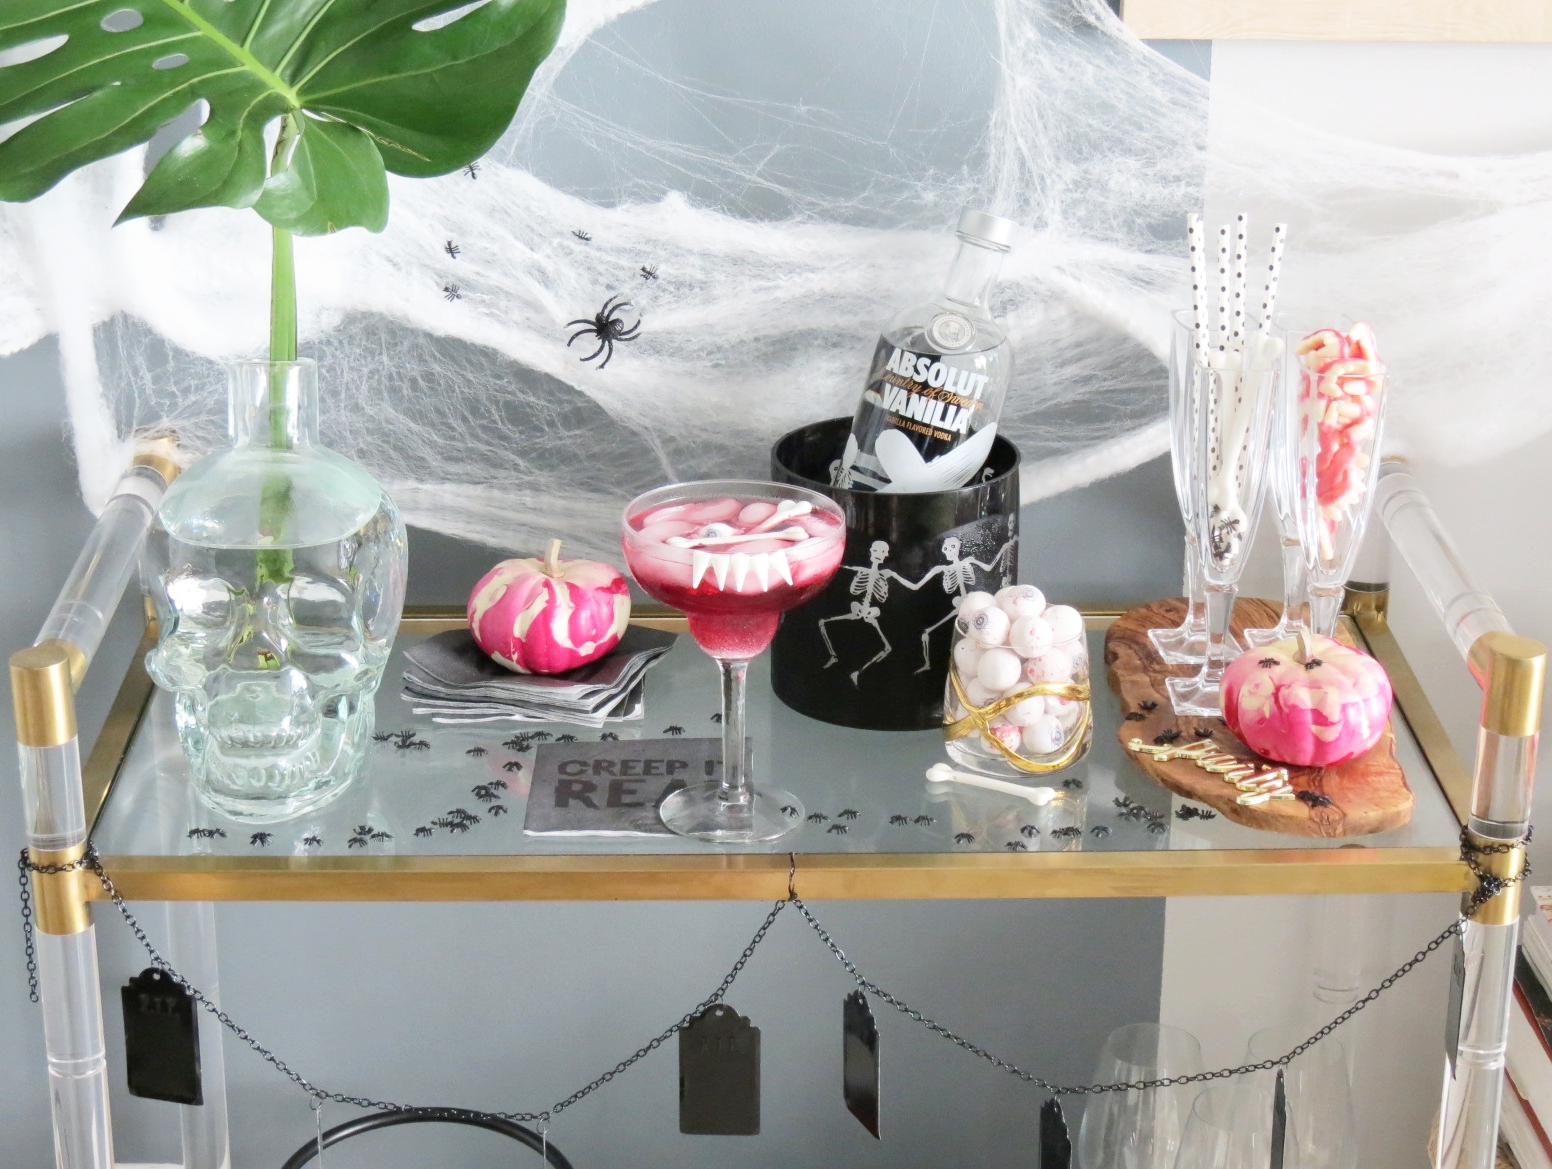
I love Halloween. I love candy, dressing up in ridiculous and creative costumes, seeing kids dress up as their icons, decorating with monsters and blood and all that scary stuff. No parties happening over here at the Nord house, but I absolutely decked out our bar cart for my own interest. I went with an underworld theme, using a RIP garland from Target, faux bones from the party store, along with my DIY bloody pumpkins, and more. I couldn't pass up a spider web either! Happy Halloween! xo RCN


A Thank You...In A Jar

Recently, my parents sent me 30 gifts for turning 30. All were wrapped separately and in different ways. A few numbered, a few in pursy lip print cloth napkins, some surrounded by confetti and pom poms, covered in ribbon, metallic and silk, and then a couple in colored jamming jars. My Mom tends to give me a lot of inspiration and creative ideas. My 30 gifts for 30 was just another one of those times. Who doesn't love reusable gift wrap!? The jars, colorful, and stuffed with paper confetti had me thinking...what an utterly adorable thank you gift. Maybe not even thank you, but a small congratulations gift. Hell, stuff some cash in the jar for the happy newly married couple and make it a big whopping win. A.C. Moore, Michael's, Jo Ann Fabrics, and really, any local craft store carries multiple options of jars and stuffing. Stuff with your gift of choice and clasp closed for the one/s you love! xo RCN


Pretty Paper Soaps

I always appreciate a beautiful bar of soap, especially one that smells nice. Recently, I have been obsessing over bars of soap. So weird, but not really, right? A friend came over my house for drinks a couple weeks ago and brought me an aloe scented soap. I would not have expected a thing for just coming over for drinks, but what a thoughtful and posh gesture? I loved it! 

For Valentine's Day I decided I wanted to wrap up soaps myself, as a Valentine's gift for our Moms, Mom Mom, and sisters (Sorry Shaina and Courtney - we didn't mail them to you at school, but I'll make you something cute next time I see you!).

Whole Foods Market has a nice selection of organic Good soaps, all unwrapped and ready for a personal touch. The assortment includes scents from Wild Strawberry to Peppermint and Praire Rose. I shopped at both A.C.Moore and Jo Ann in search of pretty pink and purple paper to wrap the soaps. Shopping for patterned paper and ribbon to complete the wrapping was thoroughly enjoyable. I am a paper goods junkie! Scrap booking paper is usually reversible with different patterns on either side, perfect for mix and matching the wrap and name tags. I also suggest vellum or sheer paper for a more refined elegant approach. The final touch of adding a bow, sticker initials, and faux floral trim goes a long way in making the gift look sweet and charming. Have a lovely Valentine's Day. Kiss, kiss, smooch, smooch!! xo RCN


Minnie Cakes

I am a huge Disney fan. I have many wonderful memories from childhood, visiting Disney World. My parents have taken my sisters and I a few times as kids and teens. The High School I went to had a senior class trip to Disney that I will never forget, as well. I have dreams about the Jasmine pajamas I wore as a little girl, and when I see Sunflowers, I often think of Pocahontas. That is how much I love Disney, or maybe just how much I wish I was a princess of some sort.

Lucky for me, my girlfriend Kelcey and her Mother Dianne, generously invited me along on a girl's trip to the parks this weekend. So, it's a girl's weekend in Orlando and that means a few things in addition to princess time...Harry Potter, boozing around the world, a lot of talking, walking, The Hulk and Minnie Mouse. 

Since I am a guest on the trip, I felt it was best to bring some goodies in tow. Prosecco in one bag and Minnie cupcakes in the other. I spent a little extra time on the decorating, and not so much on the baking of the cupcakes. This batch, is purely boxed and Betty. I am not ashamed! The decorations were fun in the making, and Betty Crocker taste quite great. Take a peek at the pics below to see the tricks to creating the bow. Everything else is as easy as shopping for "minnie" Oreos, mixing food dye, and piping the icing onto the cupcakes with a Wilton icing bag and 4B tip. If I stumble upon Minnie in Magic Kingdom, I will be sure to post! xo RCN

Slice red Fruit Roll-Ups or Fruit by the Foot into 1" x 1/2" rectangles.

Then fold each rectangle in half onto itself and pinch the ends together, creating a little dimple, like picture below.

Take two folded pieces of the Fruit Roll-Ups and overlap the dimpled edges of each onto one another, and squeeze together. Continue to manipulate until it bulges at the middle and creates a clear shape of a bow with center knot.


Wrap It Like You Mean It

There are a few reasons why I love giving and getting gifts. One of the reasons is solely about the wrapping. Being the visual person I am, I absolutely LOVE when a gift is as stunning on the outside as on the inside. Because, I love wrapping so much, I am thrilled that Anthropologie is having a gift wrapping contest this year. One prize is being given for the best recycled gift wrap, among other prizes. My wrapping will be entered into a few categories, and I am happy to say it qualifies as recycled. Here are my specially wrapped gifts that will be entered into the contest.

I thought, what better to use then some beautiful lace and baubles. I collect an abundance of vintage lace doilies, collars, ribbon, brooches, and earrings as I travel. I have more than enough to gift away. The presents will be personable and pretty, something well deserved of all my loved ones. No paper, scissors, tape or glue. The vintage lace and baubles will perfectly do! This is exactly the type of recycled gift wrap I would like to receive. A hint of fresh evergreen adds a natural touch, those greens were all clipped straight from the Christmas tree.

Hint: If you decide to try something like this at home, clip on earrings and hair pieces with bobby pins serve very well as closure pieces. They easily wrap and intertwine between the crocheted holes of the lace and work great as fasteners along with ribbon. Or, they just work great as the trim on the center of a bow. xo RCN


Bottoms Up Bar Cart

It's only natural that your bar cart gets a face lift when it comes to the holidays. Not only, does it likely need re-stocking of the booze, but also some festive primping. Here is a snapshot of our bar cart mood and necessities for the upcoming hosting, partying, and drinking that will be had. When it comes to Christmas, I can't help, but be a little over the top with all the decorations. What are your must haves on the bar cart?  Oh, and if you are not hosting anyone this year, then I have just the thing to bring along with you to your hostess. Keep scrolling and you'll see. xo RCN

I like to use the bottom of the bar cart for glasses and bottles. I used a polka dot place mat beneath the clear glasses to give them a foundation on our glass and plexi bar cart. The glasses stand out more without mixing into all the other glass.

My Mom gave me a pack of mini trees, from Target, when I was home for Thanksgiving. I went back and bought a couple more packs! $3 and so worth it. The "Party" bottle opener was a $2 find at Homegoods.

If you are going to have the wine flowing, beautiful bottle stoppers are a must. I like to keep a few on hand that mesh nice with the theme. It's nice to include something personal, and something seasonal.

Cocktail napkins are important, especially if you don't want to be cleaning up millions of sticky rings off of your counters and tables. I found these cute "Cheers" napkins at Homegoods.

The confetti was also a Target find. A pack for $3. Can't beat it. I love that they are wood, too.

Straws and stirrers are also a must on the bar cart. I'll admit, not many people love to use paper straws, but they are so darn cute that I can't stop buying them. If not for nothing, the polka dot pattern ties in well with the look of the cart and adds more color.

Our glasses come from many places, Crate & Barrel, Target, Vintage, Anthropologie, Homegoods...I can go on. For Christmas, I like to bring out some of our festive glasses, like the "Oh Deer" beer mugs from Target.

Lastly, if the party is happening elsewhere, pack the booze and bring it with you. If you want to update your wine host and hostess gifts, think about bringing a different liquor. Packaging always sells me, and Smirnoff does a great job with their Peppermint Vodka. I picked up a wine bag for one dollar at Total Wine, added some peppermint candies and a matchy-matchy bow. Easy and different than last year. Cheers!


Pom Pom Wrapping

One of my easiest gift wrapping ideas, is also one of my most favorite ideas. Instead of using tissue paper or scraps of paper confetti, or anything else for that matter, I like to use pom poms for the inside stuffing of a present. Pom Poms are even cushy enough to use for something more fragile, as long as you use enough of them. They are also quite lovely and cute to throw in a box along with some tissue, just to add some festiveness to the package. For Christmas I am coordinating tones of green and red with certain small packages. A double handful of green pom poms worked perfectly in this little gift bag. I threw some poms in the bag first, then added one fragile gator salt shaker, followed by more poms and the paired pepper shaker. I made sure to move the poms around all sides of the bag, and now I am ready to go. I am obsessed with this idea. Chances are, if you receive a present from me this holiday, there will probably be pom poms inside. Sorry to ruin the surprise! xo RCN


All pom poms and gift bags from Target. Target sells color coordinated boxes of pom poms in their craft section.


Thanksgiving Mood

Once November hits, I am full throttle in the Autumn mood. Earth tones, pumpkins, apple pies, cinnamon, magnolia leaves are all part of the best things at the start of Holiday time. Here's a quick caption of the Fall vibe happening at our apartment right now. Check out the links below to some of the easy recipes and DIY projects I created and tested out for this upcoming Thanksgiving dinner. xo RCN


A Little Bit' Of Spooky, A Lot A Bit' Of Sparkley

What you will need to create a Halloween garland and some additional sparkle bats for your entryway...

1. Cookie cutters or stencils shaped like a Bat and Pumpkin OR any other Halloween shapes you like

2. 3-4 sheets of oak tag paper

3. Scissors

4. Orange and Black glitter

5. Elmer's tacky glue

6. Pencil

7. 2 Paper plates (for glitter)

8. Newspaper

9. Paint brush (for glue)

10. Sewing needle and five feet of string (festive Halloween colors)

11. Hole punch or 9 mini laundry clips

12. 16 Orange and 16 Black Pom Poms

13. Clear reversible Scotch tape

Trace pumpkin and bat cookie cutters onto thick paper.  Cut out all traced figures once you have them all marked.  A trick is to trace a third of your final amount and stack three papers together and cut through all three papers at once.  Saves a lot of time! 

This five foot garland requires 9 pumpkins. While I worked on the garland I also made 30 additional bats for the entry wall in our apartment. 

Pour a round circle of sparkles onto a paper plate, big enough to dip your bats and pumpkins into.  You will need more orange sparkles for pumpkins since they are larger than the bats.  Paint tacky glue to cover the complete surface of your bat or pumpkin.  Once covered with glue, push glue side down into sparkles on paper plate and continue to move it around until surface is covered.  Be sure to put enough glue on the paper to cover it completely, don't be stingy with the glue.  The sparkles will look 10 times better if it is applied relatively thick.

 The last step is creating the garland itself.  I was inspired by a Halloween garland I saw for sale at Target.  So if lucky and you are tight on time you may find this pre-made, but if not, it's quite simple to do it yourself.

Cut thread to the length of your desired garland.   Pictured above is one individual (about) 5 foot strand.  Once cut, slip thread through the eye of you sewing needle and pull thread to be about ten inches on one side and the remainder of your garland on other.  Start by pushing needle through center of either black or orange pom pom.  Rotate every other color and continue to thread and string pom poms along until you have filled the length of garland. If you do not have mini clothes pins to clip your sparkle pumpkins onto the final garland, use a hole punch and thread the pumpkins onto the string as you thread the pom poms.  Doing so, every five to three pom poms.  Tie a small knot at both ends of your string, and finito! The more garlands you make, the more festive your place will look for Halloween!

Lastly, my thirty some odd bats look fabulous taped directly onto my entry wall, just beside our front door. We have a solid white wall there and I thought what better way to decorate a blank space for all the Halloween trick-or-treaters to see! xo RCN


All You Need Is Brunch

Who doesn't love brunch?  On a weekend when it's perfectly okay to sleep in a little later than usual, that means it's also a great time to smoosh breakfast and lunch into one.

A delightful and thoughtful brunch with one or two friends only takes perfecting five things.  Taking care in just these few things is a sure way to have your friends chatting about your brunch for months.  What you need:

1. Tasty and pretty food; one sweet and one savory (at the least). 

My menu is small with just two of us eating so I decided to make two of my favorite lunch and breakfast recipes.  They are both simple to make and can be put together in an hour.  Better yet, they can be prepped the evening before, which is what I did.  This helps save time for picking out the perfect outfit and lipstick the morning of brunch.  Read Recipe directions below for my   Chicken Curry Salad Lettuce Wraps and Cherry Parfait Pizza.

2. Fresh drinks!  

A lot of my girlfriends are all expecting at the moment, so this brunch menu includes fresh brewed peach ice tea with lemon and sparkling water.  A simple Mimosa would be a great addition for any chick looking for a little more buzz to their brunch.

3. Beautiful flowers.  

You can't go wrong with hydrangeas.  White are my favorite as they are most natural.  Publix grocery store is my go to for hydrangeas because they always last me at least a week.  Three bunches, six stems are only $12!  Heavenly!  Click here for my Lemon Vase DIY to make your flowers even more special.

4. I-tunes playlist.

Now this is for you to decide, but all I know is that music is a must. I don't like restaurants without some music, even quite in the background is fine, so when hosting a party or gathering I always have my i phone present and playing. Currently, I am addicted to Bon Iver and Ed Sheeran and my favorite song right now is Bruno Mars's 24k Magic.  If I am with girlfriends I always throw a little Whitney in there, too.

5. Lastly, an unexpected take away.  

A "thanks for being my friend" gift that doubles as a place setting is the best way to give appreciation for coming to brunch and adds super cute flare to the table's styling. Beautiful teacups like the ones pictured above can be found for a couple dollars at most thirft stores.  Fill the cup with potting soil, a small succulent and top with mini garden rocks.  All can be found at Home Depot or a local nursery.  I guarantee your friends will LOVE these and the thought.  Plus, succulents are very easy to care for.  Only a few water spritzes and a 1/4 cup water every 8-10 days with sun!

Chicken Curry Salad Lettuce Wraps


3 Chicken Breasts

1 cup Mayo

2 1/2 tsp Raw Honey

1 tsp Curry Powder

2 Tbsp Chopped Walnuts

1/2 cup Red Seedless Grapes quartered or halved

Salt & Pepper to taste

Serve with Romaine Lettuce Leaves

Cook chicken in boiling water until no longer pink in middle.  Let chicken chill in frig for a half hour.  Remove chicken and pull apart into shredded pieces and mix together in large bowl with mayo.  Once evenly mixed, add in honey, curry powder, chopped walnuts and red seedless grapes (quartered or halved).  Add salt and pepper to taste. Spoon chicken onto large romaine lettuce leaves. When you place chicken in center of lettuce, leaves are easily folded in and over the chicken salad just like a letter.  Very easy for eating.  Enjoy! xo RCN

Cherry Parfait Pizza

1 Frozen Pillsbury Pie Crust

1 1/2 cups of Cherry yogurt (about 2 small containers)

1/4 Nectarine sliced thin

1 Kiwi cut into equal 1/4 thin slices

1/4 blueberries

2 Strawberries cut in quarters with tops off

1/3 Mango cubed

1 Tangerine

1/3 Banana cut into 1/4 thin slices

Mint Leaves for garnish

Cook 1 pie crust per directions on box.  Pillsbury frozen pie crust only takes 10-15 minutes in 450 degree oven.  Cool crust for half hour once golden brown.  After crust is cooled, spread yogurt on crust like pizza sauce.  Begin topping with fruit.  Follow image above and begin with placing the blueberries in round bunch in center of pie.  Then place seven slices of kiwi equally around pie with even amount of space on either side towards outer edge of crust and blueberry center.  Next, place strawberries between kiwi slices with pointy thinner end facing towards center of pie. Spiral nectarines overlapping edge of kiwi, leaving small space to next place bananas fitting between nectarines and blueberry center.   Add section of tangerine between edge and kiwi. Touch curved inner edge of tangerine along round edge of kiwi.  Next, place mango cubes between each tangerine and strawberry.  Lastly, fill in empty spaces with blueberries and top center with mint leaves.  Place on cake stand and slice with sharp knife.  This pie crust cuts well with a small sharp knife and serves easily without cracking.  Yum, enjoy!  xo RCN