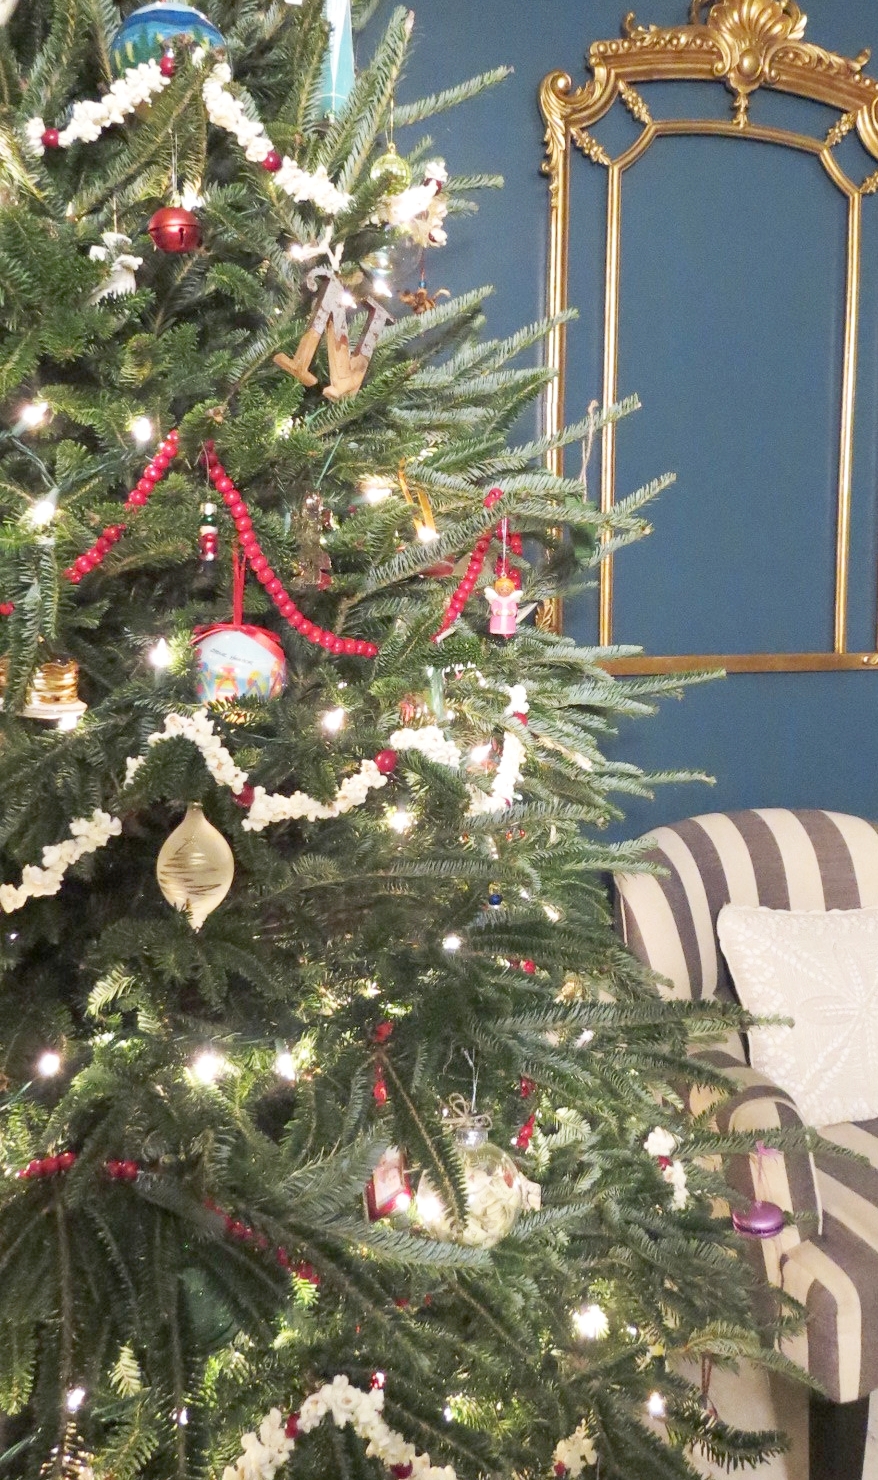

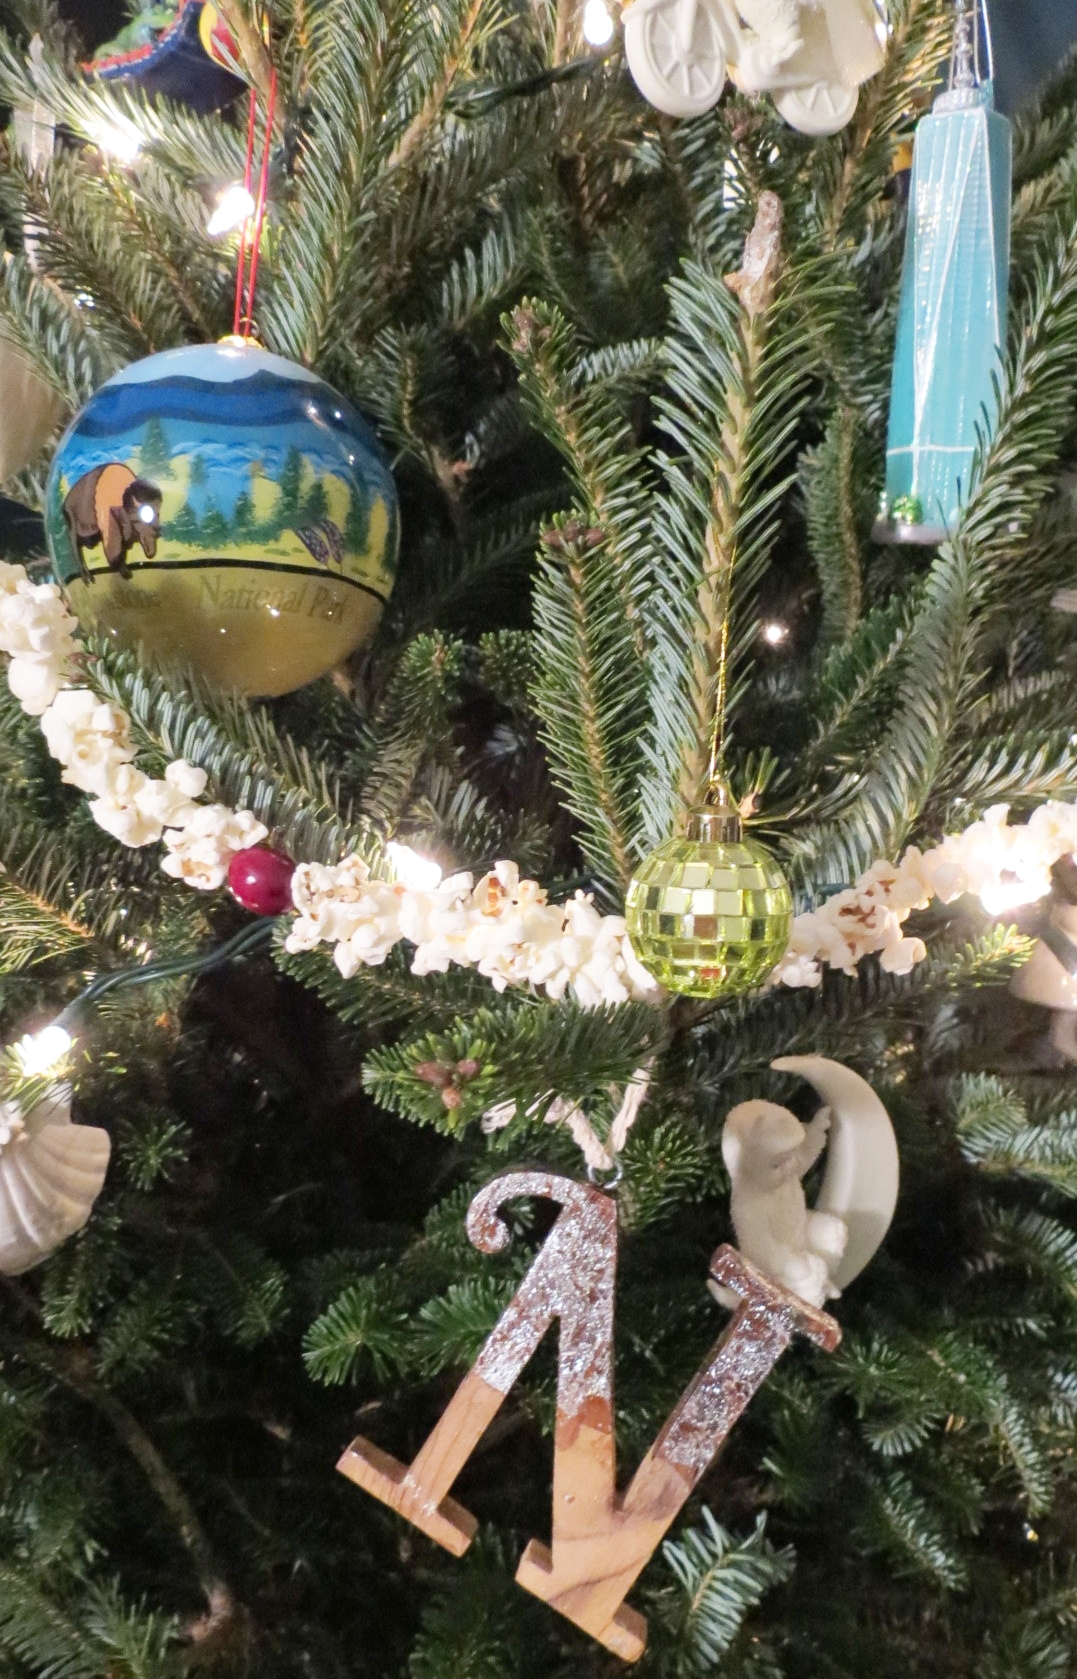


What is old is new again, and that is exactly why I decided to string popcorn and cranberries for our Christmas tree. I suppose you could say that popcorn garlands are rather classic, and not old. Unfortunately, if you have a big Xmas tree, it can requires a little time. Perhaps, that is why you do not see more trees with this retro hand crafted string. To make the project not super long, I decided to mix wooden beaded strands on the tree as well. Therefore, I only made 5 garlands of popcorn and cranberries, mixed with two store bought beaded strands. xo RCN
What you need:
1 Spool of white sewing thread
Hand sewing needle
2 Bags microwave popcorn, natural flavoring, no butter, oil, or salt added
1 Bag of cranberries


Begin with your thread exactly like this. Keep one end attached to spool of thread. This will allow the cranberries and popcorn to continue to slide onto the thread as you keep beading and will help from them breaking off the end of your string, if you were to tie a knot on the end.

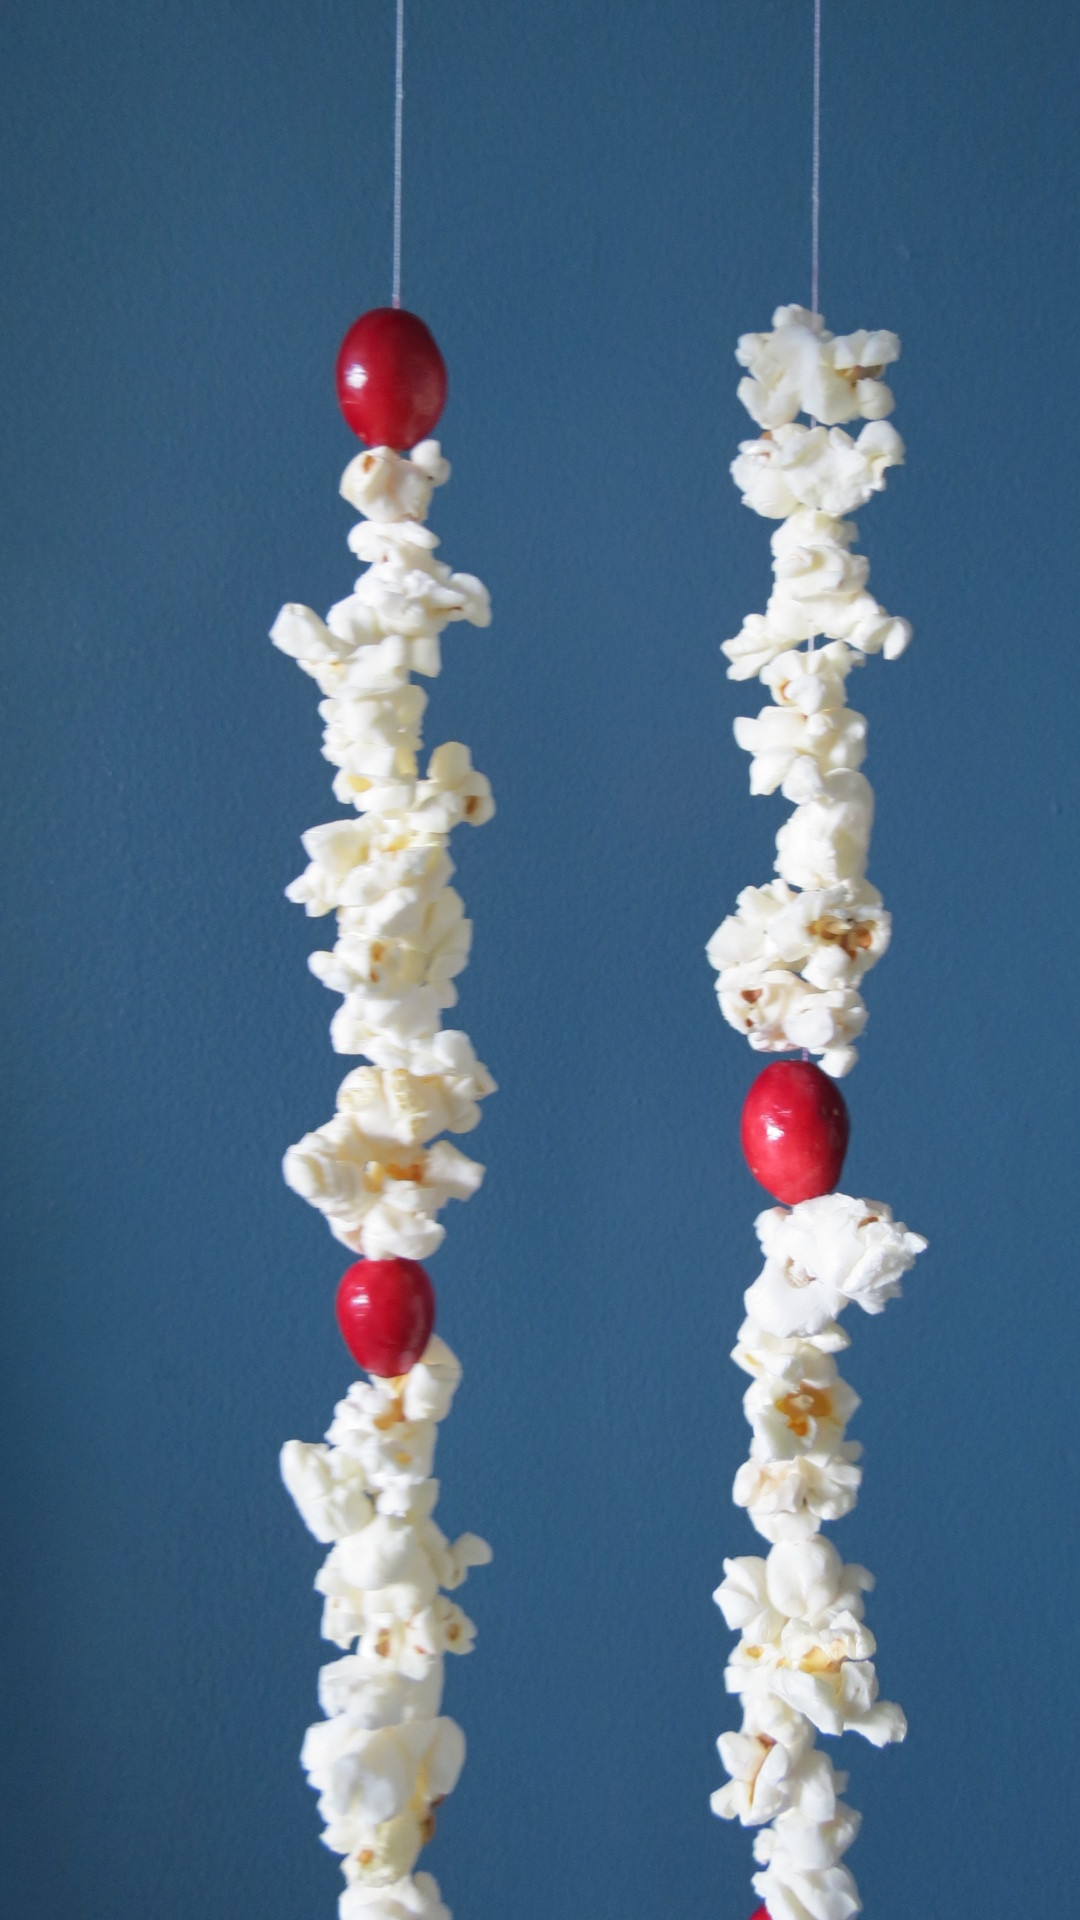
First, thread a cranberry and then continue with about seven pieces of popcorn. Repeat this order for about 13-14 times. That will give you about a 5 ft long strand, which is relatively easy to manage. This project takes a delicate touch. You do not want the popcorn to break off the thread.

Use a cranberry as your last piece on the string before you finish. Once you have strung as many berries and popcorn as desired, slip your needle off the thread and tie a knot with the thread around the cranberry, as close to end popcorn pieces as possible.

To ensure a secure knot on the end after looping thread around cranberry, then tie a second and third knot, with the thread only, at the end of the cranberry. Tie the knots as close to the cranberry as possible. Cut off remainder of string and leave a few extra inches.

Repeat all steps with knots on the other end of your strand that is still attached to the spool. First, push all pieces on string tight together towards already knotted end, but be delicate. Then, cut the string from the spool, leaving a good ten inches for you to tie knots and leave a little extra at end.

Your garland is complete. String onto tree and use extra thread at ends to tie an additional popcorn onto, if you need more length. Or, use extra thread to attach onto tree branch to secure garland onto tree. Note: I used 2 of these garlands attached to one another for the bottom front and center front of our tree, and one for the top front of tree. We have an 8ft tree that is rather wide. You may need to make adjustments for your tree, based on size.