My Approach To Charcuterie

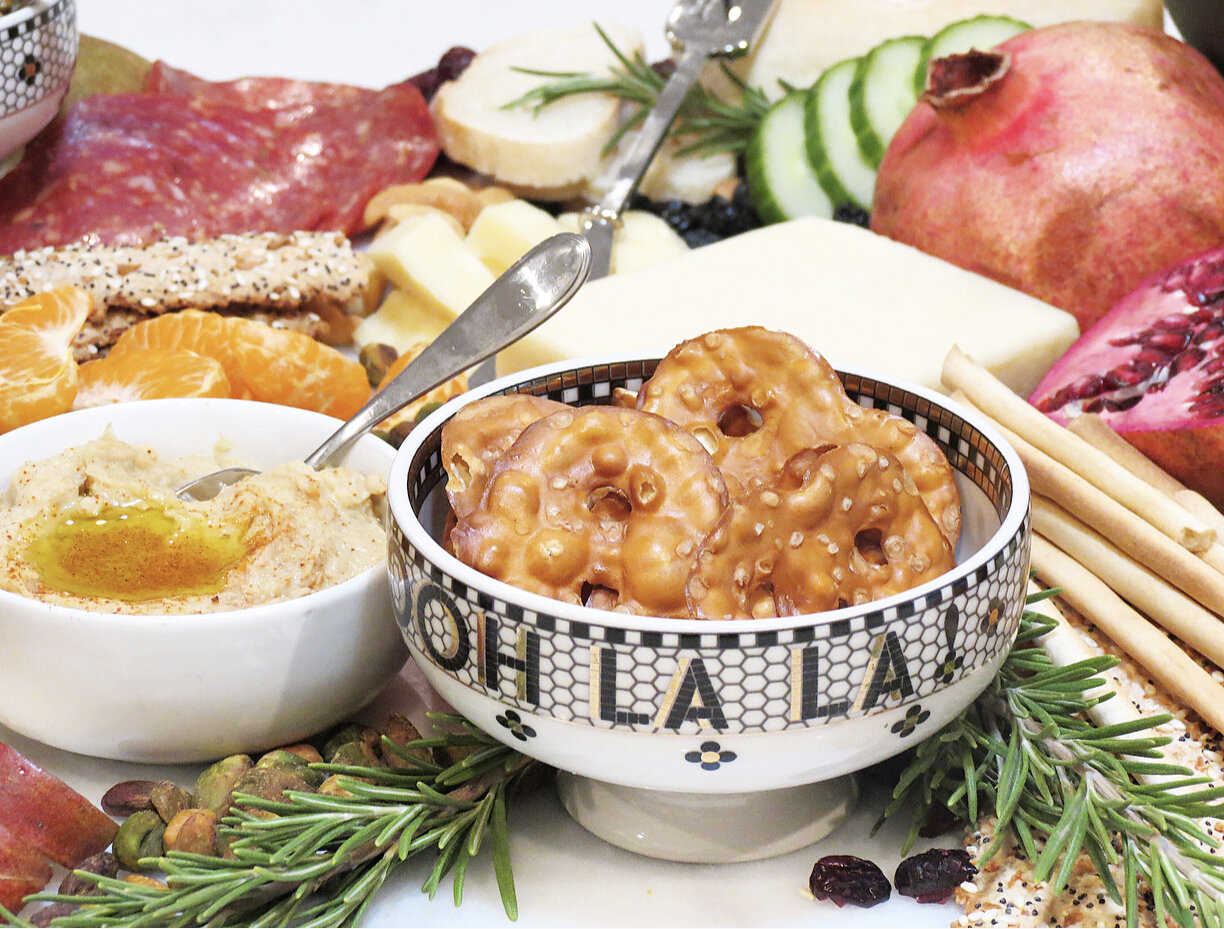
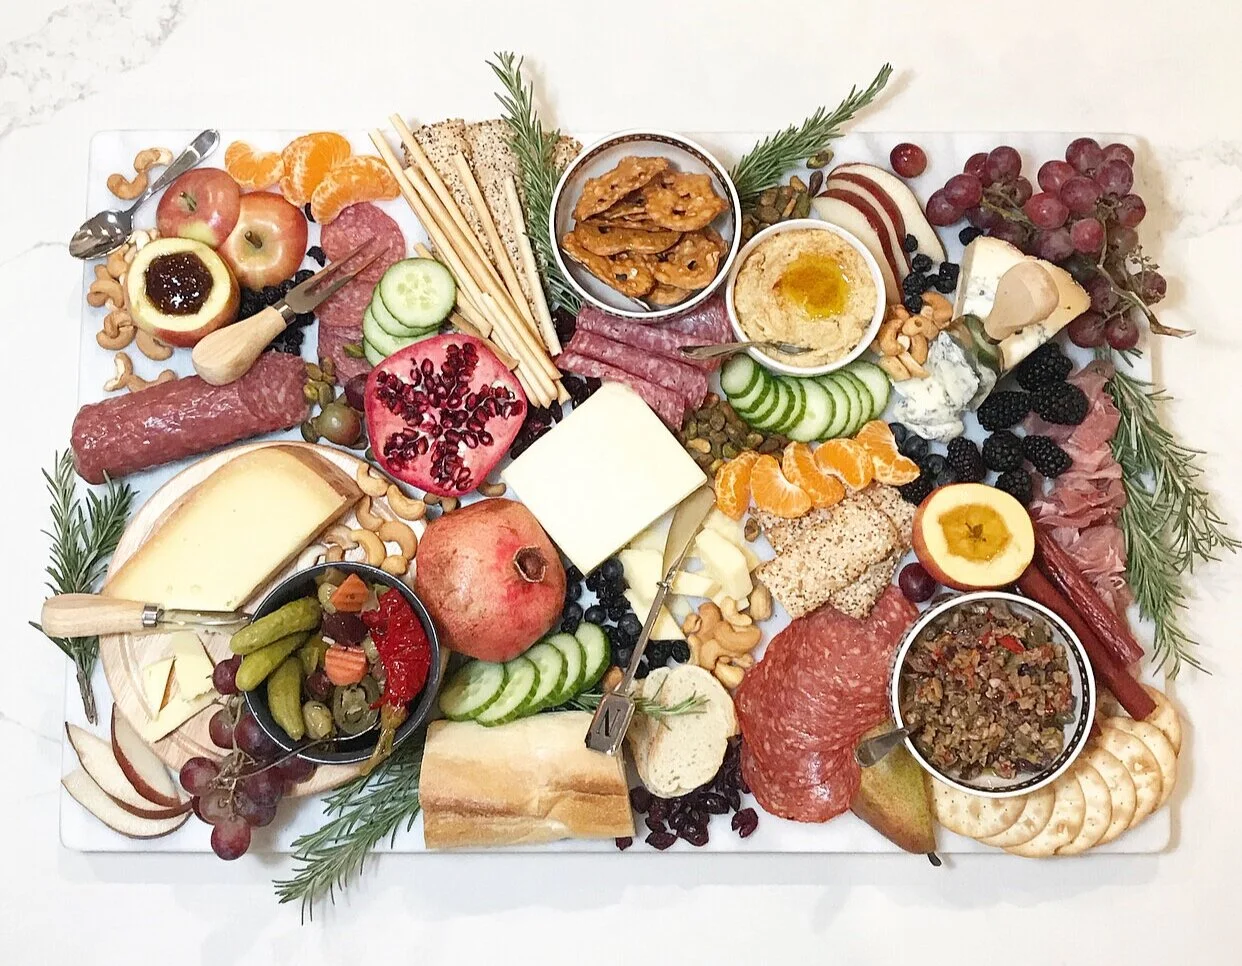
First things first, the easiest way to arrange a beautiful charcuterie is to include everything, but the kitchen sink. Make sure to include a few meats, cheeses and bread options, but pretty much anything else goes. Here are a few extra tips and tricks I like to guide me to a board that looks as delicious as it tastes.

  1. GARNISH WITH FOOD: If you cut half of a pear, use the uncut half as garnish. Cut the tops off small apples and scoop out some of the inside to be used as jam chutney bowls. Cut a pomegranate in half. Use one side facing out for eating and the other as decoration. If the half facing out gets eaten, then flip the remaining half to enjoy. A baguette also looks great and adds some drama to the board.

  2. ADD DIMENSION: Use different sized bowls and dishes to provide a few levels of height and dimension. For example, I used a mini round wooden cheese board on top of the large marble board to display one of the cheeses. I sat a small and a medium sized bowl next to one another and a larger one opposite on the board.

  3. BIG STUFF FIRST, SMALL STUFF LAST: Lay your bowls, cheeses, meats and drama pieces like pomegranate, baguette and grape vine first. Once big stuff has been arranged, layer in other fruits, crackers. End with dried berries and nuts to fill in open spaces.

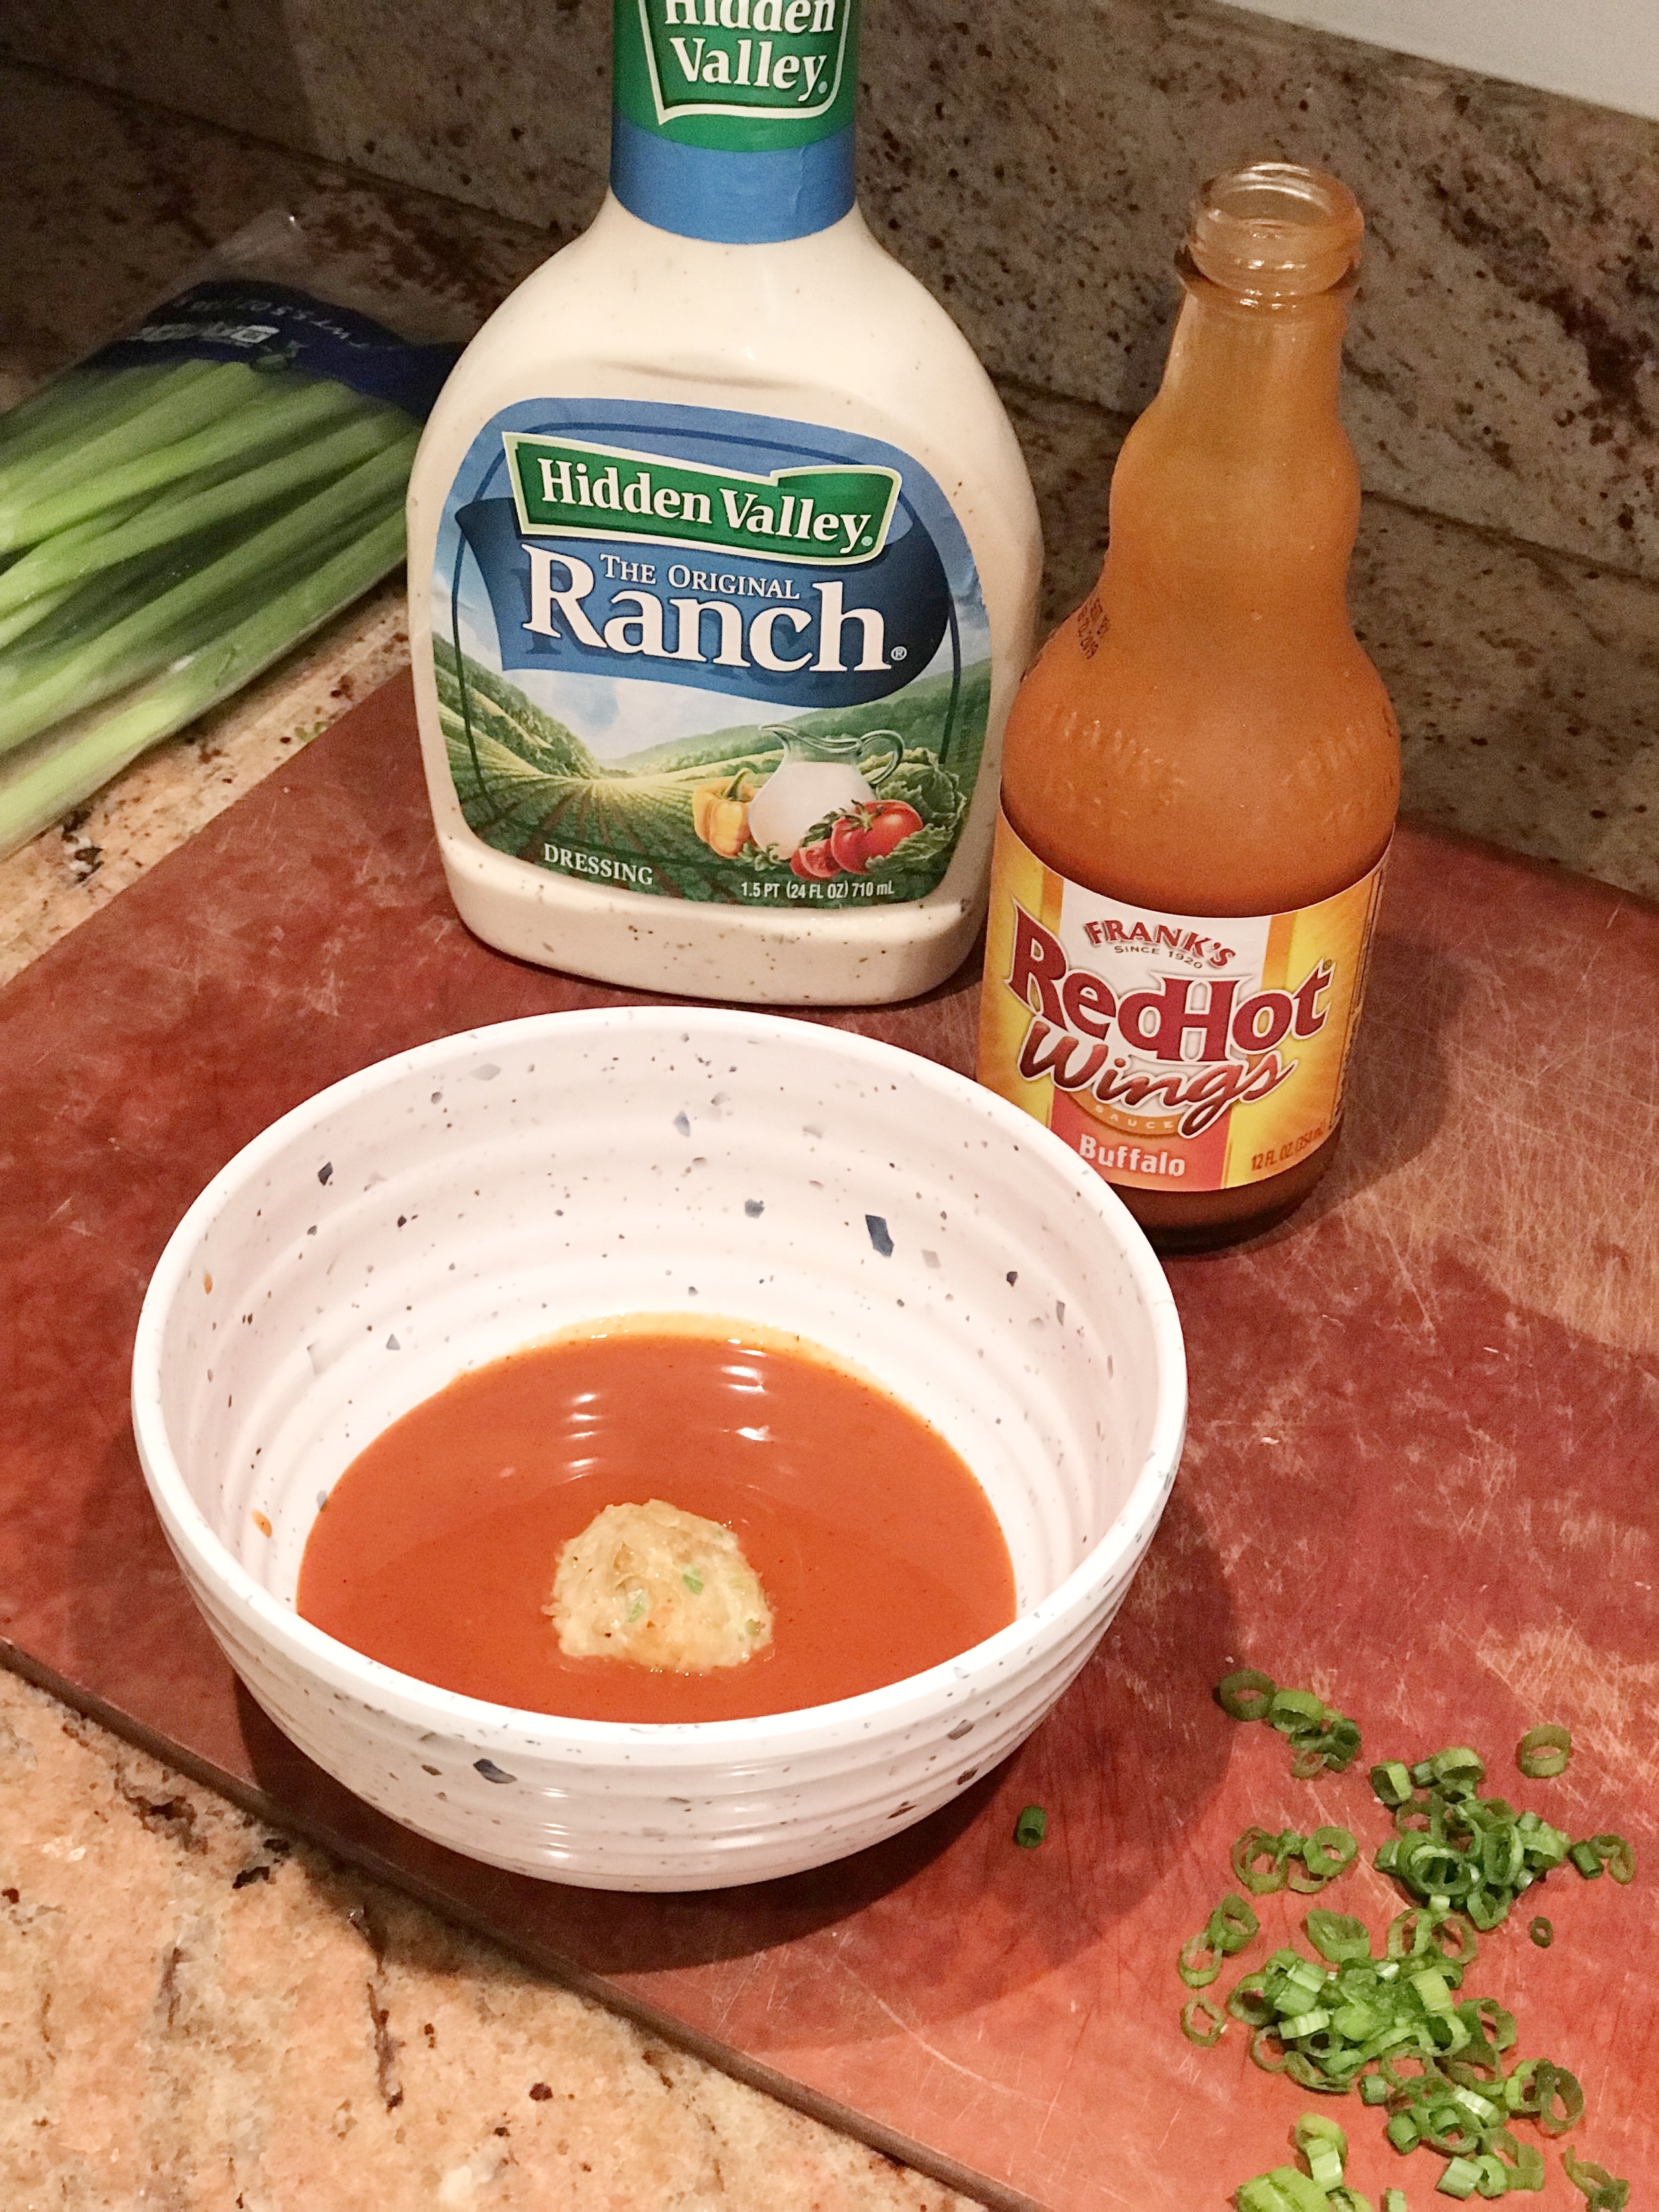
  4. JAZZ UP THE HUMMUS: If you include hummus like I do, beautify it up a bit by smoothly pushing in the center, squirt in some olive oil and sprinkle with paprika.

  5. INCLUDE GREENS: This goes for what you eat and for what you garnish with. Cucumbers taste great with a hummus friend. Olives and tapenade are a must, but also pickles are fun. Can’t go wrong with pickles. Rosemary is my favorite garnish which adds a great smell and natural look.

  6. USE SHAPES: Use different shaped crackers, meats and cheeses. I always include grissini bread sticks, round crackers, and then a flat rectangular cracker like New York Flatbreads Everything flavor - my favorite! With meats, prosciutto allows for a wavy effect which is fun to ruffle up. Round meat slices look nice curved and layered around dishes and a salami log that is partially sliced is a great focal point on the board.

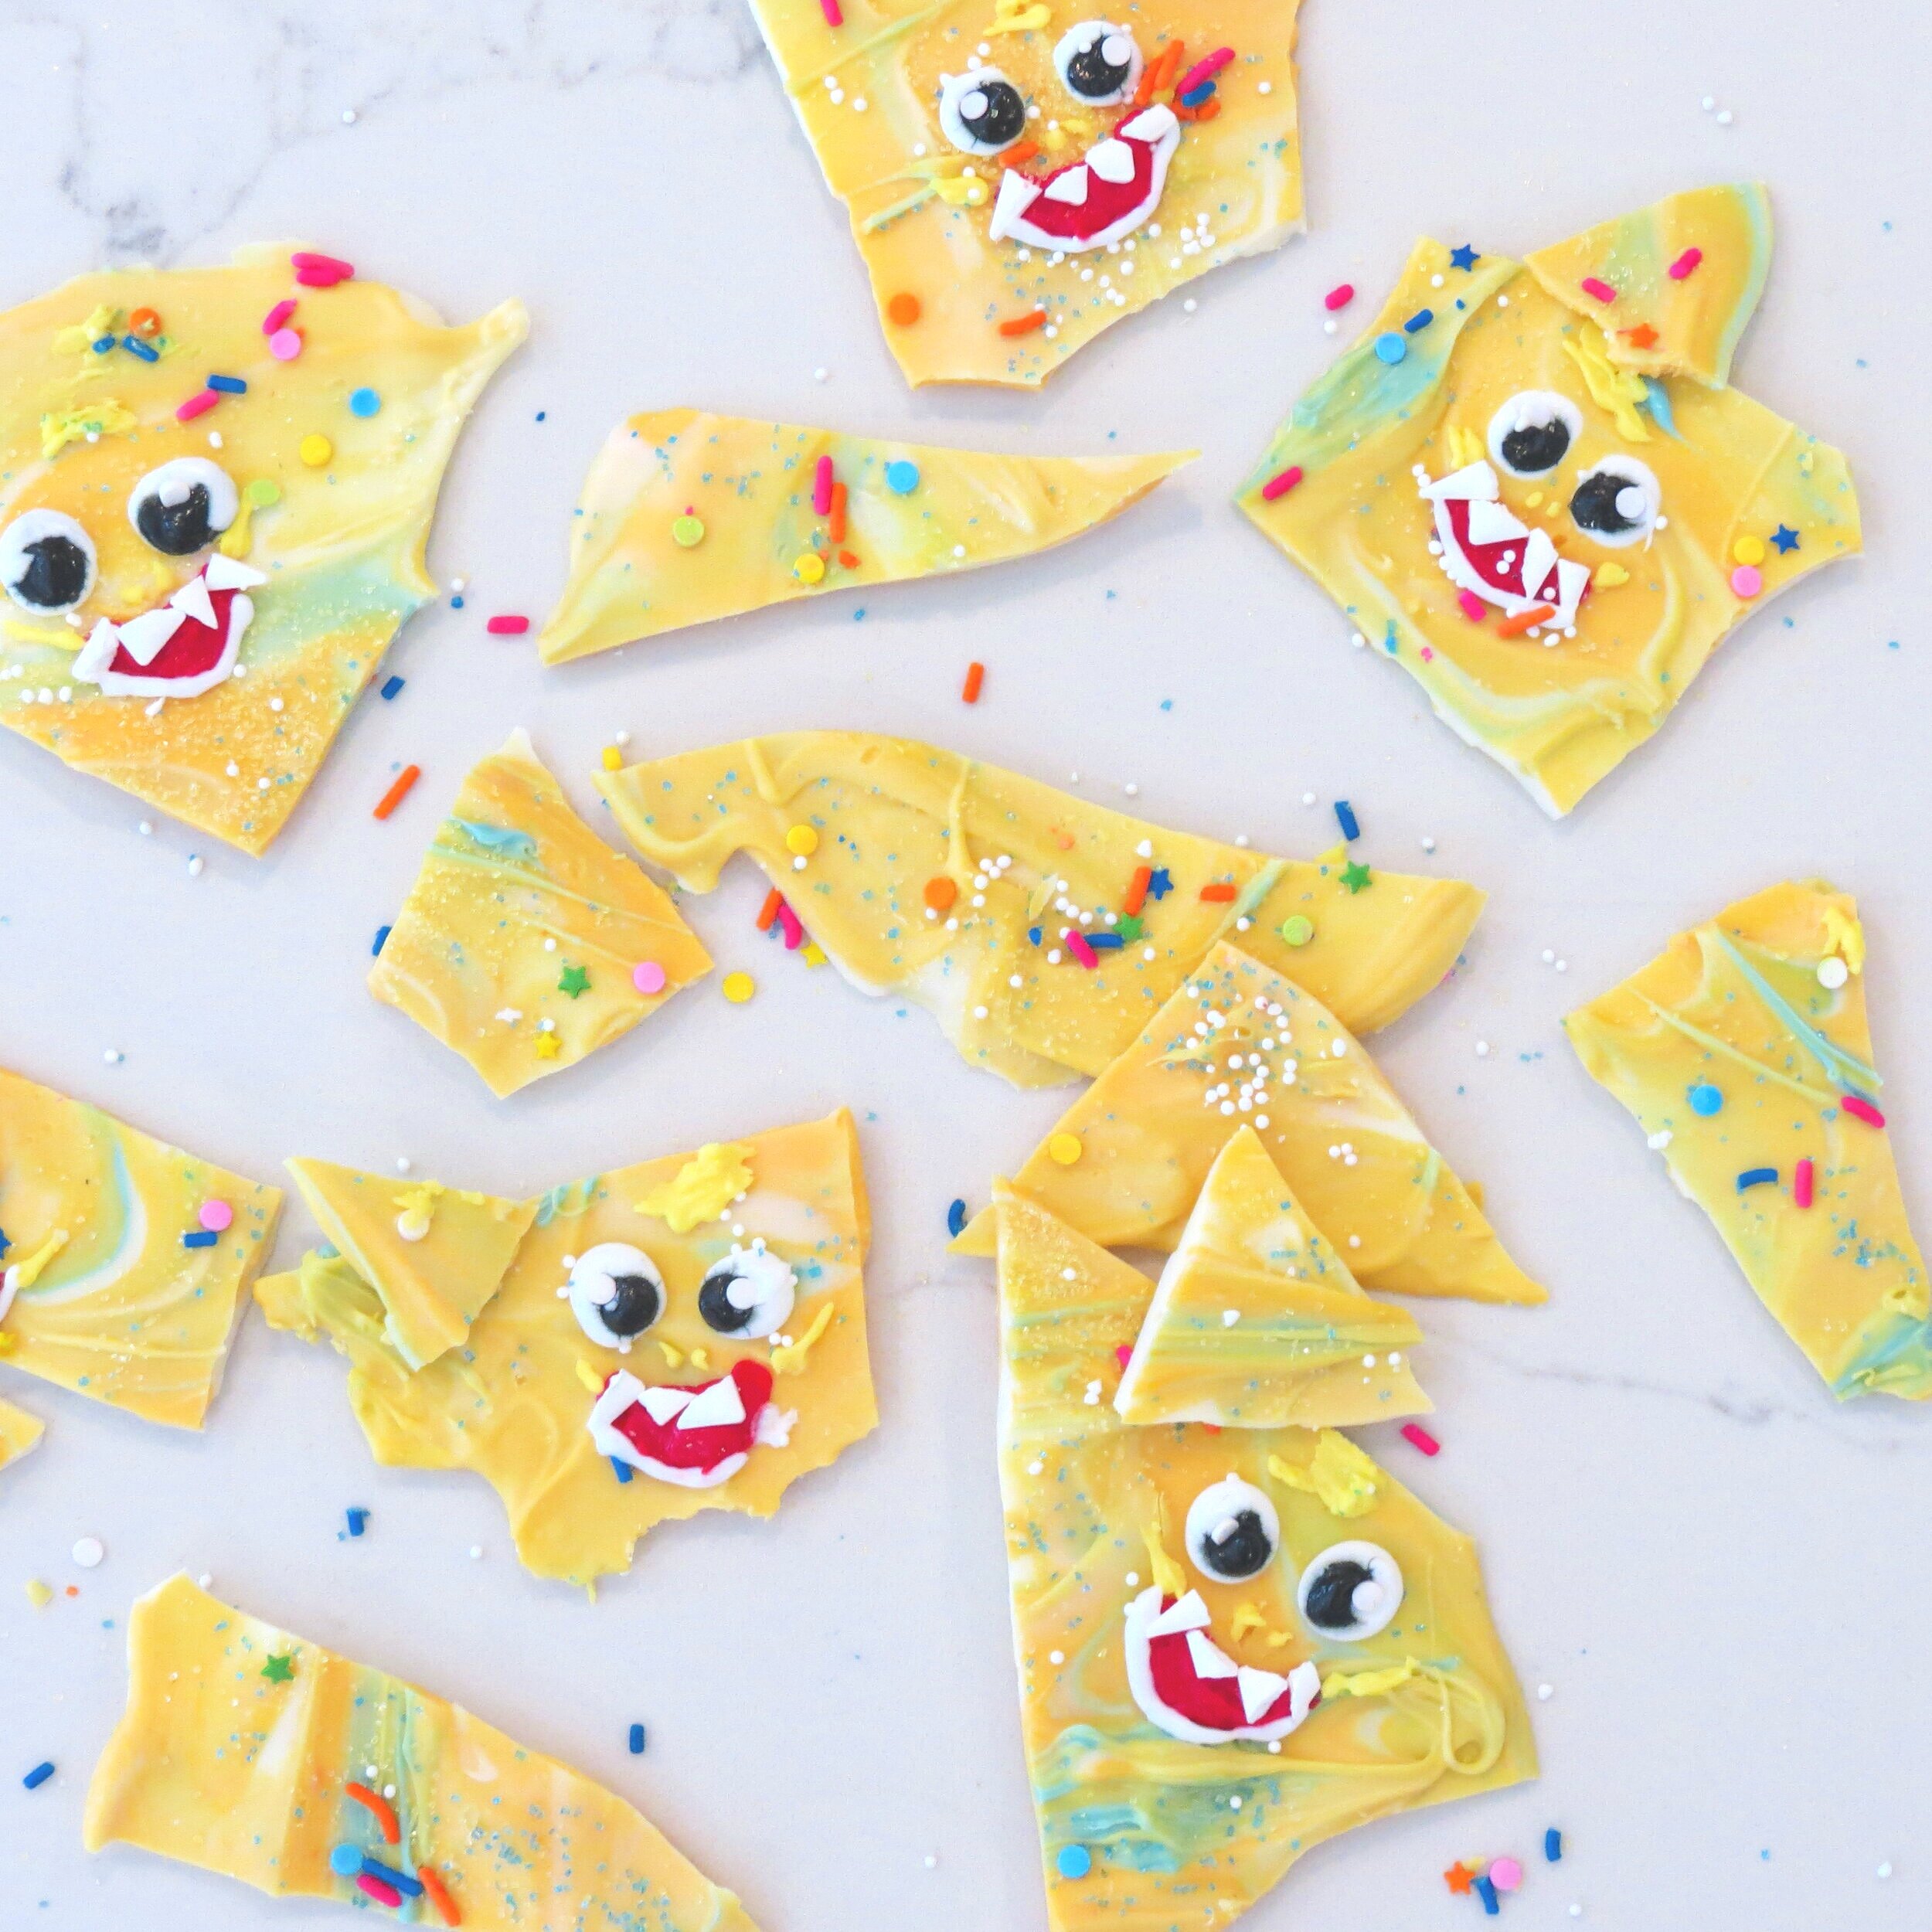
  7. INCLUDE KID FOOD: If you have kids, include them in on the fun of a charcuterie. Add some clementines, pretzel crisps, hummus, cucumbers, cut grapes, craisins, whatever they like. Next time, I decided I want to add some chunks of dark chocolate for us and chocolate chips sprinkled in and around for Vane.

  8. COPY: Find images on Instagram or Pinterest that you like and implement those same ideas and layouts with your charcuterie. I always get ideas from other places and then mix them all up into my own style. It’s also fun to try different layouts and foods the next time you put a cheese board together.

  9. YOU CAN”T GO WRONG: Have fun with it! xo RCN

IMG_4649.jpg
IMG_4650.jpg
IMG_4651.jpg
IMG_4647.jpg
IMG_4638 2.jpg
 

Super Bowl Snacks: Buffalo Chicken Meatballs

The last time I was this excited for the Super Bowl was back in 2004; the only other time in my lifespan that my hometown team was a contender in the game. This year, I am crossing my fingers for a big W. Here is my current favorite app for game day. Go Birds! xo RCN

Buffalo Chicken Meatballs

INGREDIENTS (yields about 2 dozen):

1 lb Ground Chicken (a little more than one pound is fine, too)

1 Egg 

1/2 Cup Panko breadcrumbs

1 Carrot (grated & chopped) + sliced carrots for side/garnish

1 Stalk of celery (chopped fine) +sliced celery for side/garnish

3 Cloves garlic (minced)

1/2 tsp Paprika

2 Green onions + some for garnish (chopped)

1/4 tsp Kosher salt

1/4 tsp Cracked pepper

1/3 Cup Franks Buffalo Wing Sauce (for coating)

1 Tbsp Butter (for coating)

Ranch &/or Blue cheese dressing on the side

INSTRUCTIONS: Preheat oven to 400 F and set aside a greased baking tray (OR grease tinfoil and place on sheet to make clean up easy). Set aside. Chop and mince all veggies and garlic. Set aside some of the green onion for garnish. Cut additional carrot and celery sticks for side dish.

Combine ground meat, egg, all dry ingredients and chopped vegetables in a mixing bowl (everything except buffalo sauce, ranch/blue cheese and butter). Mix until evenly combined.

Roll into small meatballs about 1" circumference. Place on tray and bake for about 20 minutes. Flip meatballs about 10 minutes into baking to help cook evenly (it's ok if they aren't perfect balls!!). While meatballs bake, combine butter and hot sauce and melt together in microwave.

Remove meatballs from oven, toss around in buffalo/butter sauce and serve w/ ranch or blue cheese dressing. Serve beside carrots & celery and top with green onions. For the finishing touch use these cute football party picks


Terracotta Pot Bread

One of my most favorite stores in the world is the Terrain in Glen Mills, PA. For anyone that has eaten at their Garden Cafe, you know the bread is served in a terracotta pot, quite fitting for the garden center. I decided I wanted to learn and replicate this unique way of serving bread, before I even realized they came out with a kit, sold HERE. It would make for a great gift this holiday. Otherwise, try it out on your own like me. It will be worth it if you are making the bread for more than 4 people. I purchased my pots for around $0.70 each. Either way, using the kit or DIY, this bread will make your dinner guests smile this holiday. xo RCN 

WHAT YOU NEED:

3" diameter terracotta pots (bout mine at A.C Moore)

Bread dough, I used Italian loaf dough from the deli Bakery at ShopRite. If your grocery store does not already sell premade dough cut into individual serving size, ask the Bakery department, they may have loaves of dough behind the counter ready to sell (like the pizza dough)

Sea Salt

Rosemary

Olive Oil

Crisco  

Holiday Ribbon

SEASON THE POTS:

If buying the pots at a craft store or garden center (not a bake shop), like AC Moore or Lowe's, be sure to rinse and season the pots in advance. Cover the exterior of pots with Crisco and the interior of pots with olive oil. Place onto cookie sheets so the pots are easy to handle and move inland out of the oven. Bake the pots on 425F for 20 minutes. Repeat steps 2-3x for a good season. 

BREAD DOUGH:

Follow instruction on the bread dough packaging. If using loaves of dough, be sure to let rise for a few hours in a warm setting, covered with damp towels. Once dough has risen, cut into equal size, approximately 2.5" by 2.5" (or slightly smaller) pieces. One loaf should make about 10 pots.

BAKE:

Butter or spray with baking Pam, the interior of pots one last time and then drop a piece of dough into each pot. Place pots back onto baking sheets and follow baking directions on dough package (should be around 15-20 min at 400-425 or until risen and golden brown). Once removing pots from oven glaze with A LOT of melted butter, sea salt, and fresh cut rosemary before serving. For a final touch trim pot with festive holiday ribbon to add to your table setting ambience. Enjoy!