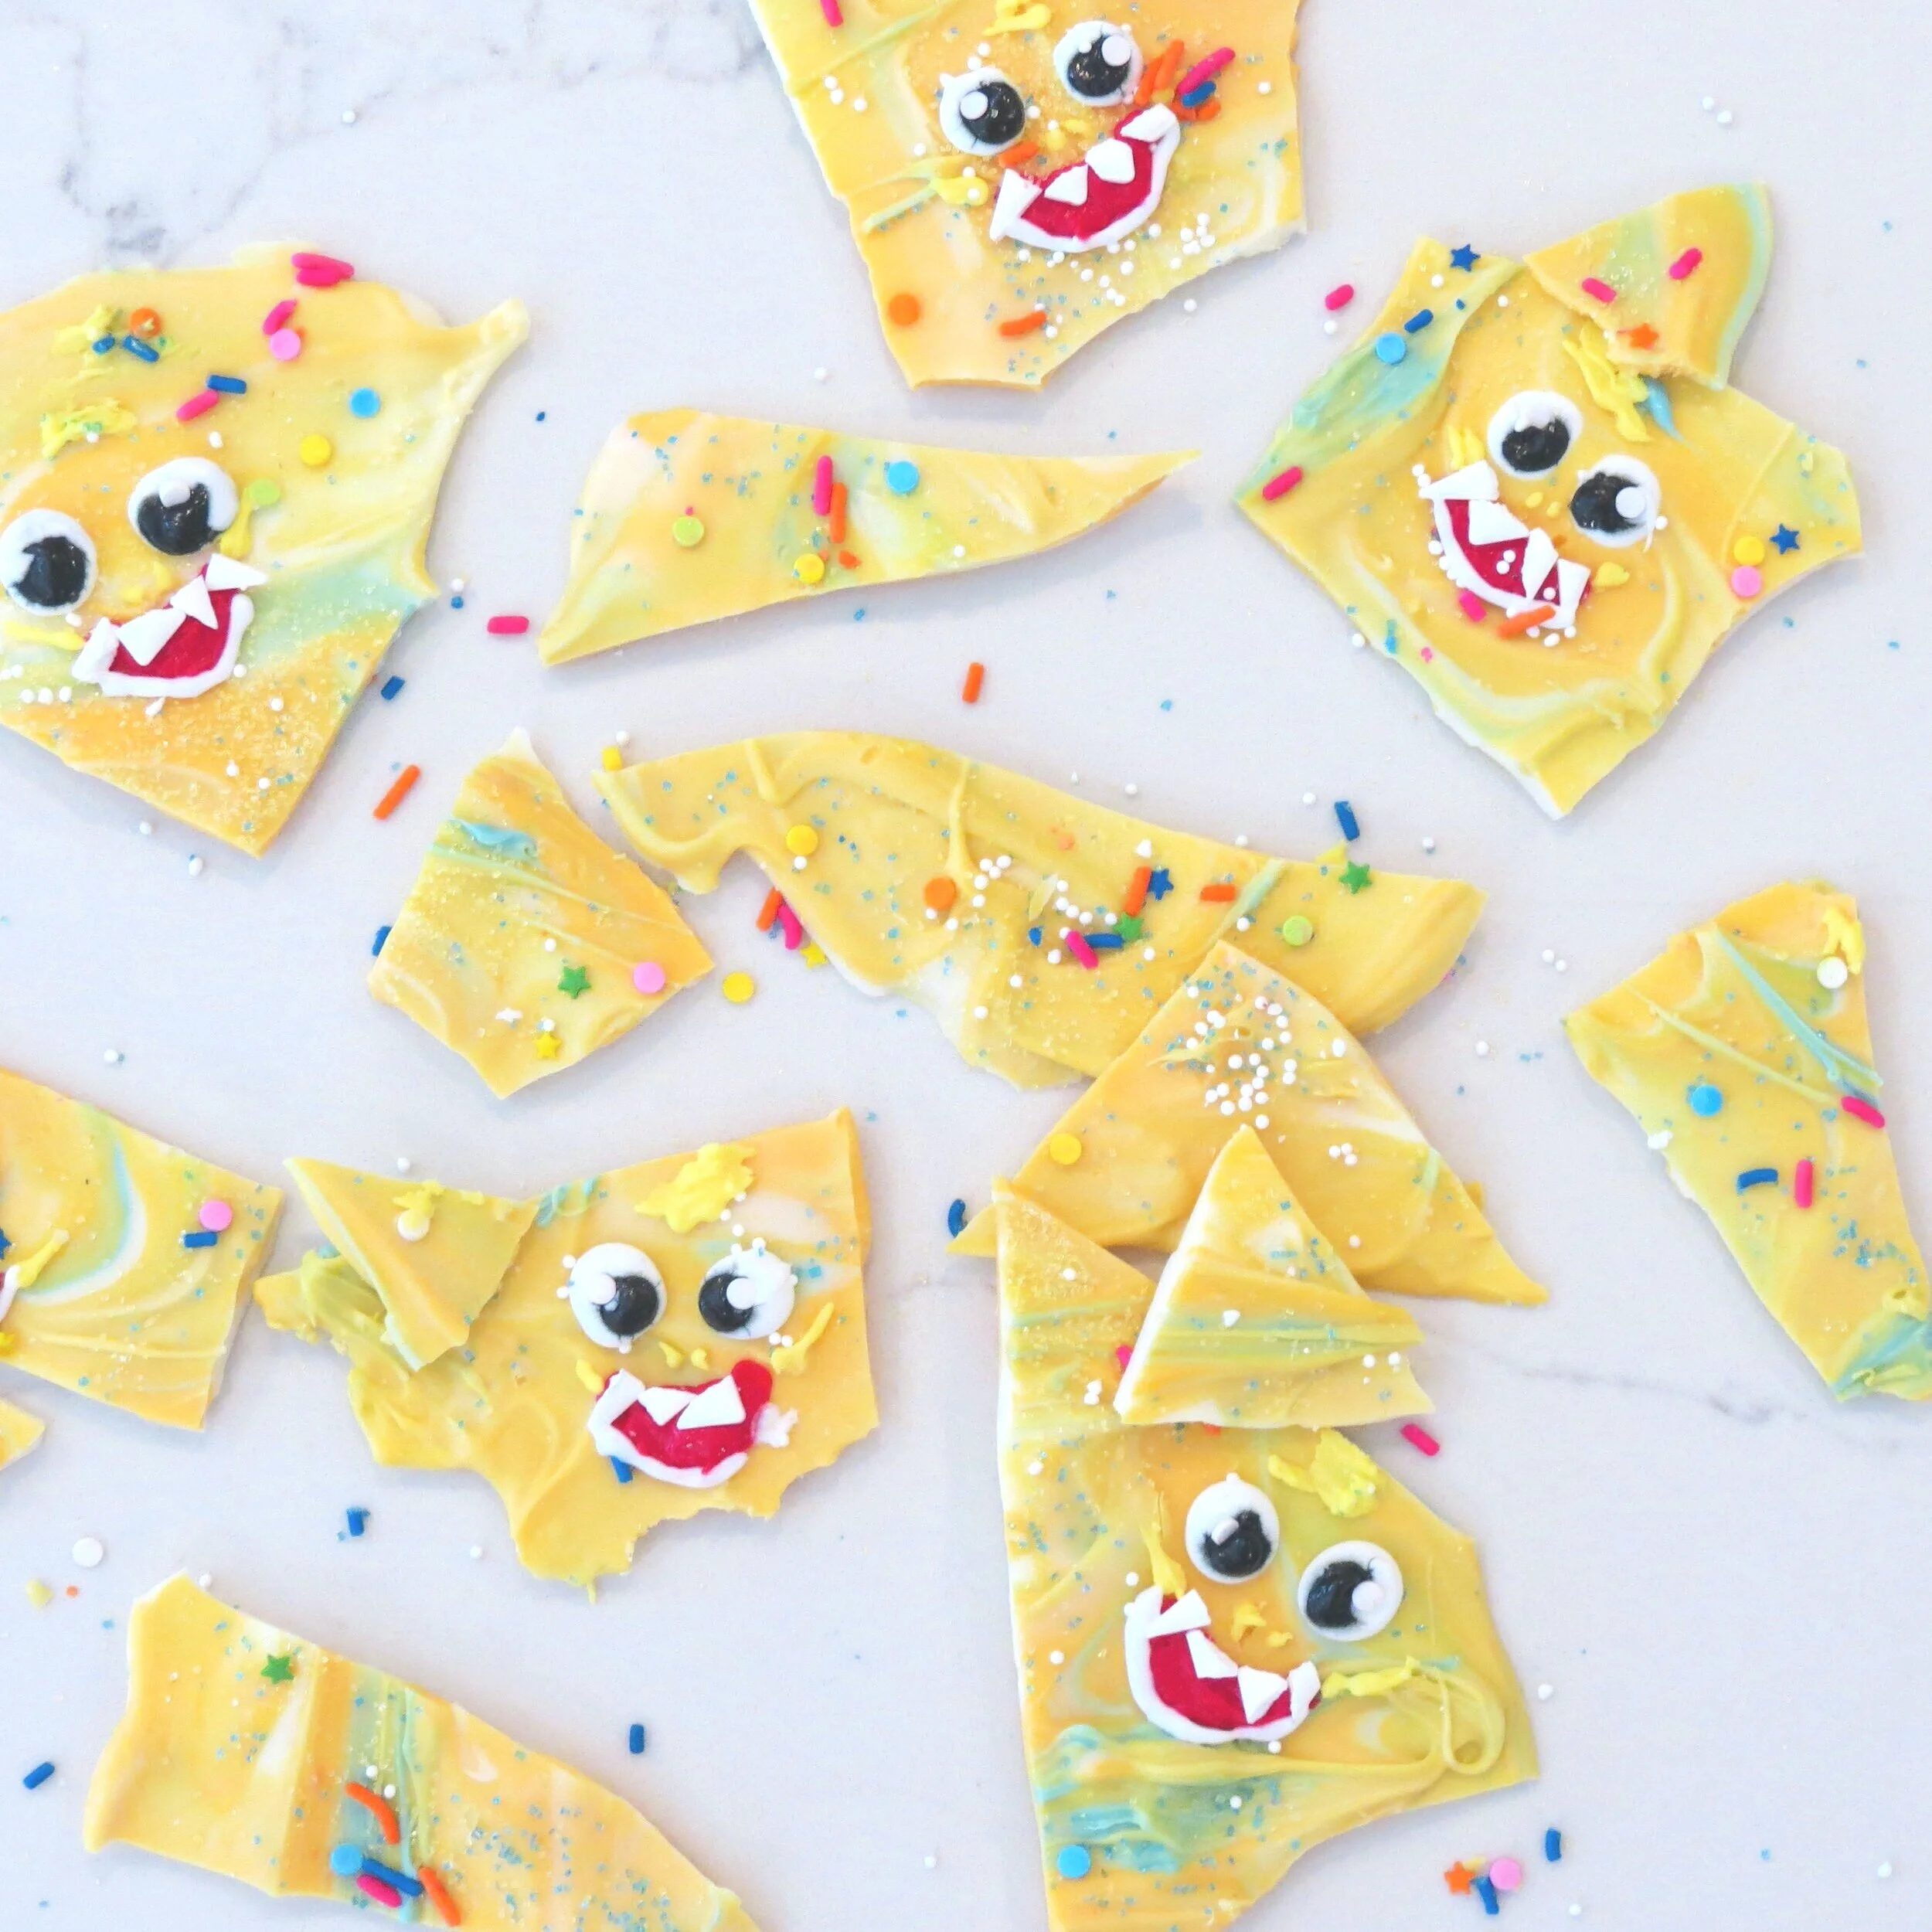


Shark Week wouldn’t be complete without an extra special treat! This turned out to be fun for both Vane and I. I’ve been wanting to make bark, but didn’t want to make any old unicorn bark and then it hit me. Baby Shark appeared on Nick Jr. and I thought, ah-ha “Baby Shark Bark” it is! It’s a relatively simple dessert to make. Drawing the faces is the most difficult part, but it’s kind of fun to see the quirkiness and differences in each of them. Who cares if they aren’t exact! I wasn’t exactly sure how and if I wanted to incorporate a fin, but I like how it turned out. The way I broke some of the bark into triangular pieces hint at a shark fin after all. Enjoy xo RCN
WHAT YOU NEED:
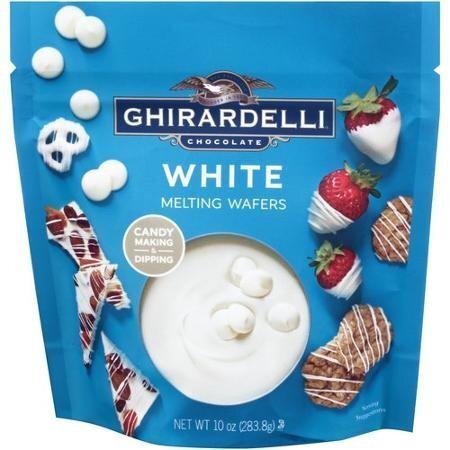
10oz bag white chocolate for melting. I used Ghirardelli white melting wafers.
Yellow and blue food coloring
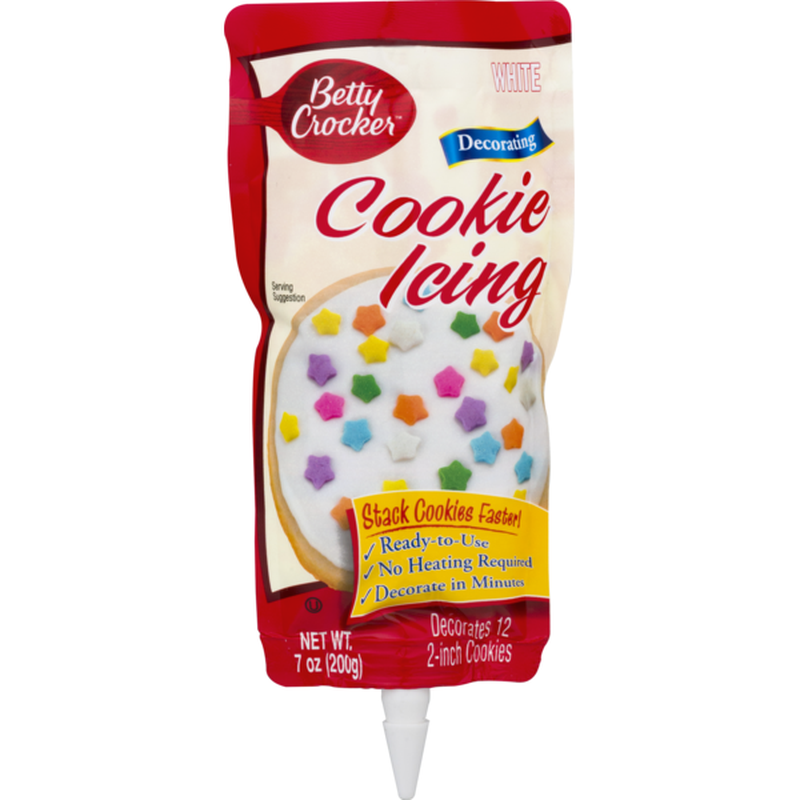
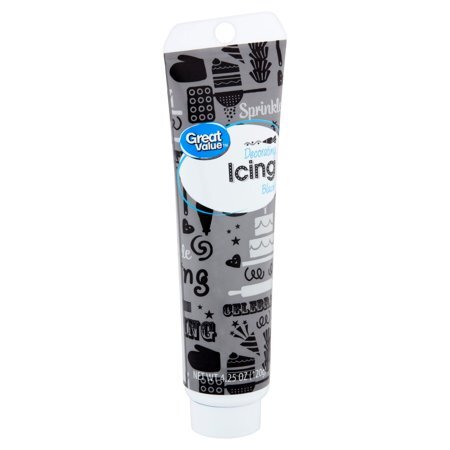
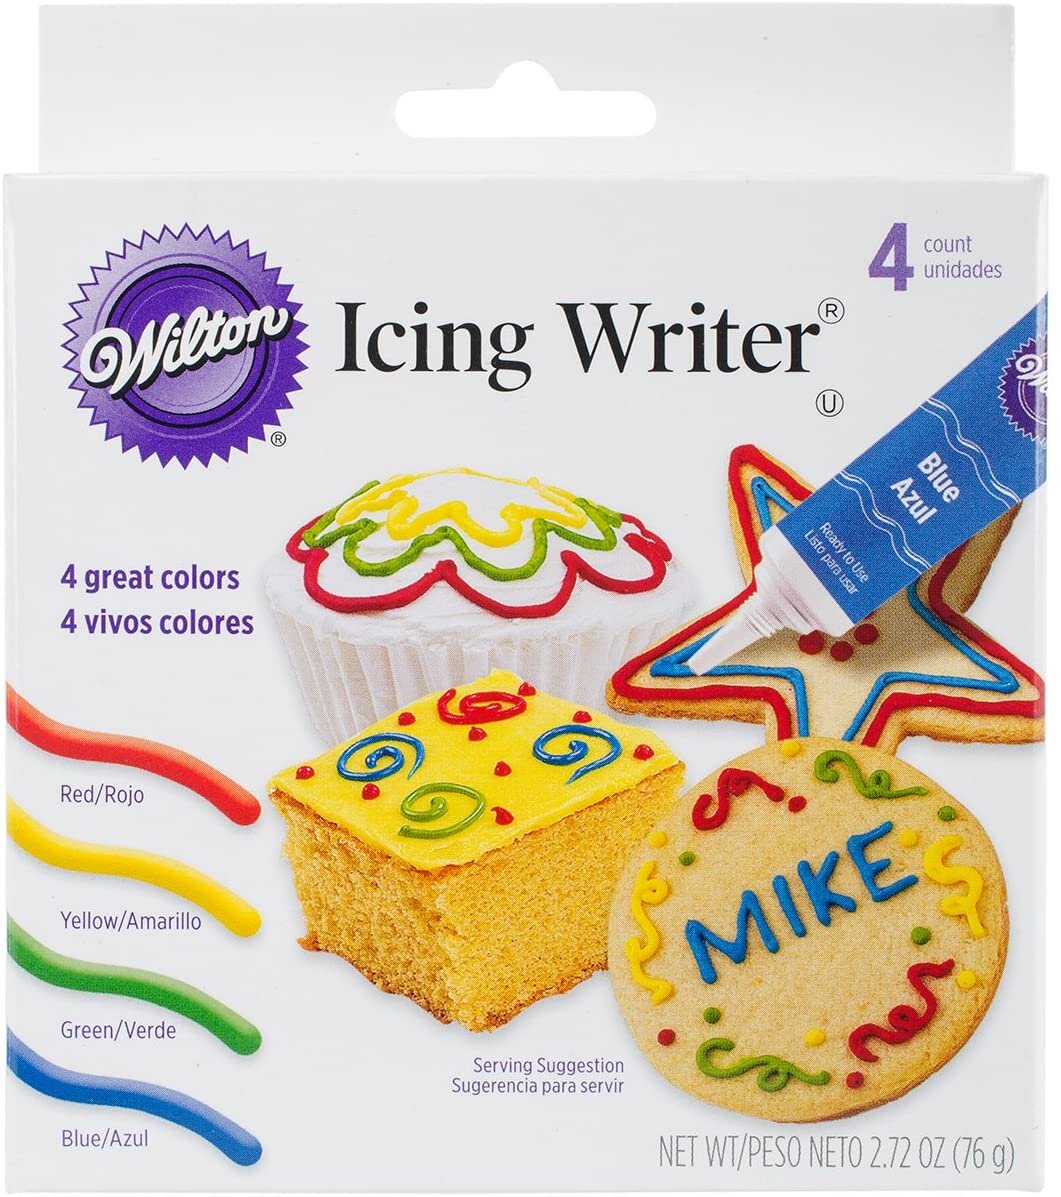
White, black, red and yellow cookie decorating icing. I used a mix from Wilton, Betty Crocker and Walmart brand, all linked below. I prefer icing decorating bags like the Betty Crocker version.
Decorative teeth - I used Wilton Halloween decorating candy I had left over from before and cut them into smaller uneven pieces. I’m not finding anything too similar available online, so if this is a tough one to get your hands on, use the decorating icing to create your own teeth!
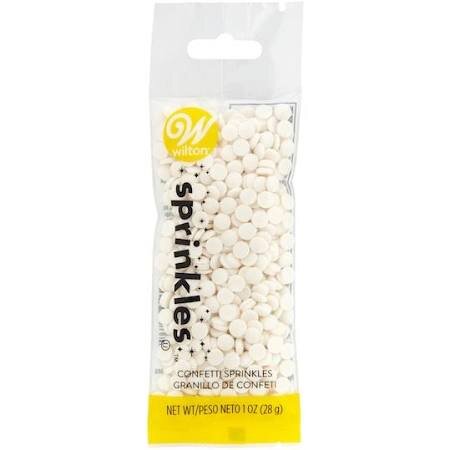
Rainbow sprinkles (in the family shark colors: yellow, pink, blue, orange and green) and blue, yellow and white sprinkles
Cookie tray
Parchment or tin foil
Spoons, forks, bowls for mixing and spreading
HOW TO:
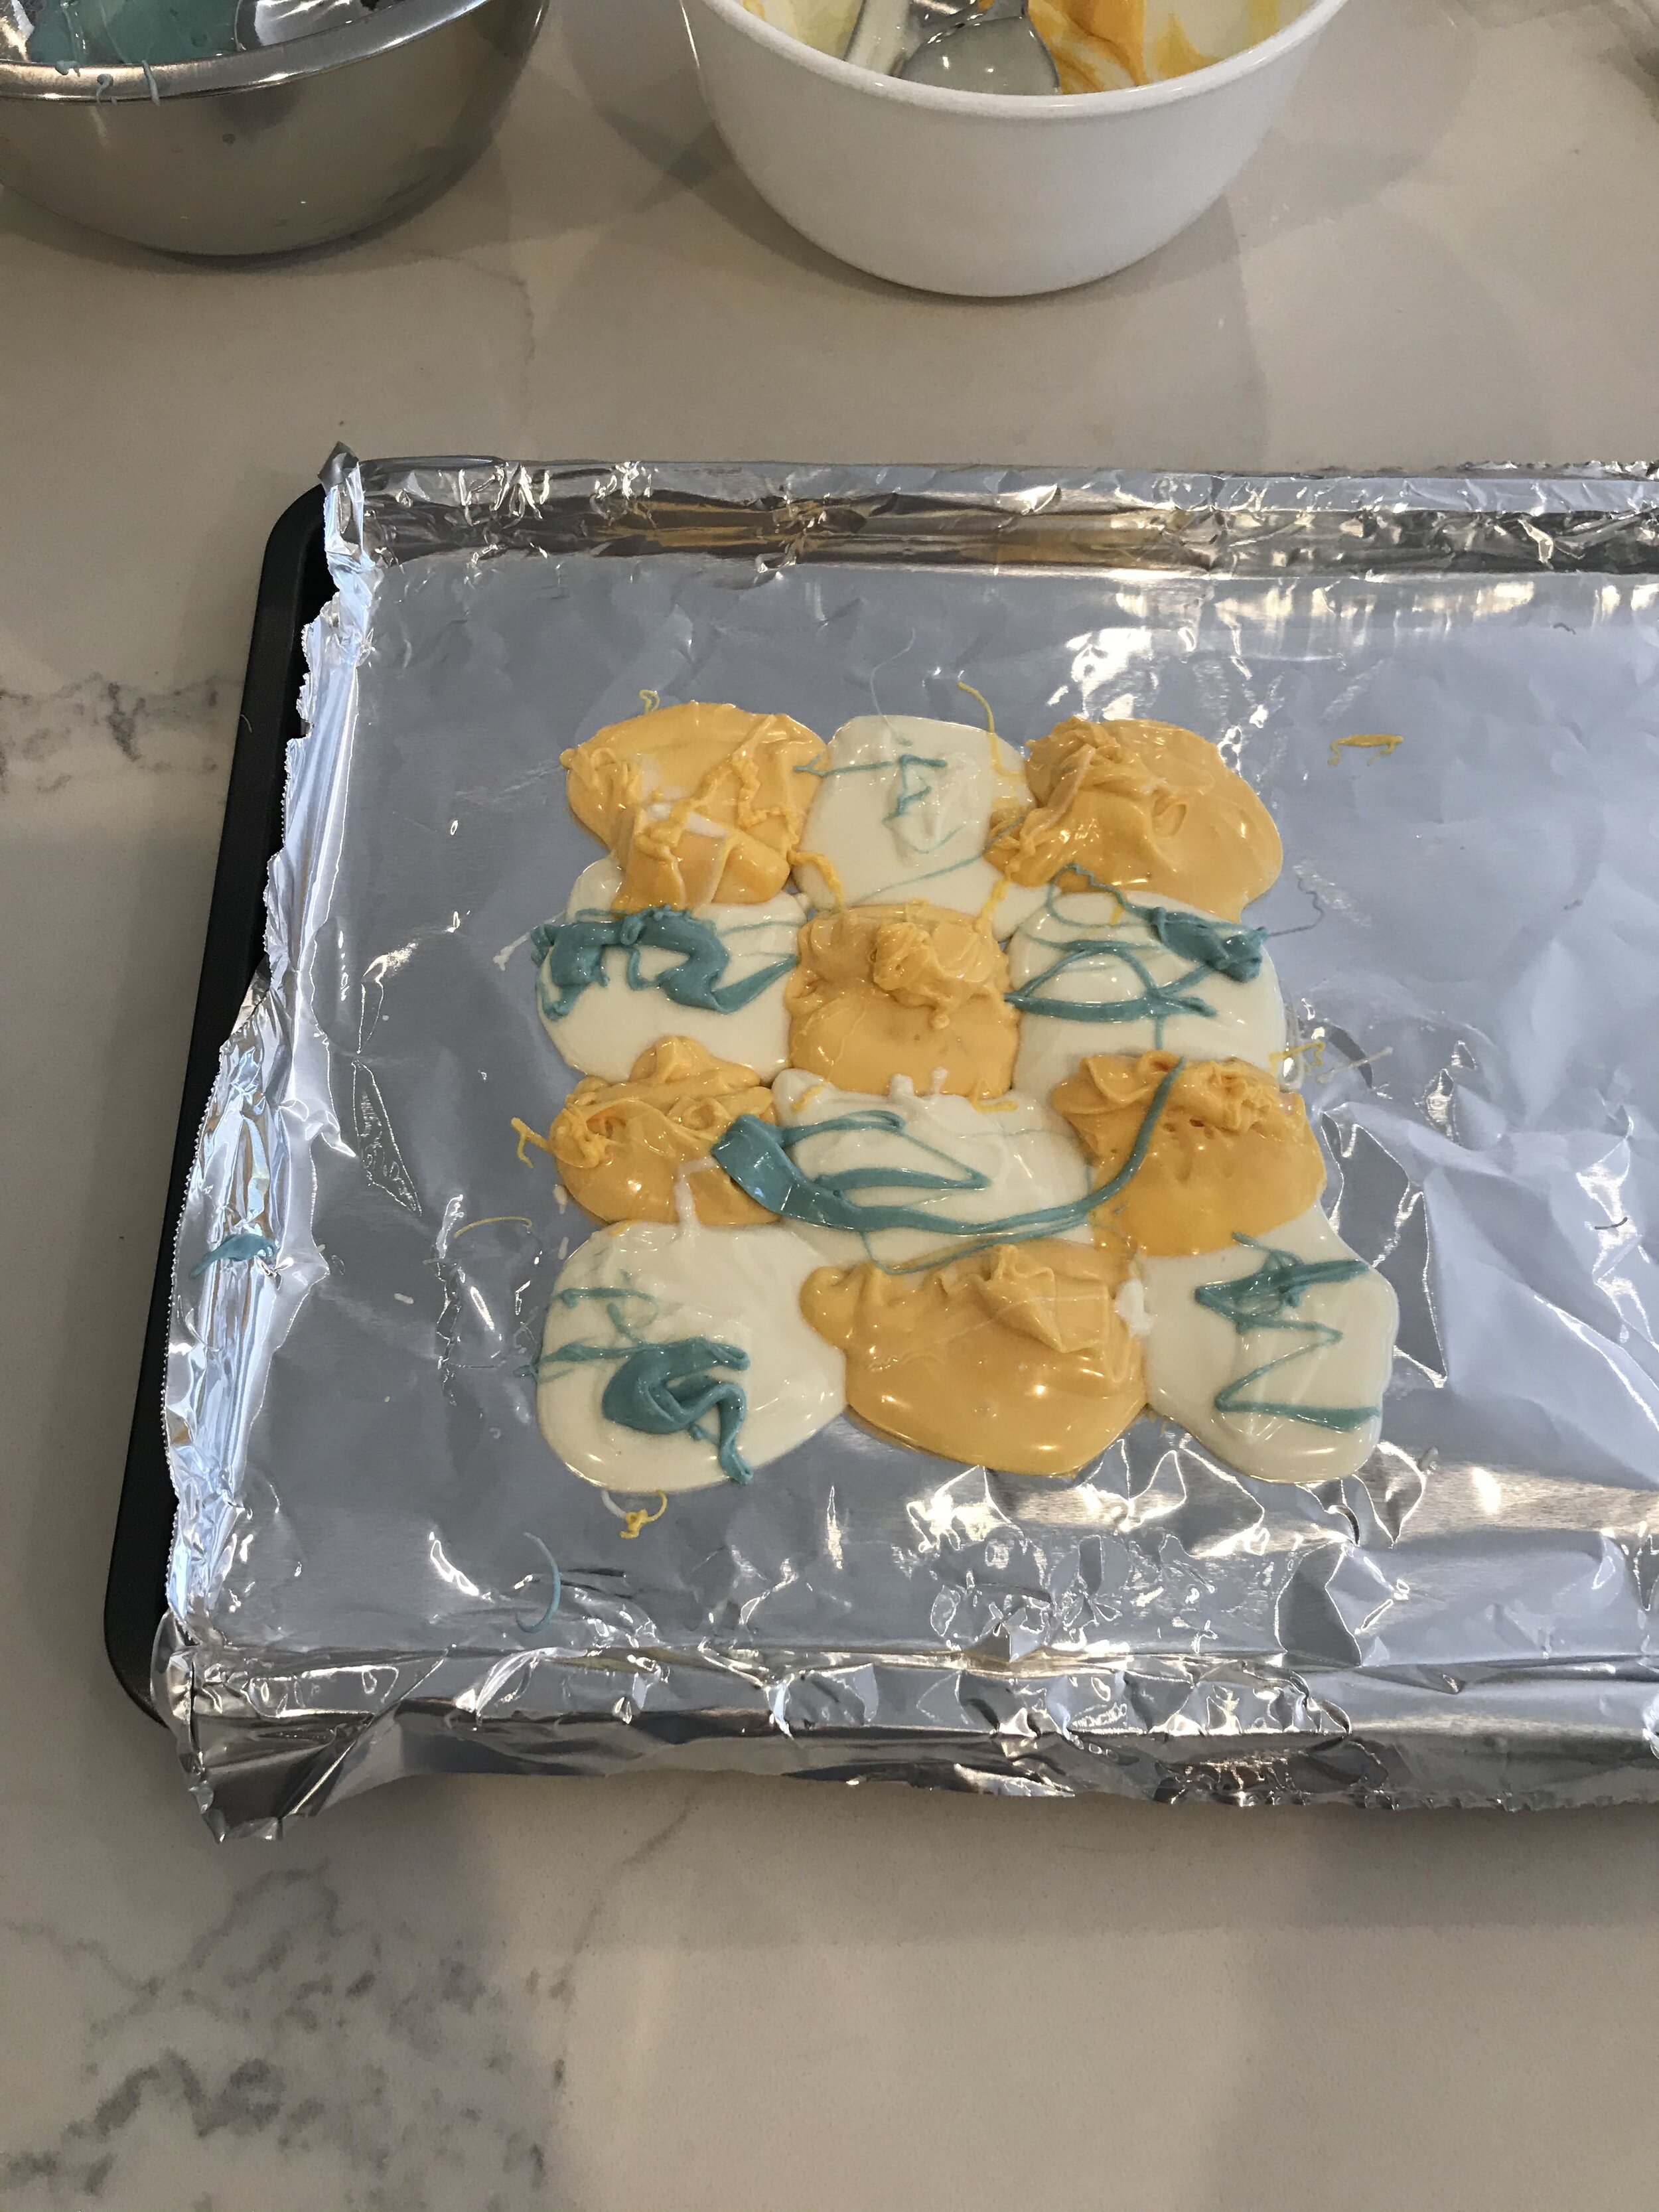
Melt the chocolate in double boiler or simply microwave. I dumped the melting chips into a microwave safe dish and microwaved on 30 seconds on medium power stirring with a fork and then continued to microwave in 15 second increments until the chocolate was melted evenly. It took me about one minute and 15 seconds. Then, separate chocolate into 3 bowls. Add about 4-6 drops yellow food coloring in one bowl and blue in another. I used more white and yellow chocolate than blue and suggest only dying a little chocolate blue for just a touch of a “water feel”. Scoop the yellow and white onto foil or parchment lined cookie tray in a checkerboard format. See Picture below. Once scooped, use spoon to spread, twirl and combine the colors. Lastly add in some streams of the blue on top of the yellow and white and again swirl in. You can’t go wrong with how you do this, swirl and twirl to your liking. Try to make the chocolate span out so the bark is at least 1/8” thick or more.
Onto decorating. Start with the sprinkles. Randomly disperse. Then, it’s time to re-create the character face. I pulled up an image of Baby Shark on my phone so I had it right in front of me. Use the royal icing and begin with eyes, white then black. Then Pipe red icing for mouth, place edible monster teeth on top. If you can’t find candy teeth, use icing instead. Add in two small yellow dots for nose. Go back and add white icing around mouth edge and place a mini round white coin shaped sprinkle on the black part of eye as a highlight.
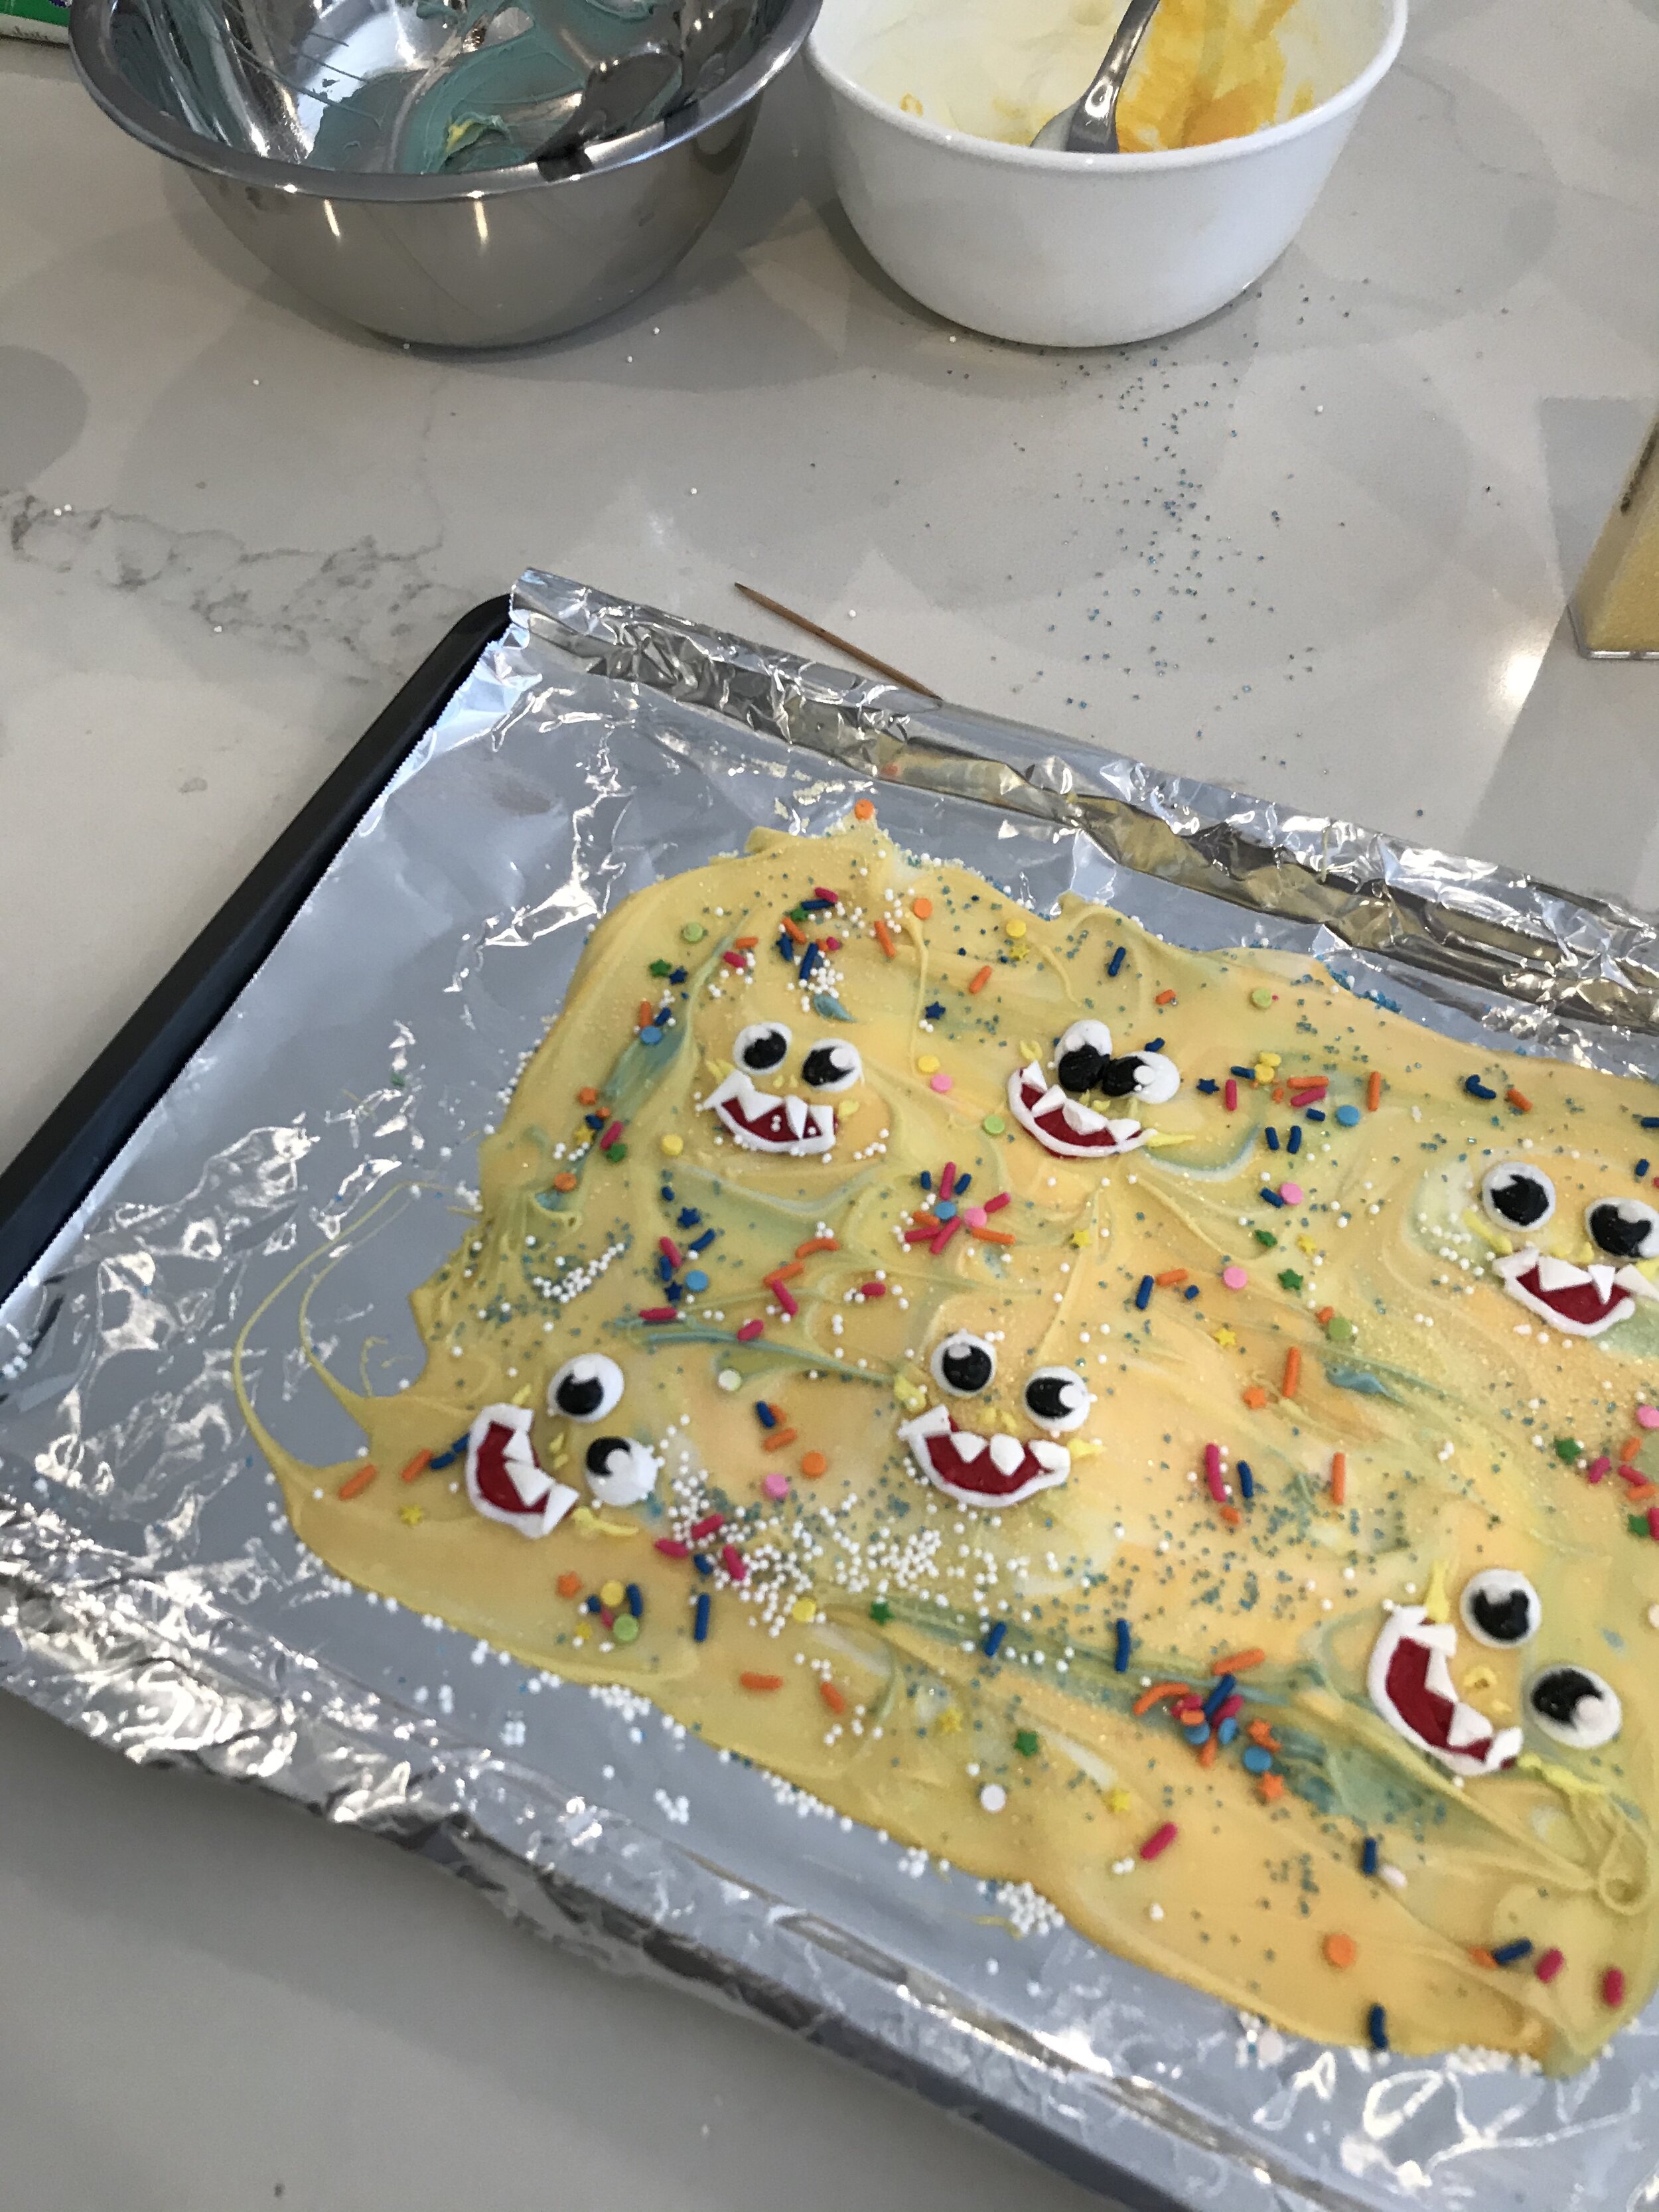
Let sit in refrigerator for up to an hour then gently remove from foil lined tray and break into sections. If you want to try and keep the faces together like I did, use one hand as a support underneath the bark face as you break it to keep it held firmly and prevent it from cracking where your hand is. You’ll know what I mean when you go to do this ;) I did have one face casualty, but no big deal!
And that’s a wrap do-do-do-do-do-do!