Baby Shark Bark

IMG_0922.jpg

Shark Week wouldn’t be complete without an extra special treat! This turned out to be fun for both Vane and I. I’ve been wanting to make bark, but didn’t want to make any old unicorn bark and then it hit me. Baby Shark appeared on Nick Jr. and I thought, ah-ha “Baby Shark Bark” it is! It’s a relatively simple dessert to make. Drawing the faces is the most difficult part, but it’s kind of fun to see the quirkiness and differences in each of them. Who cares if they aren’t exact! I wasn’t exactly sure how and if I wanted to incorporate a fin, but I like how it turned out. The way I broke some of the bark into triangular pieces hint at a shark fin after all. Enjoy xo RCN

WHAT YOU NEED:

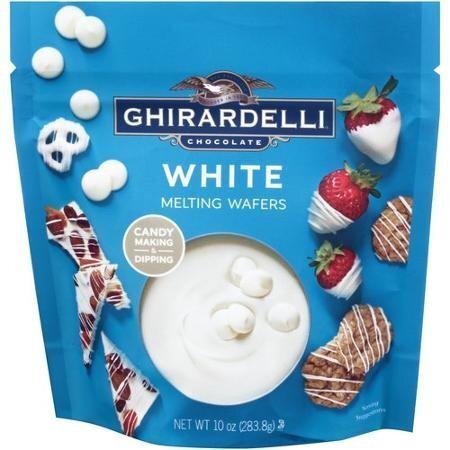
10oz bag white chocolate for melting. I used Ghirardelli white melting wafers.

Yellow and blue food coloring

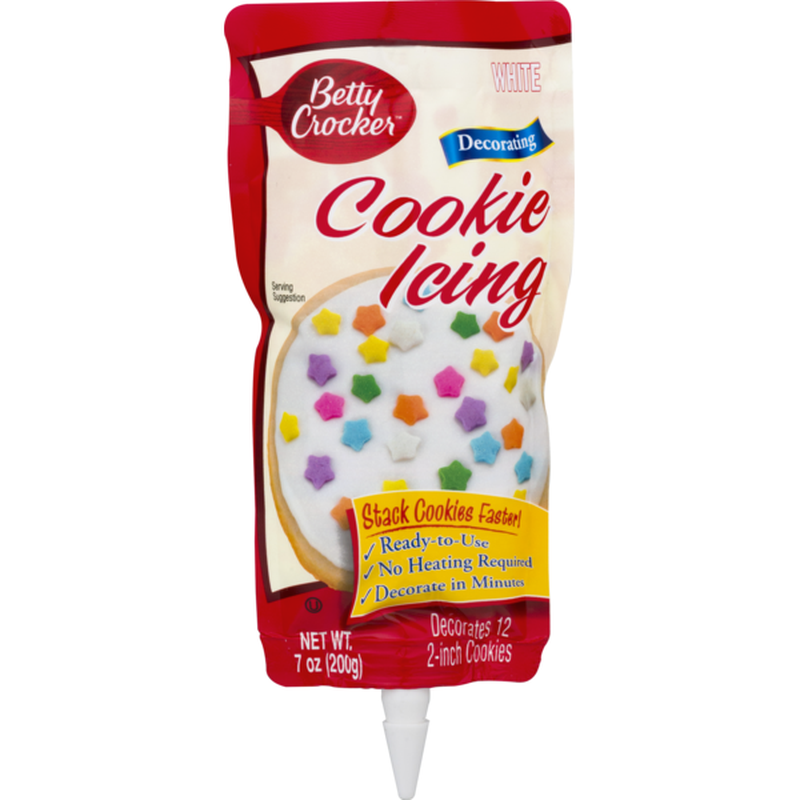
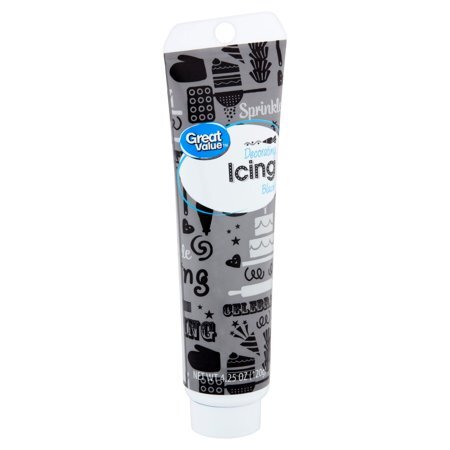
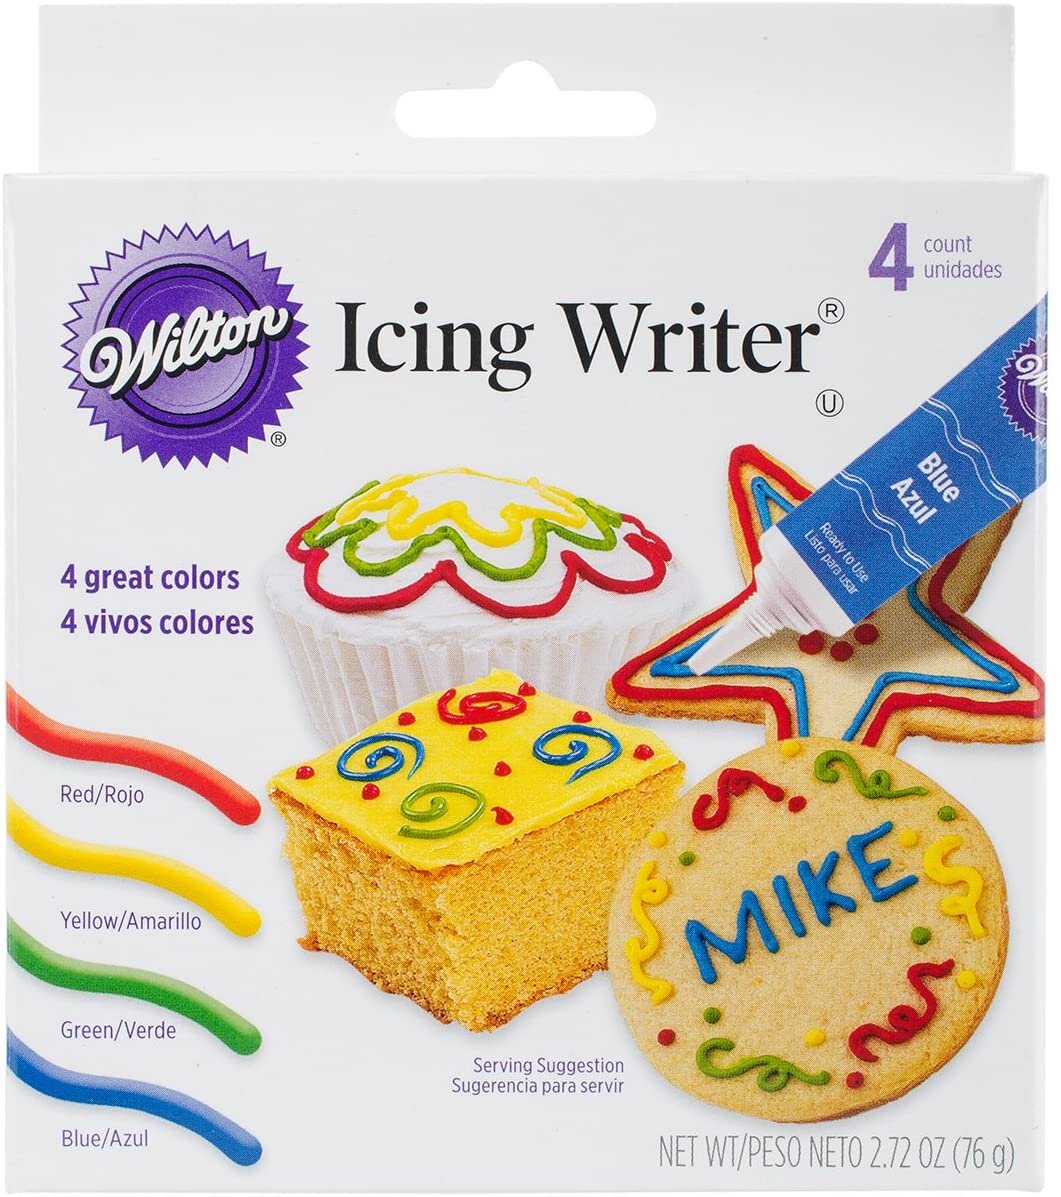
White, black, red and yellow cookie decorating icing. I used a mix from Wilton, Betty Crocker and Walmart brand, all linked below. I prefer icing decorating bags like the Betty Crocker version.

Decorative teeth - I used Wilton Halloween decorating candy I had left over from before and cut them into smaller uneven pieces. I’m not finding anything too similar available online, so if this is a tough one to get your hands on, use the decorating icing to create your own teeth!

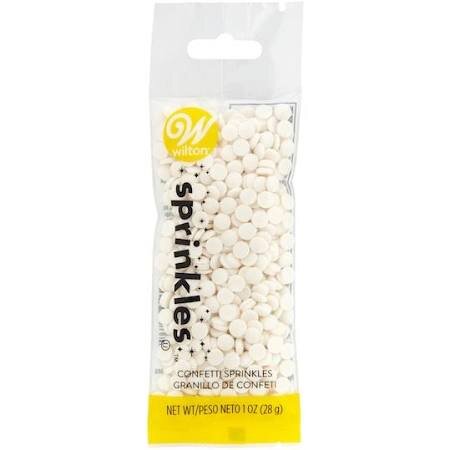
Rainbow sprinkles (in the family shark colors: yellow, pink, blue, orange and green) and blue, yellow and white sprinkles

Cookie tray

Parchment or tin foil

Spoons, forks, bowls for mixing and spreading

HOW TO:

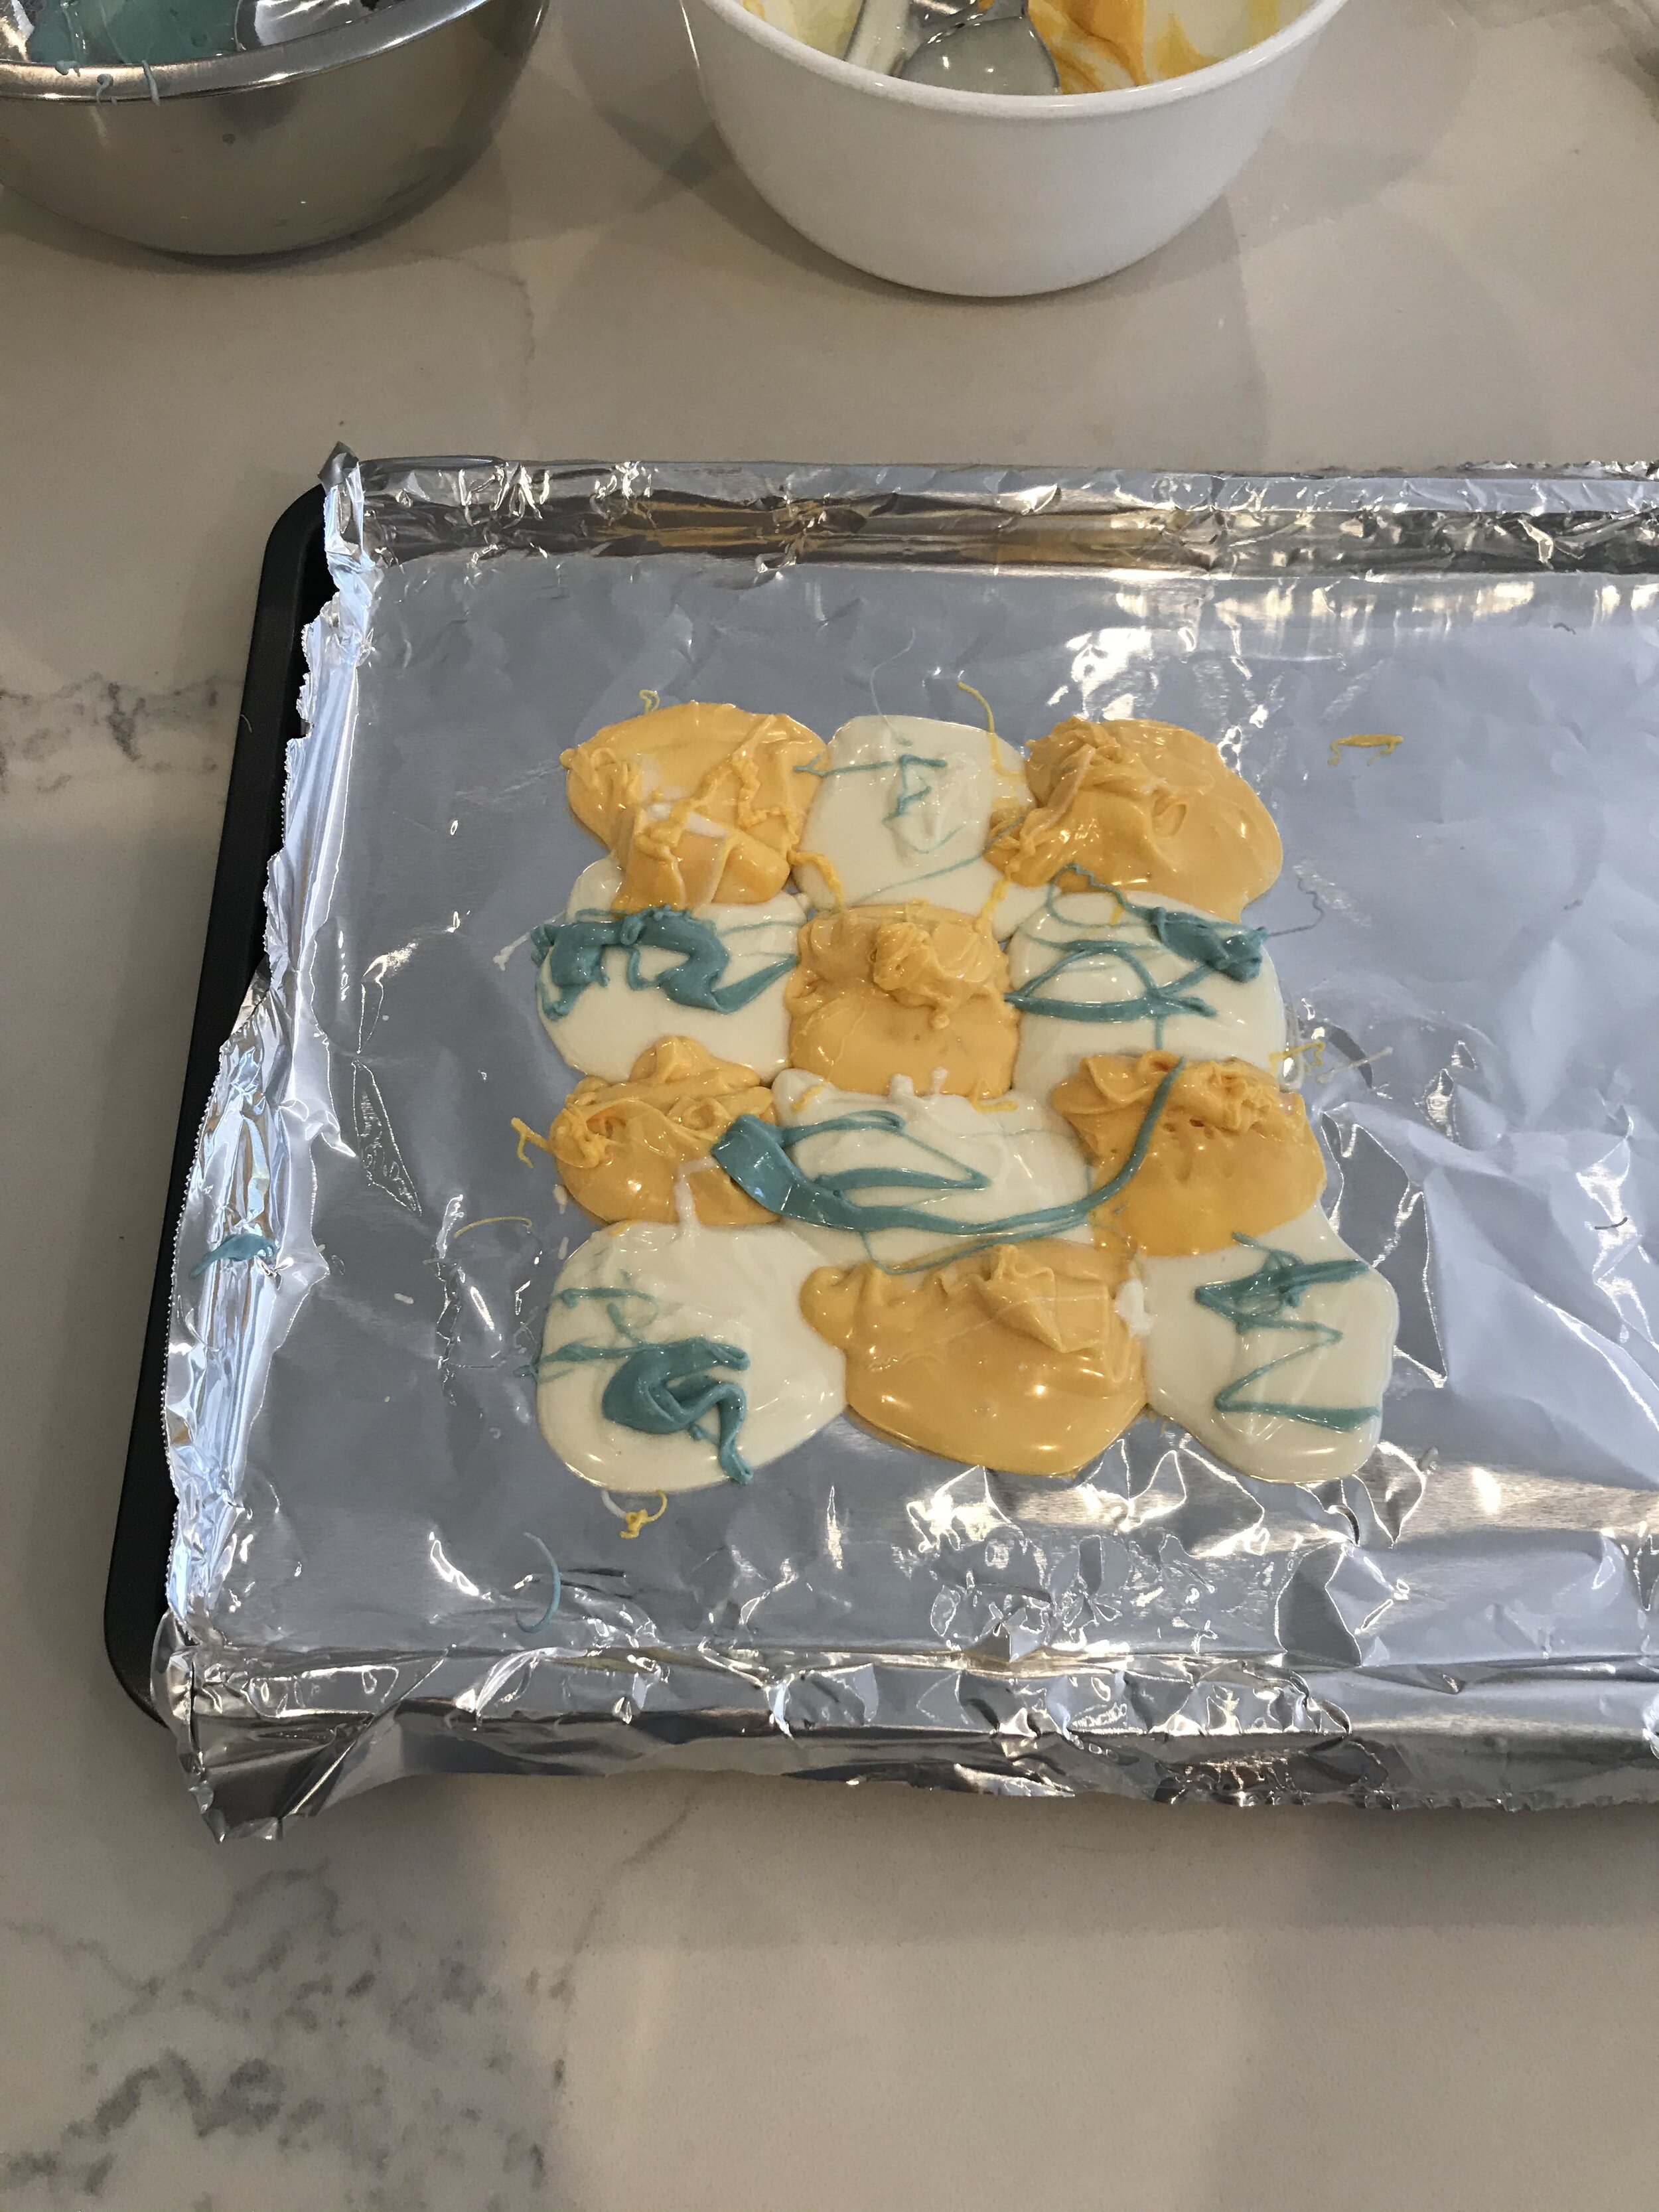
Melt the chocolate in double boiler or simply microwave. I dumped the melting chips into a microwave safe dish and microwaved on 30 seconds on medium power stirring with a fork and then continued to microwave in 15 second increments until the chocolate was melted evenly. It took me about one minute and 15 seconds. Then, separate chocolate into 3 bowls. Add about 4-6 drops yellow food coloring in one bowl and blue in another. I used more white and yellow chocolate than blue and suggest only dying a little chocolate blue for just a touch of a “water feel”. Scoop the yellow and white onto foil or parchment lined cookie tray in a checkerboard format. See Picture below. Once scooped, use spoon to spread, twirl and combine the colors. Lastly add in some streams of the blue on top of the yellow and white and again swirl in. You can’t go wrong with how you do this, swirl and twirl to your liking. Try to make the chocolate span out so the bark is at least 1/8” thick or more.

IMG_6947.jpg

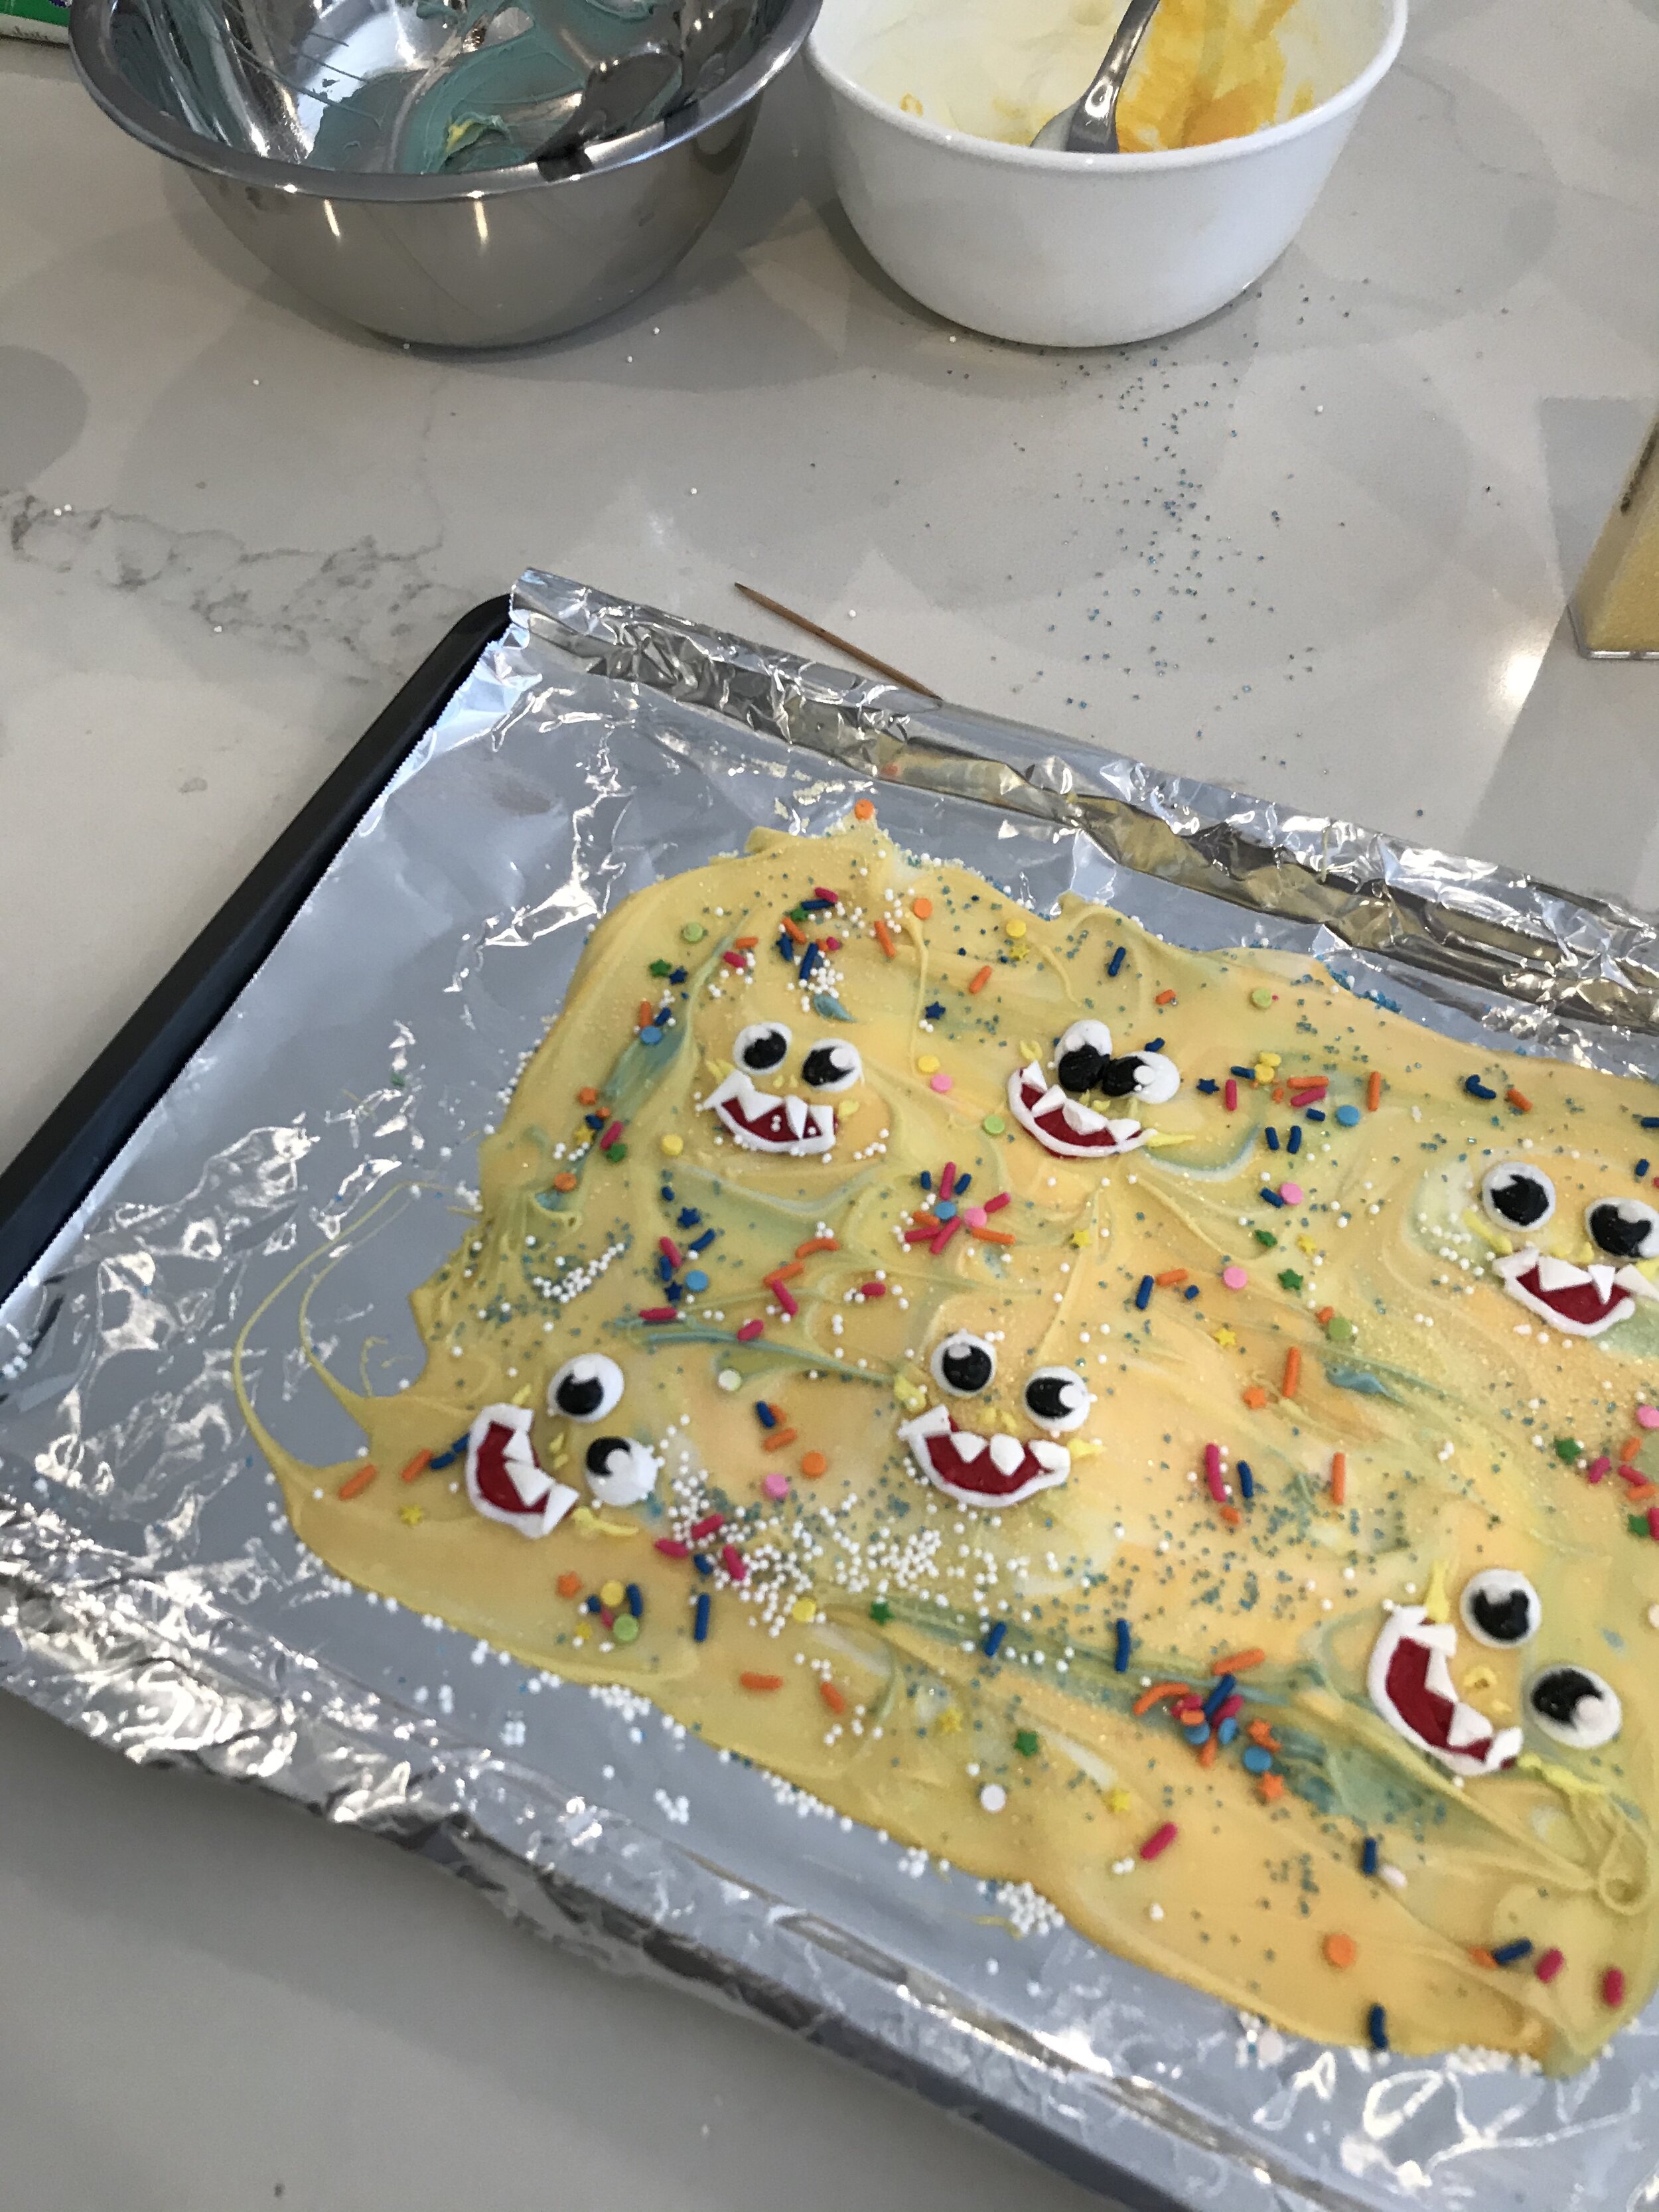
Onto decorating. Start with the sprinkles. Randomly disperse. Then, it’s time to re-create the character face. I pulled up an image of Baby Shark on my phone so I had it right in front of me. Use the royal icing and begin with eyes, white then black. Then Pipe red icing for mouth, place edible monster teeth on top. If you can’t find candy teeth, use icing instead. Add in two small yellow dots for nose. Go back and add white icing around mouth edge and place a mini round white coin shaped sprinkle on the black part of eye as a highlight.

IMG_6949.jpg

Let sit in refrigerator for up to an hour then gently remove from foil lined tray and break into sections. If you want to try and keep the faces together like I did, use one hand as a support underneath the bark face as you break it to keep it held firmly and prevent it from cracking where your hand is. You’ll know what I mean when you go to do this ;) I did have one face casualty, but no big deal!

And that’s a wrap do-do-do-do-do-do!

IMG_0897.jpg
IMG_0901.jpg
IMG_0932.jpg
 

Lemon Macarons

IMG_5127.jpg

French macarons are one of my absolute favorite desserts. I have been wanting to try and make them for years, and just haven’t. Until now! Quarantine has me baking like nobody’s business. Turns out my new lemon tree is the perfect ingredient to a nice fresh baked lemon macaron.

For starters, I scoured the internet for any and all macaron recipes, read reviews, asked for tips on baking from others, etc. Finally, I decided to narrow in on this lemon recipe from Pies & Tacos. I made some minor adjustments like amounts of lemon zest in the curd or bake time which varies based on oven, etc. I added my own little touch to decorating with some white cookie icing, yellow sprinkles and lemon leaves straight from the backyard tree.

I strongly suggest this recipe. See below for a few tips of my own. These macarons are absolutely delightful. And the lemon curd + buttercream filling to die for! Enjoy xo RCN

IMG_5128.jpg
IMG_5129.jpg
IMG_5126.jpg

Some tips:

  1. The Pies & Tacos video is super helpful. I watched in segments pausing, rewinding here and there in order to follow along as closely as possible as I mixed all ingredients, etc. Follow along with recipe instructions here.

  2. Let piped macarons sit for at least 20 minutes before going into oven.

  3. If using one tray only, just bake straight through, took me roughly 12 minutes until macarons were complete

  4. I used a pre-marked macaron silicone mat. Only pipe just up to the circular border otherwise macarons will be too large and merge with it’s neighbor on the mat. Also place mat onto a cookie tray - no spraying or pre-treating necessary

  5. Add as much or as little food coloring as you wish, same goes for zest in the curd, though some is preferred.

    Ingredients:

    Macaron batter

    3 egg whites

    1/2 cups granulated sugar

    1 cup almond flour

    3/4 cup powdered sugar

    1 drop of yellow food coloring

    Lemon Curd filling

    3 tablespoons lemon zest - I used about 1 1/2 TBSP

    1/4 cup lemon juice

    1/3 cup granulated sugar 

    3 tablespoons unsalted butter room temperature

    2 large eggs

    1/8 teaspoon salt

    Buttercream

    1 1/3 cups confectioners' sugar sifted

    4 tablespoons unsalted butter softened

    1 teaspoon vanilla extract

    1/2 -1 tablespoon whipping cream as necessary

    1/2 tablespoon lemon zest optional


Spring Shortbread Cookies

My favorite cookie at Christmas is the Raspberry Jam Shortbread recipe you can find here on my blog. Since I love them so much, I decided I wanted to come up with a seasonal version for Spring, Summer and Fall. First up, Spring! Enjoy xo RCN

INGREDIENTS:

¾ cup unsalted butter, softened

½ cup confectioners’ sugar

¼ teaspoon (1 gram) vanilla extract

1½ cups all-purpose flour

½ teaspoon fresh lemon juice

¼ teaspoon kosher salt

2 tablespoons granulated sugar

1 egg white

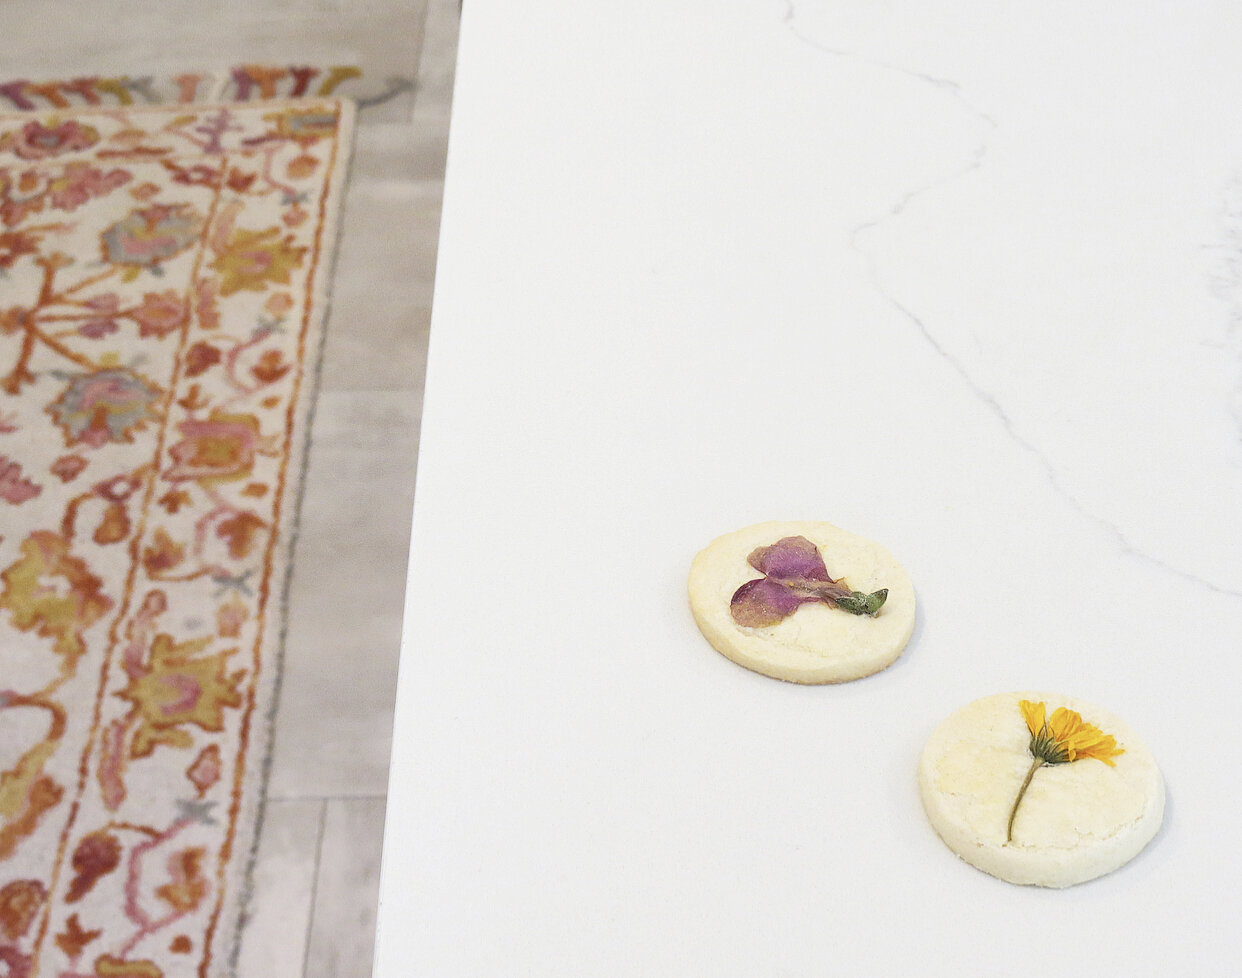
Edible Flowers, I used 2 packs of That’s Tasty from WholeFoods which gave me enough to pick apart and create unique designs with different petals and stems.

INSTRUCTIONS:

In a stand mixer with paddle attachment beat butter, confectioner’s sugar, and vanilla at medium speed until creamy about 2-3 minutes. Stop every so many seconds to scrape mixture off sides of mixing bowl.

In another medium size bowl, sift together flour, lemon juice, and salt. Reduce mixer speed to low. Slowly and gradually add flour mixture to butter mixture. Beat until combined. Divide dough in half, and wrap in plastic wrap. Refrigerate until dough is hardened, about 45 minutes. Leave 1/2 of dough in fridge while you work on first batch of cookies.

Preheat oven to 350°F (180°C). Line 2 baking sheets with parchment paper.

Add flour to rolling pin and surface. Begin rolling 1/2 of dough. Gently roll back and forth until dough is about 1/4” thick. I used a 2” round cookie cutter that gave me about 2 dozen cookies.

HINT: Add flour to surface as you continue rolling out dough. If dough continues to flake apart or stick to rolling pin, don’t be afraid to gather dough back together and pound out flat with hands rather than with pin. I used a combination of my hands and the rolling pin to get all the cookies rolled out and cut.

Brush a thin layer of egg white onto the tops of cookies to help the flowers stick. Separate out flowers any which way you would like and place onto cookie. Gently push flowers into the cookie to help it lay flat.

Bake for about 10 minutes or until cookies become the slightest bit golden on edges. Cookies should just be set, still appear light in color and edges barely colored. The flower petals do shrink in size quite a bit, especially the pansy petals, but I was still happy with the rustic appearance. Let cookies cool completely on pans. Then, Enjoy!


Raspberry Jam Shortbread Cookies

I discovered this recipe on Instagram and so glad I did. The original can be found on thefeedfeed.com. I made a few additions to the recipe like adding powdered sugar on top and I swapped out the cherry preserves for raspberry. These cookies are truly incredible and my new absolute favorite Christmas cookie. Enjoy!

INGREDIENTS:

¾ cup unsalted butter, softened

½ cup confectioners’ sugar

¼ teaspoon (1 gram) vanilla extract

1½ cups all-purpose flour

½ teaspoon fresh lemon juice

¼ teaspoon kosher salt

2 tablespoons granulated sugar

¼ cup or more of raspberry preserves

INSTRUCTIONS:

In a stand mixer with paddle attachment beat butter, confectioner’s sugar, and vanilla at medium speed until creamy about 3 minutes. Stop every minute or so to scrape mixture off sides of mixing bowl.

In another medium size bowl, sift together flour, lemon juice, and salt. Reduce mixer speed to low. Slowly and gradually add flour mixture to butter mixture. Beat until combined. Divide dough in half, and wrap in plastic wrap. Refrigerate for at least 2 hours or overnight.

Preheat oven to 350°F (180°C). Line 2 baking sheets with parchment paper.

On a lightly floured surface, roll half of dough to ⅛-inch to ¼-inch thickness. Use a 2-3” cookie cutter of choice cut dough into 14 cookies. Reroll dough scraps as few times as possible.

HINT: Add flour to surface as you continue rolling out dough. If dough continues to flake apart or stick to rolling pin, don’t be afraid to gather dough back together and pound out flat with hands rather than with pin. I used a combination of my hands and the rolling pin to get all the cookies rolled out and cut.

With remainder of dough cut another 14 cookies out. Then, using a smaller cookie cutter, cut centers from 14 of the cookies. Place 1 inch apart on prepared pans. Sprinkle cookies with granulated sugar.

Bake for about 8-10 minutes. Cookies should just be set, still appear light in color and edges barely browned. Let cool completely on pans. Spread about 1 teaspoon raspberry preserves on flat side of all solid cookies. Place cookies with cutouts, onto flat surface and sift powdered sugar ontop. Gently place powdered cut out cookies on top of flat cookies with jam. Place back into oven for 2-3 minutes. Let cool and package in airtight container. Enjoy, these are delish!


Vanilla Birthday Cake

This week is, for sure, a special Birthday week in our family. My little, and youngest, sister Shaina, turns 21 today!! That's an exciting year to celebrate. When I see her on Sunday, I either want to make her a cake as pretty as the one I made yesterday for my BFF Colleen's 30th Birthday, OR we are going out for Rita's water ice, and i'll spike her water ice with Vodka ;) My one and only niece, Genevieve, celebrates her birthday tomorrow! So many birthdays, and all for the ones I love dearly. I absolutely love making Birthday cakes. Yesterday, I attempted my first Naked cake. If you haven't already heard the term, you likely have seen a naked cake and didn't know that's what it is called. It's when a layer cake is exposed, and the filling and frosting only coats the edges of the cake where the cake layers meet and sometimes (like this cake) the surface edges are thinly and sparingly coated with a little of the frosting. It has been a wedding cake trend for a while now, but finally I made one of these rustic and natural beauties for a Birthday. To top off the prettiness, I cut some fresh flowers and leaves to decorate the top. The cake turned out to be as delicious as pretty. See Country Living's recipe below (or click HERE) for vanilla cake and my buttercream frosting. I wrote in some basic directions on creating the perfect 4 1/2" round naked cake. Happy Birthday S, G, & C! xo RCN

Cake Ingredients:

1½ c. sifted cake flour

1½ tsp. baking powder

¼ tsp. salt

½ c. unsalted butter

1 c. sugar

2 large eggs

½ tsp. vanilla extract

½ c. whole milk

Buttercream Frosting Ingredients:

Mix and combine all ingredients until it becomes a smooth frosting texture.

3 cups powdered sugar, sifted

1/3 cups butter, softened

3 tablespoons milk

Baking Directions:

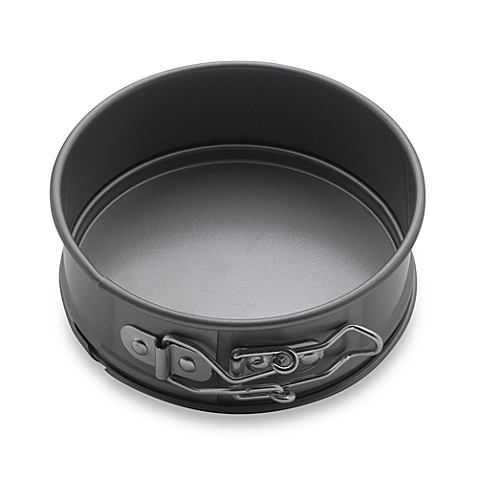
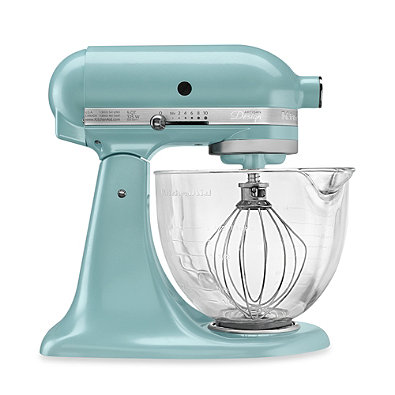
Heat the oven to 400 degrees F. Lightly coat four 4 1/2" cake pans (I used spring form) with butter and dust with all-purpose flour. Sift the cake flour, baking powder, and salt into a large mixing bowl. Place mixture in electric stand mixer with whisk attachment. Beat in the butter one 1/4 teaspoon. Mix on low speed until the mixture resembles coarse sand (may be a 'bit larger grains than sand). Next, beat in sugar one tablespoon at a time, until the mixture resembles fine damp sand. Beat in the eggs one at a time. Add the vanilla and milk, and beat on medium-high, just until blended. Do not overbeat. Pour equally into four 6" cake pans. Bake for about 30 minutes, until toothpick inserts at center of cake and pulls out smoothly without wet batter. Remove from oven and let sit for a few minutes. Remove from cake pans and set to completely cool on wire rack.

Assembling and Decorating Directions:

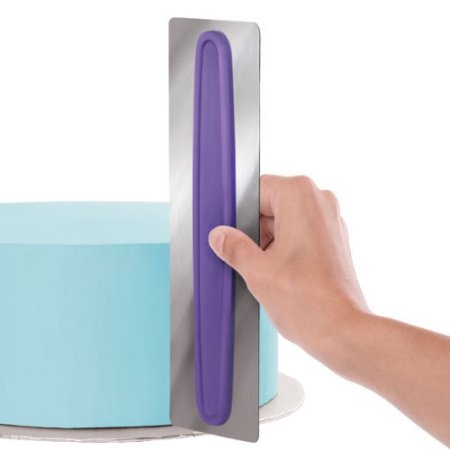
First, decide what cake stand or platter you want to use to display your cake, set aside. Once cakes are cool, trim off the dome of each mini cake with a serrated bread knife. The goal is to cut the tops off each cake to create flat surfaces that will allow you to easily stack each cake on one  another. Grab cake stand or plate and buttercream frosting. Place a smudge of frosting at center of plate. Grab one layer of cake and place centered on the frosting on plate, push down to help secure the cake. Cover the top surface of the cake layer with about a 1/2 inch of frosting, frost all the way to edge of cake, its even better to let a little hang off the edge. Place next layer on top of first layer. Continue all steps until you reach your 4th layer. Frost the top of the cake and smooth the top surface. Take an icing smoother, link below, and smooth out all edges of the frosting insides of cake. Continue using edge all around the sides of the cake and at all layers of the cake to smooth and spread a random and sparing amount of frosting on the cakes exterior, just like images below. Lastly, cut fresh flowers, leaving no stem for small flowers, and a tiny stem on big flowers (bigger flowers may shift more so a little stem allows you to stick more firmly into cake and frosting). Leave stems on leaves as well, as they will be the last decoration to add, underneath flowers and you will need stem to stick in from underneath flowers. That's it! 

 
Source: http://www.countryliving.com/food-drinks/r...