Raspberry Jam Shortbread Cookies

I discovered this recipe on Instagram and so glad I did. The original can be found on thefeedfeed.com. I made a few additions to the recipe like adding powdered sugar on top and I swapped out the cherry preserves for raspberry. These cookies are truly incredible and my new absolute favorite Christmas cookie. Enjoy!

INGREDIENTS:

¾ cup unsalted butter, softened

½ cup confectioners’ sugar

¼ teaspoon (1 gram) vanilla extract

1½ cups all-purpose flour

½ teaspoon fresh lemon juice

¼ teaspoon kosher salt

2 tablespoons granulated sugar

¼ cup or more of raspberry preserves

INSTRUCTIONS:

In a stand mixer with paddle attachment beat butter, confectioner’s sugar, and vanilla at medium speed until creamy about 3 minutes. Stop every minute or so to scrape mixture off sides of mixing bowl.

In another medium size bowl, sift together flour, lemon juice, and salt. Reduce mixer speed to low. Slowly and gradually add flour mixture to butter mixture. Beat until combined. Divide dough in half, and wrap in plastic wrap. Refrigerate for at least 2 hours or overnight.

Preheat oven to 350°F (180°C). Line 2 baking sheets with parchment paper.

On a lightly floured surface, roll half of dough to ⅛-inch to ¼-inch thickness. Use a 2-3” cookie cutter of choice cut dough into 14 cookies. Reroll dough scraps as few times as possible.

HINT: Add flour to surface as you continue rolling out dough. If dough continues to flake apart or stick to rolling pin, don’t be afraid to gather dough back together and pound out flat with hands rather than with pin. I used a combination of my hands and the rolling pin to get all the cookies rolled out and cut.

With remainder of dough cut another 14 cookies out. Then, using a smaller cookie cutter, cut centers from 14 of the cookies. Place 1 inch apart on prepared pans. Sprinkle cookies with granulated sugar.

Bake for about 8-10 minutes. Cookies should just be set, still appear light in color and edges barely browned. Let cool completely on pans. Spread about 1 teaspoon raspberry preserves on flat side of all solid cookies. Place cookies with cutouts, onto flat surface and sift powdered sugar ontop. Gently place powdered cut out cookies on top of flat cookies with jam. Place back into oven for 2-3 minutes. Let cool and package in airtight container. Enjoy, these are delish!


Key Lime Bars

If you love a little sour and a little sweet, then this is the perfect dessert for you. I am a big fan of key lime pie. My favorite is from Joe's Stone Crab, in South Beach. I wanted to try out my own recipe to bring to a girls night last week, and decided to search for something that would compare to Joe's recipe. It was easier than I thought, as one of the very first recipes I came across was actually designed/inspired by Joe's key lime pie (Martha Stewart's key lime bars). At first I was shocked the recipe called for 23 key limes! It was clearly my first time baking with this fruit. Key limes are so tiny and adorable, of course you need 23. The bars turned out to be a hit. I will definitely be making these again. Recipe below. xo RCN

Ingredients:

1 cup + 2 1/2 tablespoons finely ground graham cracker crumbs (1 pack)

1/3 cup sugar

5 tablespoons unsalted butter, melted

3 large egg yolks

1 1/2 teaspoons finely grated lime zest (very fine if you do not want much texture)

2/3 cup fresh Key lime juice (about 23 Key limes total, I used 25)

1 can sweetened condensed milk (14 ounces)

1/4 cup heavy cream (for whipped cream) + 1 Tablespoon sugar (for whipped cream)

2 Key limes, thinly sliced into half-moons or smaller for garnish

CRUST:

Preheat oven to 350 degrees. In medium size bowl stir together graham cracker crumbs, sugar, and butter. Once combined and sticky crumbly, press evenly onto bottom of an 8-inch square glass or ceramic baking dish. Bake until dry and golden brown, about 10 minutes. Keep crust in dish and place on top of wire rack to cool completely. (Leave oven on.)

FILLING:

Put egg yolks (just yolks!) and lime zest in the bowl of an electric mixer. Use whisk attachment and mix on high speed until very thick, about 5 minutes. Reduce speed to medium and add condensed milk in a slow, steady stream while mixer continues to mix. Raise speed to high; mix until thick, about 3 minutes. Reduce speed to low. Add lime juice; mix until just combined.

Spread filling evenly over crust using a rubber spatula. Bake for about ten minutes until filling is set. Rotate dish 1/2 way through. Let cool completely on a wire rack. Refrigerate for 4+ hrs.  (I kept refrigerated overnight)

WHIPPED CREAM

Put heavy cream and sugar in cleaned bowl of electric mixer. Use whisk attachment. Mix on medium-high speed until stiff peaks form. "Stiff peaks" mean the cream should be stiff when it comes to a point. Check by removing whisk attachment and holding the top upward to see if the cream stays standing tall and stiff without flopping down or dripping.

Cut into squares of desired size. Garnish bars with whipped cream and a slice of lime.


Source: http://www.marthastewart.com/354984/key-li...

Peach Strawberry Pop Tarts

Zach and I took the long way home from our Jersey Shore vacation and decided to drive the 20+ hours back to Miami with our lovely Ethel. Believe it or not, despite Ethel's diva nature, she is absolutely spectacular on long distance car trips. Of course, we have to stop a little more frequent with the pup in our care, but it is well worth it. Especially, when we stopped at a gas station about halfway through our Georgia drive and stumbled upon a precious peach and pecan stand. I couldn't help, but get my hands on some of the freshly picked peaches, and I made a friend too ;) When in Georgia...

Upon our return home, I decided to whip up some peach strawberry pop tarts for a special breakfast treat. The recipe below includes the use of Pillsbury Crescent dough sheets, but I only recommend using this type of pre-made dough if you intend on eating the tarts soon after baking and want a softer crust. For better keeping and long lasting crunchy pop tarts, I prefer making homemade dough like this recipe HERE. See all tart details below. Life sure is peachy! xo RCN

Ingredients - You will need the following for 1 dozen 6" tarts (dough + filling):

4 soft peeled peaches cut into small cubes

2 heaping cups of full strawberries then cut into small cubes + a few quartered for topping

3 Pillsbury Crescent Dough Sheets, each sheet cut into 8 equal size rectangles

Sprinkle of flour for cookie sheets and laying out dough

1 1/4 cup Sugar

3 tablespoons Raw Honey

1/4 teaspoon Cornstarch

1/4 teaspoon Cinnamon

1 1/2 tablespoons Lemon Juice

1 1/2 tablespoons Orange Juice

For the iced topping:

3/4 cup confectioners sugar

1 Tablespoon Milk

1/4 teaspoon of Vanilla Extract

Directions:

Preheat oven to 400F. Roll out defrosted/thawed dough and cut each dough sheet into 8 equal sized rectangles. Lay dough rectangles onto floured cookie sheet, set aside. Combine chopped fruit (peaches peeled too) and all other ingredients into a medium size mixing bowl. Once combine spoon filling into center of half of the dough rectangles. Cover the filled rectangles with the remaining dough rectangles. Use a fork to pinch shut the edges of the overlapping dough. It's okay if some filling oozes out sides, it'll give them character. Bake for about 20 minutes +, until all edges start to brown. It's important that the dough appears hard at edges. This helps to insure the bottom of the tarts are fully baked. Remove and let cool. Lastly, combine in small bowl 3/4 cup confectioners sugar, 1 Tablespoon of milk and 1/4 teaspoon of Vanilla Extract. Place glaze mixture in ziplock bag and snip corner off bag. Squeeze icing gently across tops of tarts in zigzag formation. Top with fresh cut strawberries (quartered). Enjoy!


Vanilla Birthday Cake

This week is, for sure, a special Birthday week in our family. My little, and youngest, sister Shaina, turns 21 today!! That's an exciting year to celebrate. When I see her on Sunday, I either want to make her a cake as pretty as the one I made yesterday for my BFF Colleen's 30th Birthday, OR we are going out for Rita's water ice, and i'll spike her water ice with Vodka ;) My one and only niece, Genevieve, celebrates her birthday tomorrow! So many birthdays, and all for the ones I love dearly. I absolutely love making Birthday cakes. Yesterday, I attempted my first Naked cake. If you haven't already heard the term, you likely have seen a naked cake and didn't know that's what it is called. It's when a layer cake is exposed, and the filling and frosting only coats the edges of the cake where the cake layers meet and sometimes (like this cake) the surface edges are thinly and sparingly coated with a little of the frosting. It has been a wedding cake trend for a while now, but finally I made one of these rustic and natural beauties for a Birthday. To top off the prettiness, I cut some fresh flowers and leaves to decorate the top. The cake turned out to be as delicious as pretty. See Country Living's recipe below (or click HERE) for vanilla cake and my buttercream frosting. I wrote in some basic directions on creating the perfect 4 1/2" round naked cake. Happy Birthday S, G, & C! xo RCN

Cake Ingredients:

1½ c. sifted cake flour

1½ tsp. baking powder

¼ tsp. salt

½ c. unsalted butter

1 c. sugar

2 large eggs

½ tsp. vanilla extract

½ c. whole milk

Buttercream Frosting Ingredients:

Mix and combine all ingredients until it becomes a smooth frosting texture.

3 cups powdered sugar, sifted

1/3 cups butter, softened

3 tablespoons milk

Baking Directions:

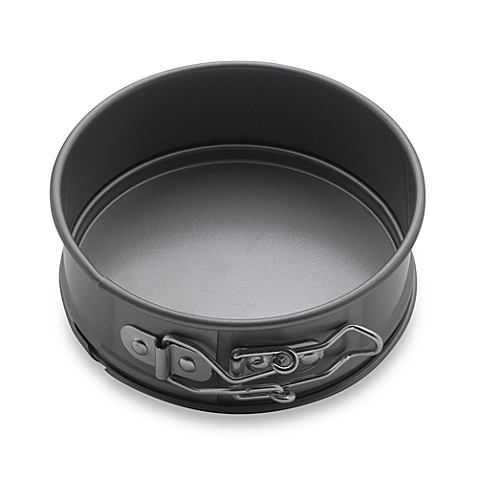
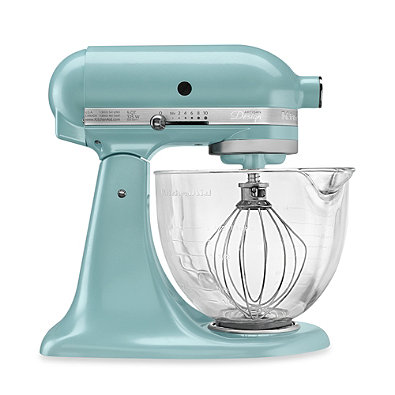
Heat the oven to 400 degrees F. Lightly coat four 4 1/2" cake pans (I used spring form) with butter and dust with all-purpose flour. Sift the cake flour, baking powder, and salt into a large mixing bowl. Place mixture in electric stand mixer with whisk attachment. Beat in the butter one 1/4 teaspoon. Mix on low speed until the mixture resembles coarse sand (may be a 'bit larger grains than sand). Next, beat in sugar one tablespoon at a time, until the mixture resembles fine damp sand. Beat in the eggs one at a time. Add the vanilla and milk, and beat on medium-high, just until blended. Do not overbeat. Pour equally into four 6" cake pans. Bake for about 30 minutes, until toothpick inserts at center of cake and pulls out smoothly without wet batter. Remove from oven and let sit for a few minutes. Remove from cake pans and set to completely cool on wire rack.

Assembling and Decorating Directions:

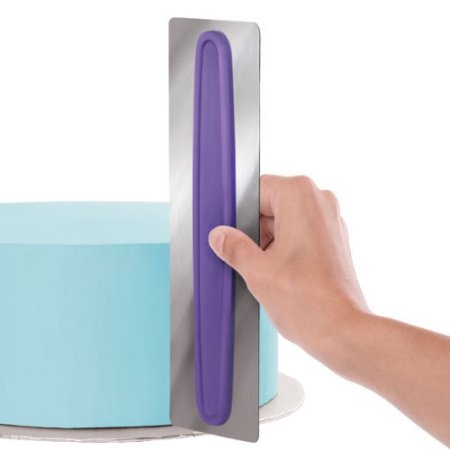
First, decide what cake stand or platter you want to use to display your cake, set aside. Once cakes are cool, trim off the dome of each mini cake with a serrated bread knife. The goal is to cut the tops off each cake to create flat surfaces that will allow you to easily stack each cake on one  another. Grab cake stand or plate and buttercream frosting. Place a smudge of frosting at center of plate. Grab one layer of cake and place centered on the frosting on plate, push down to help secure the cake. Cover the top surface of the cake layer with about a 1/2 inch of frosting, frost all the way to edge of cake, its even better to let a little hang off the edge. Place next layer on top of first layer. Continue all steps until you reach your 4th layer. Frost the top of the cake and smooth the top surface. Take an icing smoother, link below, and smooth out all edges of the frosting insides of cake. Continue using edge all around the sides of the cake and at all layers of the cake to smooth and spread a random and sparing amount of frosting on the cakes exterior, just like images below. Lastly, cut fresh flowers, leaving no stem for small flowers, and a tiny stem on big flowers (bigger flowers may shift more so a little stem allows you to stick more firmly into cake and frosting). Leave stems on leaves as well, as they will be the last decoration to add, underneath flowers and you will need stem to stick in from underneath flowers. That's it! 

 
Source: http://www.countryliving.com/food-drinks/r...

Cacti Cookies

I am overly obsessed with everything cactus. I decided to put together a small treat table for this upcoming Cinco de Mayo (tomorrow!) and went with cacti as my fiesta theme. Sugar cookies, are similar to my banana bread theory, in that you can't try too many recipes in order to get you to your absolute favorite. So this time around, I used Alton Brown's cookie recipe from Food Network. They are not very sweet, which is perfect, especially because I decided to dose them in green icing and sprinkles. I mean...how cute are these? Perfect for any summer fiesta! Ingredients and directions all below OR click HERE for link to original recipe. xo RCN

Cookie Ingredients:

3 cups all-purpose flour, and some extra for rolling out dough 

3/4 teaspoon baking powder

1/4 teaspoon salt

1 cup unsalted butter, softened

1 cup sugar

1 egg, beaten

1 tablespoon milk

Baking Instructions:

Sift together flour, baking powder, and salt. Set aside. Place butter and sugar in large bowl of electric stand mixer with whisk attachment and beat until light in color. Add egg and milk and beat to combine. If dough and mixture clump towards center of whisk, take a second to pause your mixer and use a spatular to clear out the whisk, continue to mixing. Put mixer on low speed, gradually add flour, and beat until mixture pulls away from the side of the bowl. Divide the dough in half, wrap in waxed paper, and refrigerate for 2 hours.

Preheat oven to 375 degrees F.

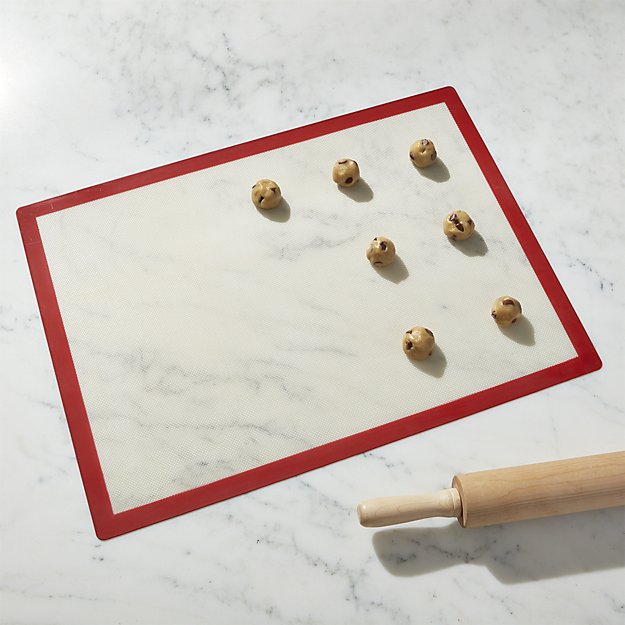
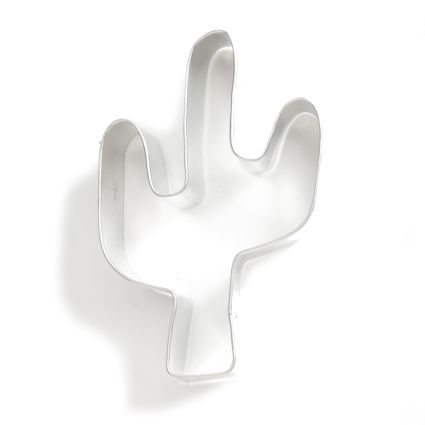
Sprinkle surface where you will roll out dough with flour. (Alton uses powdered sugar- this will make your cookie sweeter) Remove 1 wrapped pack of dough from refrigerator at a time, sprinkle rolling pin with flour (or powdered sugar), and roll out dough to 1/4-inch thick. Move the dough around and check underneath frequently to make sure it is not sticking. I use a silicon baking mat + a little flour and it works excellently! Cut into shape with cactus cookie cutters, place at least 1-inch apart on greased baking sheet and bake for 7 to 9 minutes or until cookies are just beginning to turn brown around the edges. Rotate cookie sheet halfway through baking time. Let sit on baking sheet for 2 minutes after removal from oven and then move to complete cooling on wire rack. 

Decoration Directions:

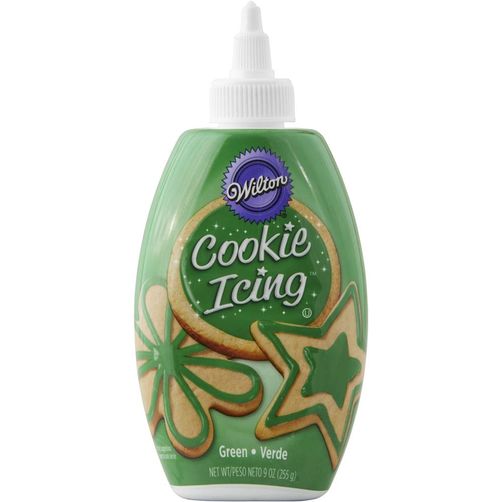
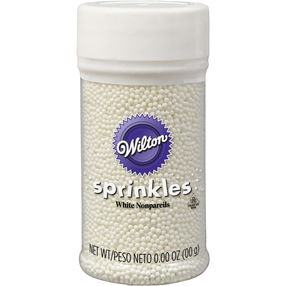
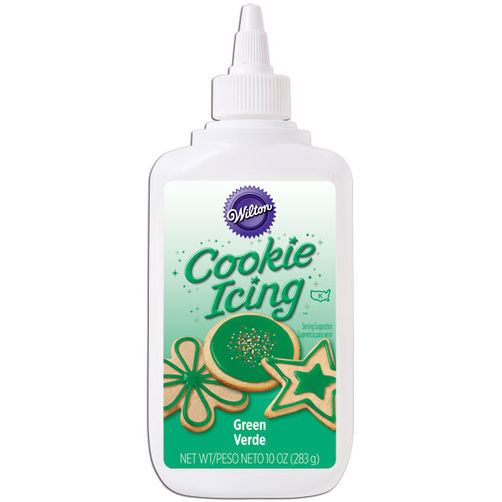
You will need a clean surface, wire cooling rack, paper towel, toothpicks, mini faux floral buds,  green cookie icing , and white sprinkles.

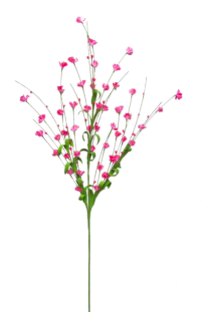
Snip off flower blooms from fake stems, leaving 1/4"-1/2" of wire on end (to stick into cactus arm). Set flowers aside. Set up cooling rack, and place paper towels underneath. Once cookies are cool, move to a clean surface. I reused my silicon baking mat. One at a time, place cookie on mat and begin covering top of cookie with green icing (follow directions on bottle as to how to warm up in microwave, etc.). Let the icing drip over the sides of cookie. Take a toothpick and continue to smooth out icing on surface and spread icing to sides and cover sides, as well. Take white sprinkles and lightly and sporadically sprinkle onto top of green icing. Take one bloom and fluff out the petals. Hold the little wire end and stick it directly into the cactus cookie arm. Using another toothpick, stick the toothpick under a corner edge of the cookie to lift it off surface. Once it is tilted up, grab cookie from underneath and transfer to a cooling rack to let excess icing drip off. Continue all steps until all cookies are decorated. After a few more minutes, transfer into air tight container. If possible, try to keep cookies in a single layer, or use a sheet of wax paper in between stacks.

 
Source: http://www.foodnetwork.com/recipes/alton-b...

Hip Hop Carrot Cupcakes

Easter is a very special holiday for my family. This year will be the first that I will not be at my Mom Mom's Easter brunch - a tradition. I will miss being with the family, watching my niece, nephew, and cousins searching for eggs, and I will miss the delicious french toast casserole, danish, bagels, fruit salad, bacon, peanut butter eggs, list goes on. BUT, I decided to bring the brunch to Miami for me and Zach. No egg hunts, but there will be bacon...there usually is, almost every weekend. We also, of course, need a dessert or two ;) These hippity hoppity carrot cake cupcakes are perfect for Easter and any Spring time occasion. I chose the flavor based on the bunny theme and decided to search Pinterest for the most moist and tasty sounding recipes I could find. I picked a good one! Recipe below and link HERE for original from American Heritage Cooking. Hoppy Easter! xo RCN

Carrot Cake Ingredients:

2 cups all purpose flour

¾ teaspoon baking soda

¾ teaspoon baking powder

1 ½ teaspoons cinnamon

3/4 teaspoon kosher salt

3 eggs 

1 2/3 cups granulated sugar 

1 ¼ cup vegetable oil 

2 tablespoons lemon juice 

1 cup shredded & chopped carrots, packed 

½ cup walnuts, chopped 

Directions:

Preheat the oven to 350˚F and line muffin tins with cupcake liners (I filled 22 liners). Sift together flour, baking soda, baking powder, cinnamon and salt in a medium bowl and set aside. Combine lemon juice to the vegetable oil and set aside. Shred and chop carrots into small shavings, set aside. Chop walnuts, set aside. In a stand mixer fitted with the whisk attachment, whip together the eggs and sugar on medium speed until fully combined. Turn mixer to high speed and add in oil/lemon juice mixture. Mix until combined. Remove bowl from stand and fold in dry ingredient mixture, followed by walnuts and carrots. Fill liners using a small baking scoop - the best! I used two scoops per liner. Bake at 350 F for about 18-20 minutes. Remove from oven and let sit for a few minutes. Remove cupcakes from tin and let cool on a rack until room temperature before frosting and decorating.

Frosting Ingredients:

4 Cups Powdered sugar, sifted

1 Cup Softened unsalted butter, 2 sticks

1/4 teaspoon Salt

1 Tablespoon Vanilla extract 

4 tablespoons Milk

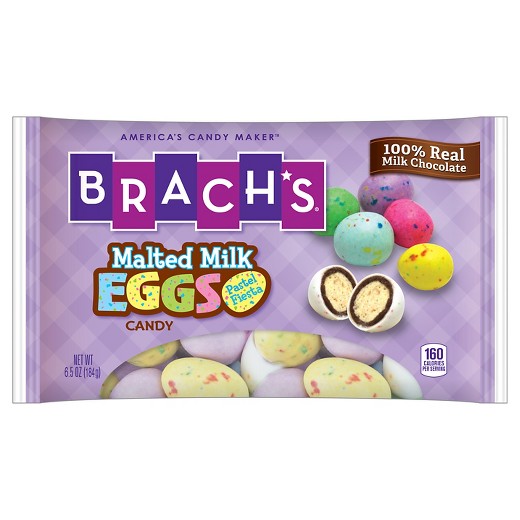
Malted milk eggs + shredded coconut (for decorations)

Directions:

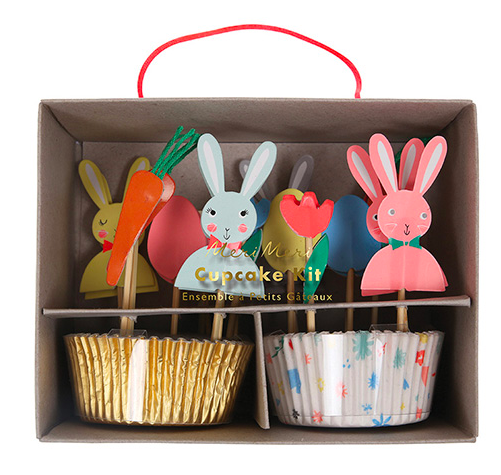
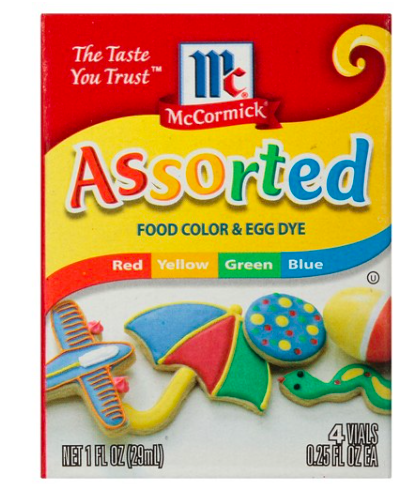
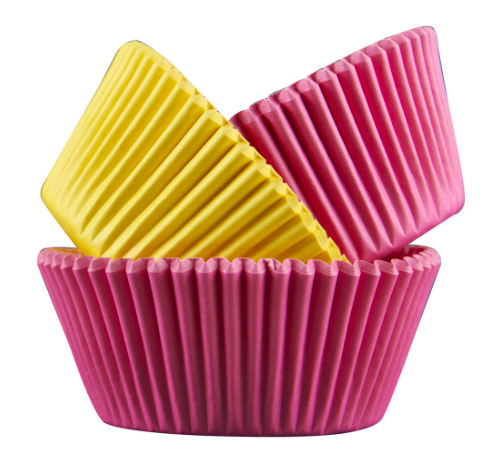
Combine all ingredients in a large bowl and mix thoroughly until frosting is smooth. Use a fork to help flatten out any remaining clumps. Remove half of the frosting and place in another bowl. Squirt 5-7 dashes of red food coloring in one bowl, 5-7 dashes of yellow in the other. Stir food coloring into frosting until completely combined. Place 2B Wilton Tip into 2 clear piping bags. Fill bags with frosting. Ice half cupcakes with pink icing and half with yellow. Add bunny toppers, malted milk eggs and a sprinkle of coconut onto cupcakes. Mix and match decorations on each cupcake and add a second contrasting liner to make all cupcakes a little extra special and individual.

 
Source: http://americanheritagecooking.com/2015/04...

Shamrock Sundae

Forget about the shake. How about a few scoops of mint chip ice cream covered in chocolate sauce, marshmallows, and sprinkles. It doesn't take much, when it comes to ice cream, to make me happy. Keep it simple and enjoy a quick and easy festive sundae for St. Patty's. All the extra awesomeness, like green straws and sparkling clover trimmings make the dessert that much better, without too much of a fuss. To avoid sticking wire wrapped embellishments (like the one pictured above) directly into your food, slide the accessory into a straw first, then add to decorate. A sweet treat that looks as great as it tastes will impress the kids and maybe a husband, too. xo RCN


Irish Potatoes

My Mom and Mom Mom have been making Irish Potatoes for Saint Patrick's Day ever since I can remember. Not only are these little delectables one of my favorite treats, ever, but they are super easy to make. And, no, they aren't actual mini potatoes, they are super sweet candies. There are a few renditions of this Irish-American Philadelphian dessert, but my favorite recipe consists merely of butter, confectioners sugar, sweetened condensed milk, vanilla, coconut, and cinnamon. That's it! Other's often use cream cheese or even mashed potatoes, but this version is my Mom's and my most favorite. This recipe is equally tasty when the sugar/milk/butter/vanilla/coconut mixture is coated in chocolate and made into cream eggs for Easter. Enjoy these addictive little delights, recipe below! xo RCN

Ingredients: Makes about 90-100 1.5-2" sized potatoes ...you can always 1/2 the recipe

1 cup Butter

2 tsp Vanilla

14oz can Sweetened Condensed Milk

3lbs sifted Confectioner's Sugar

16oz bag Sweetened Coconut

Cinnamon (for rolling/coating)

Cream butter and vanilla in large bowl. Blend in the milk until smooth. Gradually add sifted sugar until mixture becomes stiff. Knead remaining sugar into mixture. When mixture is no longer sticky, knead in desired amount of coconut. Divide candy mixture into 1.5"-2" ovals. Refrigerate for an hour (or overnight) then roll in cinnamon. Store in refrigerator, but may serve at room temperature.


Confetti Cookies

I spent the last few nights in NOLA celebrating my girlfriend Roxie's bachelorette. We had a wonderful time. I won't mention too many details about the trip, but we thoroughly enjoyed the food and drinks in New Orleans. We ate dinner at Seaworthy and Sylvain, brunched at Wilma Jean and Commander's Palace, munched on beignets from Cafe du Monde, and of course tried pork belly, shrimp, and roast beef Po'boys from a few different places.

I brought along some colorful celebratory cookies to have back at the house for when we weren't eating a million other snacks. These were simple to make, as I didn't use a homemade recipe. Sometimes, you just don't need homemade, especially in a time crunch! 

Instructions:

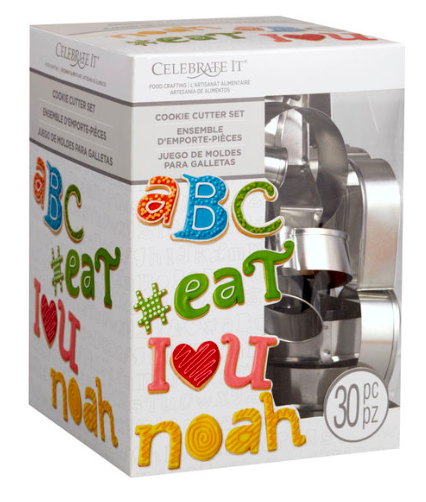
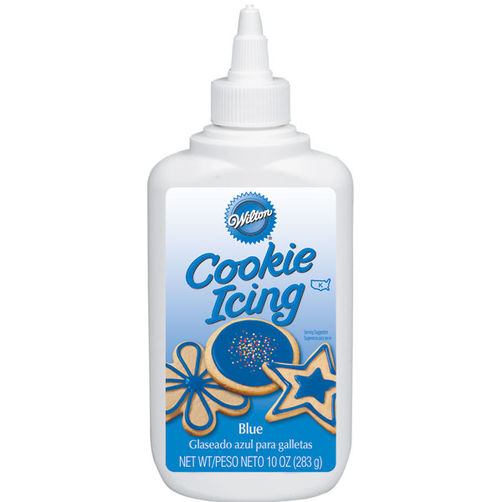
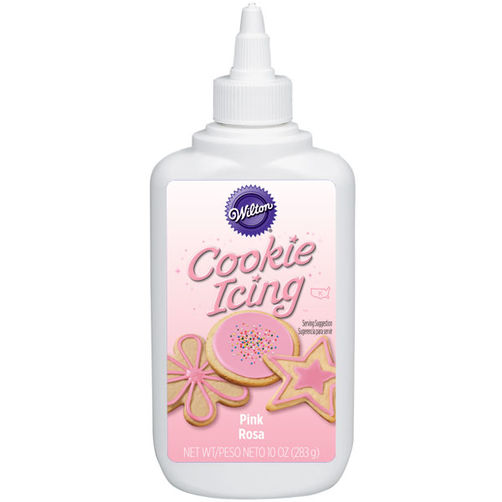
I divided pre-made Pillsbury sugar cookie dough and rolled into small balls and flattened with my hands. I varied the cookie sizes, the smallest being the size of a dime. Once the cookies were baked and cooled, I prepped the cookie icing. When following the directions to heat the icing, I only zapped in microwave for 10 seconds on 50% heat. I also let the icing sit for a minute before beginning to spread onto the cookies. Most importantly, I used a tooth pick to evenly divide and spread the onto the cookies. The alphabet cookie cutters and icing came from Michael's Craft Store. The icing portion part of this project took the longest, so give yourself a little time to work on this if you are making a lot of the confetti cookies. In the end, they are fun and worth it! 

This weekend was full of champagne, sweets, and lots of other food and drinks. I think I am in need of a little detox these next few weeks! xo RCN 


Banana Bread For Beau

Banana Bread is by far one of Zach's favorite baked goods. He doesn't have a big sweet tooth, but once the bananas in the kitchen begin to brown he always asks if I will, please, make Banana Bread. This time I planned on making the bananas turn, as I knew I would not be around for almost two weeks and wanted to leave Z with a few of his favorite foods and snacks.

I have baked many banana bread recipes, some with nuts, some with chocolate. I tend to love most of them, but I continue to try out new ones in search of what is the best. This time around I decided to try out a recipe from Food Network. Link HERE to go direct to site, or follow directions below. I recommend this banana bread - no burnt edges and moist in the center. Yum! xo RCN


Ingredients:

1 cup granulated sugar

8 tablespoons (1 stick) unsalted butter, room temperature

2 large eggs

3 ripe bananas

1 tablespoon milk

1 teaspoon ground cinnamon

2 cups all-purpose flour

1 teaspoon baking powder

1 teaspoon baking soda

1 teaspoon salt

Preheat the oven to 325 degrees F. Recipe will serve two paper loaf pans "around" size 3.5" wide by 7" long and 1.75" tall. Note: many loaf paper liners are greased, but if not then grease with butter or spray.

Cream the sugar and butter in a large mixing bowl until light and fluffy. Add the eggs one at a time, beating well after each addition. 

Cut three 1/2" slices of banana from the center (widest circumference) of one banana and cut each slice into a heart shape, set aside (for decoration on top of bread). In a small bowl, mash the remaining bananas with a fork. Mix in the milk and cinnamon. In another bowl, mix together the flour, baking powder, baking soda and salt. 

Add the banana mixture to the creamed mixture and stir until combined. Add dry ingredients, mixing just until flour disappears. 

Pour batter into prepared paper liners. Place filled paper loaf liners into metal loaf pans and place in heated oven. Bake 1 hour to 1 hour 10 minutes, until a toothpick inserted in the center comes out clean. About 3/4 ways through baking or ten minutes before removing bread from oven, place and press the three banana heart slices equidistant across top center of bread. Once bread is finished baking, remove liners from pan and set aside to cool.


Snowball Cookies All Winter Long

Valentine's Day is fast approaching. It is a sweet time of year, so what better to do, than make some sweets? One of my favorite Christmas cookies that my Mom makes is a Snowball Cookie. Wow, this year they tasted better than ever. Snowball Cookies really apply to all winter long, so I figured I would turn them into Valentine cookies since I L-OV-E them so much. With a little extra help from the sprinkle and dessert cabinet, I made these cookies look fab and fit for any Valentine's Day affair. They are very powdery, you may need some extra napkins! xo RCN

You will find a few versions of the recipe if you search online. This batch was made from the cookingclassy.com recipe. Ingredients and instructions below, or link to direct source HERE. Also...the super cute mini cupcake liners (Meri Meri, $2.99) and napkins ( Lady Jayne Ltd, $3.99) came from Homegoods.

INGREDIENTS

1 cup unsalted butter, softened

1/2 cup powdered sugar

1/4 tsp salt

2 tsp vanilla extract

2 Tbsp cornstarch

2 cups all-purpose flour

1/2 cup finely chopped Pecans (I used a little less than half a cup)

1 1/2 cups powdered sugar, for coating

DIRECTIONS

Preheat oven to 350 degrees. Using an electric stand mixer fit with the paddle attachment, mix butter on medium speed until creamy, (about 20 seconds). Blend in 1/2 cup powdered sugar and salt. Mix in vanilla. Use a rubber spatula to scrape down edges of bowl before continuing to mix if dough is spread up towards the side of your bowl. Sprinkle cornstarch evenly around mixer bowl then with mixer set on low speed slowly add in flour and mix just until combined. Stir in Pecans. Scoop dough out 1 Tbsp at a time and roll into a ball. I shaped half of my dough into small hearts by splitting the 1 Tbsp into two pieces, rolling into cylinder shapes and then molding back together into a heart shape. Keep one end of each cylinder separate from one another and then press the other end of each cylinder together to form the point of the heart. They look cuter when they aren't perfect!

Place cookies onto ungreased baking sheets and bake in preheated oven for about 15 minutes, until bottom edges are lightly golden. Do not under bake, this recipe is meant to be more dry and cookies are not meant to be moist in the middle. The cookies will literally dissolve in your mouth, just like snow. Remove from oven and allow to cool for a few minutes. While cookies are still warm, pour 1 1/2 cups powdered sugar into a bowl and roll cookies in powdered sugar. Transfer to a wire rack to cool, then once cookies are cool, roll in powdered sugar once more. Coat until cookies are completely covered. Just after coating for second time, top with pink, red, white, and rainbow sprinkles. Cookies look great served inside mini Valentine themed cupcake liners .

 
Source: http://www.cookingclassy.com/snowball-cook...

Key Lime Bars

If you love a little sour and a little sweet, then this is the perfect dessert for you. I am a big fan of key lime pie. My favorite is from Joe's Stone Crab, in South Beach. I wanted to try out my own recipe to bring to a girls night last week, and decided to search for something that would compare to Joe's recipe. It was easier than I thought, as one of the very first recipes I came across was actually designed/inspired by Joe's key lime pie (Martha Stewart's key lime bars). At first I was shocked the recipe called for 23 key limes! It was clearly my first time baking with this fruit. Key limes are so tiny and adorable, of course you need 23. The bars turned out to be a hit. I will definitely be making these again. Recipe below. xo RCN

Ingredients:

1 cup + 2 1/2 tablespoons finely ground graham cracker crumbs (1 pack)

1/3 cup sugar

5 tablespoons unsalted butter, melted

3 large egg yolks

1 1/2 teaspoons finely grated lime zest (very fine if you do not want much texture)

2/3 cup fresh Key lime juice (about 23 Key limes total, I used 25)

1 can sweetened condensed milk (14 ounces)

1/4 cup heavy cream (for whipped cream) + 1 Tablespoon sugar (for whipped cream)

2 Key limes, thinly sliced into half-moons or smaller for garnish

CRUST:

Preheat oven to 350 degrees. In medium size bowl stir together graham cracker crumbs, sugar, and butter. Once combined and sticky crumbly, press evenly onto bottom of an 8-inch square glass or ceramic baking dish. Bake until dry and golden brown, about 10 minutes. Keep crust in dish and place on top of wire rack to cool completely. (Leave oven on.)

FILLING:

Put egg yolks (just yolks!) and lime zest in the bowl of an electric mixer. Use whisk attachment and mix on high speed until very thick, about 5 minutes. Reduce speed to medium and add condensed milk in a slow, steady stream while mixer continues to mix. Raise speed to high; mix until thick, about 3 minutes. Reduce speed to low. Add lime juice; mix until just combined.

Spread filling evenly over crust using a rubber spatula. Bake for about ten minutes until filling is set. Rotate dish 1/2 way through. Let cool completely on a wire rack. Refrigerate for 4+ hrs.  (I kept refrigerated overnight)

WHIPPED CREAM

Put heavy cream and sugar in cleaned bowl of electric mixer. Use whisk attachment. Mix on medium-high speed until stiff peaks form. "Stiff peaks" mean the cream should be stiff when it comes to a point. Check by removing whisk attachment and holding the top upward to see if the cream stays standing tall and stiff without flopping down or dripping.

Cut into squares of desired size. Garnish bars with whipped cream and a slice of lime.


Source: http://www.marthastewart.com/354984/key-li...

Chocolate Pistachio Cupcakes

I'm what they call a cupcake triple threat. I love to bake them, decorate them, and eat them. My absolute favorite is chocolate cake with vanilla buttercream frosting. Zach usually has trouble remembering my favorite, so on my birthday he always orders every possibly combination from the bakery. Even if he forgets my favorite, I can't get mad at his solution. He has it covered. It works, there is always at least one chocolate flavored cupcake with buttercream frosting in the bunch.

I decided to try a new recipe that has some additional ingredients aside from cocoa powder. The original recipe I referred to calls for walnuts. I swapped the walnuts with pistachios; a nut I like much more. I paired the chocolate pistachio with a buttercream frosting and finished the cupcakes off with Nutcracker decorations and all the winter white fairyesque toppings you can imagine. Delightful! xo RCN

Cupcake Recipe (makes one dozen cupcakes):

1 cup of pistachios (original recipe calls for 1 heaping cup of walnuts)

1 cup all purpose flour

1/2 cup cocoa powder

1 teaspoon baking powder

1/4 teaspoon salt

3/4 cups sugar

2 eggs

2 teaspoons vanilla extract

3/4 cups water

Preheat oven to 350F and prep cupcake tin with cupcake liners. Grind pistachios in blender or food processor. I mixed them in a blender until they were very fine and added 1 teaspoon of water into the nuts while I mixed them.

Mix flour, cocoa, baking powder and salt in small bowl, set aside. Then in a larger bowl, whisk finely ground pistachios with sugar until blended. Add one egg at a time, followed by the vanilla extract. Sift a third of the cocoa/flour mixture into the pistachio mixture. Add 1/2 the water, continue alternating dry ingredients and water until all combined, ending with dry ingredients. Scoop the mixture into the cupcake liners and bake for about 20-25 minutes. I always use the toothpick method to help determine when my cupcakes are done. If you insert a toothpick into center of cake and it comes out clean, then finito!

Buttercream Recipe:

1 stick of salted butter

1 teaspoon vanilla extract

1 small box of confectioners sugar

1 1/2 Tablespoons of Milk

Soften butter to room temp and then mix until fluffy with wooden spoon or hand mixer. Add vanilla and continue to mix. Sift in the confectioners sugar and continue to mix all ingredients. Lastly, add the milk. You can always add more milk at the end if you need to make the buttercream softer. I usually like buttercream relatively thick. 

Decorations:

A pinch of unsweetened coconut per cupcake

A few handfuls of vanilla chips and marshmallows divided between all cupcakes

A sprinkle of pearlized Wilton decorative candy balls per cupcake

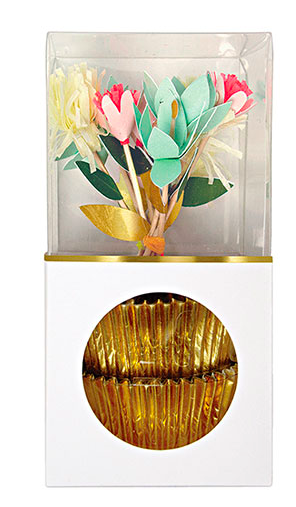
Meri Meri cupcake kit - I used the Nutcracker kit which is sold out of a few stores, but available on ebay. I also recently saw this set at Homegoods. If you are still looking for something holiday, Meri Meri still has an adorable santa/reindeer kit available online HERE.

Meri Meri has some of the most adorable cupcake kits, you can find them all HERE.


Source: http://yinandyolk.com/2016/04/14/chocolate...

Chocolate Pretzel Wreaths

I love chocolate pretzel nests for Easter, so I thought why not turn the nests into wreaths and make it a Christmas themed dessert. Putting the wreaths together is a little messy with handling a lot of melted chocolate, but well worth it in the end. 

For about 18 wreaths, you will need:

1 reg size bag pretzel sticks (you will use about 1/2-3/4 bag)

3 tablespoons coconut oil

12 ounce bag of chocolate chips

1/2 cup green colored chocolate chips

Parchment paper and zip lock bag

Red and white/pearl decorating balls (various sizes)

First, prep the holly decoration. Melt green chips in microwave on defrost setting for about two minutes. Stir and mix until smooth and melted. It will not become as liquid like as the chocolate chips you will later melt for the wreaths, but that is okay. Put green melted chocolate in a zip bag and cut corner off. Squirt out small groupings of the green chocolate in leaf forms onto parchment paper. Let sit for a half hour. 

First, melt the chocolate and coconut oil in a bowl in the microwave. Zap for two minutes, remove and stir. If the chocolate does not melt to liquid form, zap for another 30 seconds or so. Once chocolate is stirred and melted, break up the pretzel sticks and add them into the chocolate. Cover in chocolate and use hands to form into wreath shapes on parchment paper. Sit out for about ten minutes after shaping wreaths and then sit in refrigerator for ten minutes before adding decorations. You do not want the chocolate to be completely hardened before you decorate. Eat up! xo RCN


Matcha Green Trees, Oh Fudge!

I am a huge matcha green tea fan. I have been wanting to create a dessert with matcha powder for some time, now. I mean, matcha is green. It's a perfect natural food coloring and flavor to include in some sweet treats for Christmas. This fudge recipe is super simple. If you are not a matcha fan, you can easily omit the powder and replace with a splash of green food coloring and you will get the same look, yet different flavor. Without matcha, the fudge will be vanilla, not bad. You may want to add a splash of vanilla extract, as well, if removing the matcha from the recipe. Eat up and be merry! xo RCN

Recipe yields about 24-26 fudge pops. You will need the following: 

13 Wooden popsicle sticks, cut in half

4 Mini candy canes, crushed/smashed with a large knife

1/4 cup (or less) shredded coconut, can be sweetened or unsweetened

2 Tbsp of green matcha powder, I used U Matcha Natural green tea powder from Whole Foods

2 Tbsp unsalted butter

1/2 Cup heavy whipping cream

14oz White chocolate morsels, I used Ghirardelli chips, (just over 1 1/2 cups)

8" or similar size small square baking pan, line with wax paper

Small saucepan 

Sifter (for matcha powder)

Rubber spatula

Prep by cutting popsicle sticks in half. Crush and smash candy canes into small pieces for topping. Chop butter into small pieces, similar in size to white chocolate chips. Line square pan with wax paper OR use a freezer ziplock bag to line pan, like me, if you are out of wax paper.

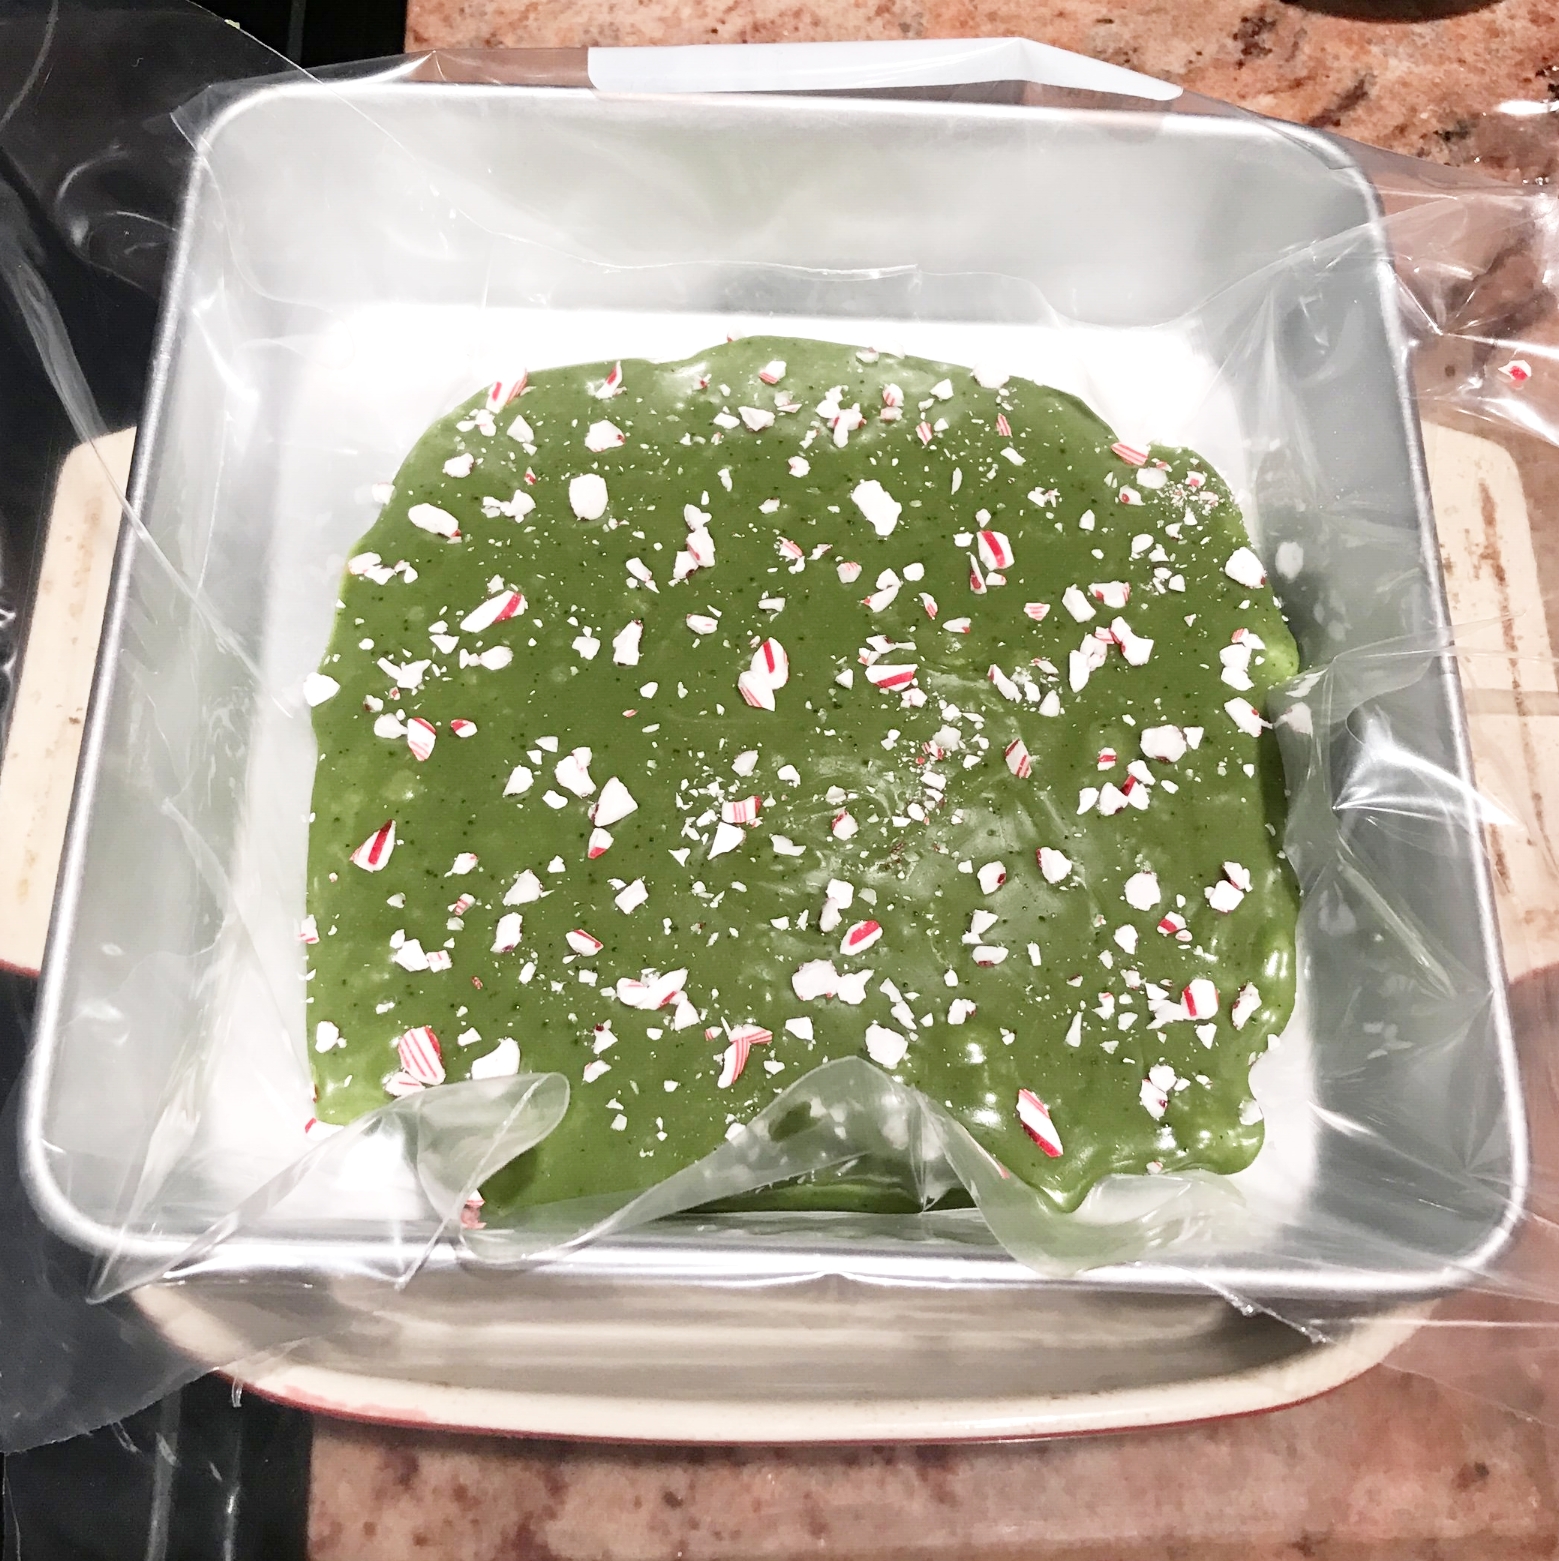
In small saucepan on stove, begin heating whipping cream on medium heat. The cream will heat quickly, you will want to stir with rubber spatula as it heats up. As soon as it begins to bubble, remove from heat and add chocolate and butter. Mix the butter and chips into the cream quickly with the spatula. As it begins to combine and harden, sift the matcha powder into the pan. Continue to mix all ingredients together until thick and smooth and green tea powder is evenly combined. Pour fudge mixture into 8" pan lined with wax paper. Pour and spread fudge to be about 1" thick all around. The fudge does not have to be touching all sides of pan, as long as it has an edge butted up against the wax paper. Refer to my pic above for example. Sprinkle candy cane pieces evenly across top of fudge. Refrigerate for a few hours until fudge is firm and set. Remove fudge from pan and cut into four quadrants. Pull fudge pieces from paper and begin cutting triangle shapes.  Use cutting guideline below to help cut trees. Refer to guide: Begin with thicker dotted lines and continue to cut all dotted lines shown in guide.

Note: Guideline below cuts about 24 trees, but you may have extra scraps that can be formed into additional trees. I had extra scraps from the beginning, when I cut my solid piece of fudge into an even square before I cut triangles out.

Last step is to push cut popsicle sticks into center bottom of each tree and add coconut to tops of trees. The shortest side of triangle will be your bottom of tree. Push coconut into all sides of top of trees. The fudge will be firm so you will need to push the coconut inward firmly in order to make the coconut stick onto fudge. If trees look sparse with candy cane coating, add some additional at end to make the trees look more cheery. If not all triangles are perfect, even better, they will all be unique. Big, crooked, or small, they will all taste great.                   


Source: http://www.justonecookbook.com/green-tea-c...

Apple vs. Pumpkin

The question arises at dessert time every Thanksgiving with my family. "Pumpkin or Apple?". The most common answer spoken is, "Both". However, I can recall a few years when an apple pie was absent and other options, like cookies were available. This year, Zach and I are headed to my parent's home in New Jersey, and we are bringing the pie. Apple vs. Pumpkin is too difficult for me to decide, so I will be making both.

 I discovered the perfectly adorable and delicious recipe for mini pumpkin pies on the Diva's Can Cook blog. The recipe for both the filling and dough are easy to make. Do not be afraid of the dough. Follow the instructions and you should have no issue. My only advice is to continually add a little flour to your counter surface as you flatten out dough and begin cutting crust shapes out.  The dough will be sticky the more you fuss with it and will stick to counter if there is not enough flour on your surface. For a very easy apple pie filling I used a recipe from Pillsbury designed specifically for mini pies. Okay, so the question still is, Apple or Pumpkin?  You tell me in the comments section below.  

Enjoy! xo RCN

MY ADJUSTMENTS TO RECIPE: I doubled the dough recipe and split it between both my apple and pumpkin pie fillings. This will yield about 16 pie crusts with enough extra to lattice the tops of your apple pies. I decided to change the recipe from bite size to miniature pies by using a 3 3/4" flower shaped cookie cutter, rather than a 2 inch circle cookie cutter. Once I cut out all crusts, I flattened them a little more by hand to make them slightly bigger than 3 3/4", then I placed them into a a full size cupcake/muffin tin, rather than a mini tin. Each individual pie measures out to about the serving size of 2/3 of a regular slice of pie.

LATTICE CRUST FOR APPLE: After cutting out 16 flower crusts, I flattened out extra dough and cut thin strips for my lattice. You will need two, 2 1/2" strips and four 1 1/2" strips for each apple pie crust. Place both the longer strips in a cross format over-top of apple pies, once you have scooped apple filling into the crust. Then, add smaller strips to left, right, top and bottom of your cross shape and alternate them fitting over and under the longer strips of dough. Refer to pic of finished pies above.

ORIGINAL PUMPKIN RECIPE from Diva's Can Cook

Ingredients

Pie Crust (all ingredients should be very cold)

1¼ cup all-purpose flour

1 tablespoon sugar

½ teaspoon salt

¼ cup butter (chopped)

¼ cup butter shortening

¼ cup cold water

Pumpkin Filling

¼ cup brown sugar

¼ cup white sugar

4 tablespoons butter, softened

1 egg

½ cup heavy whipping cream

1 tablespoon flour

1 teaspoon pumpkin pie spice (can add more if desired)

½ teaspoon vanilla extract

1 cup canned pure pumpkin

Instructions for Crust

1. Preheat oven to 350 F

2. In a medium size bowl whisk together flour, sugar and salt.

3. Cut in butter and shortening until crumbly.

4. Stir in cold water.

5. Stir until dough forms.

6. Press dough into a disk and wrap in plastic wrap and refrigerate for 30 minutes.

7. When pie dough has chilled remove it from fridge and knead lightly a few times.

8. Flour a work surface and pat dough out about ¼ inch thick.

9. Use flower cookie cutter about 3 3/4"-4" to cut out dough

10. Press dough slightly by hand to flatten a little larger than 3 3/4", at least 4 "

11. Press the perimeter of the pie dough so that they completely fill the tin. 

Instructions for filling

1. In a large bowl combine white sugar, brown sugar and butter until creamy.

2. Mix in egg, heavy cream, flour and vanilla until creamy.

3. Fold in pure pumpkin and pumpkin spice. 

4. Place the batter into the pie crusts using a mini ice cream scoop, about two scoops each.

5. Use a spoon to smooth out and level the filling in each pie.

6. Bake for 25 to 30 minutes or until the centers are set and crust looks golden. Be careful not to over bake, keep an eye while they bake for the last few minute.

7. Pies will be puffy when they come out of the oven, but will sink back down when cooled.  Let stand a few minutes, remove from pan and let cool completely on counter.

8. Top with whipped cream before you serve.

ORIGINAL APPLE FILLING RECIPE from Pillsbury

Ingredients

2 apples, cored, finely chopped (about 1/4-inch pieces) 

2 tablespoons sugar

1 tablespoon All-purpose flour

1/2 teaspoon ground cinnamon

1 teaspoon vanilla

Instructions for filling

1. In medium bowl, stir together apples, sugar, flour, cinnamon and vanilla. 

2. Divide mixture into pie crusts. (Top with lattice crust, instructions above)

3. Bake 20-25 minutes or until crusts are golden and center is bubbly.

4. Cool for a few minutes and then remove pies from pan to completely cool on counter.

 
Source: http://divascancook.com/mini-pumpkin-pie-b...

Red, White, Blue & Vodka

Election Day is tomorrow. Often people recommend avoiding political conversation with people you do not know or even with family and friends. This election year it may appear more obvious why this is advised. The anticipation through out this year's presidential election has had us all on the edge of our seats during each debate, news conference, what have you. The nation has been going wild all throughout 2016.  So for everyone's sake, no matter who you are voting for, what party you belong to, what race, religion, or gender you are, I have just the thing.

How about a red, white, and blue JELL-O shot? This will do the job both leading up to and/or after our 45th President is announced. Slurp 'em up folks. Hopefully this takes the edge off, and lastly, God Bless America! xo RCN

What you Need: 

1 Cup Vodka of choice

1 Box Cherry or any red JELL-O flavor of choice (3oz)

1 Box Berry Blue JELL-O (3oz)

2 Cups boiling water, 1 per box JELL-O

1 Cup cold water, 1/2 cup per box JELL-O

1 Pack 2oz clear tasting cups (will use about 20)

1 Can Whipped Cream 

Red & Blue crystal sprinkles

Gold & Silver metallic pom poms

Toothpicks

Mini USA flags

  1. Boil cup of water.
  2. Empty red JELL-O powder into a large mixing bowl and add boiling water.
  3. Keep stirring for about two minutes or until the JELL-O powder is dissolved.
  4. Add 1/2 cup of cold water and 1/2 cup of vodka.
  5. Stir until mixed and pour into 2oz. cups filled 1/2 way.
  6. Refrigerate about 30 minutes or less, until red JELL-O is firm.
  7. Repeat steps 1-5 with Blue JELL-O, pouring the blue JELL-O on top of the red JELL-O filling to the top of the 2 oz cups.
  8. Refrigerate JELL-O cups while finishing the decorative toppers.  

Toppers:

Stick pom poms onto top of toothpicks, make enough silver and gold, one of each for each cup of JELL-O.  Once JELL-O shots are firm and chilled, squirt a spiral of whipped cream on top.  Sprinkle with red and blue sugar sprinkles and stick a mini flag, and both pom pom toothpicks into top center.  Be sure to keep in fridge until serving or whipped cream will melt and flatten.

Perfect for any red, white, and blue kind of celebration, cheers!


Eye Love Halloween

There are countless great things about Halloween.  Creating original costumes, replicating favorite super heroes, carving pumpkins, eating lots' of junk food.  I love it all.  Here is a quick treat and template to make and decorate some very creepy Halloween Eyeball Cookies.  They are perfect to share with the kids and adults for any Halloween celebration.
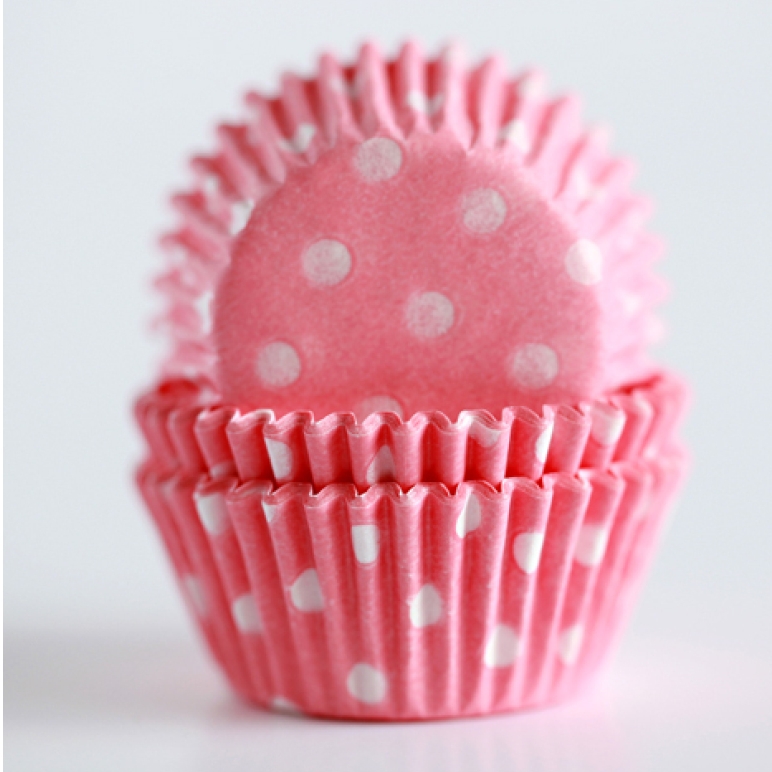
My eyeball cookies partly belong to Pillsbury.  After all, the dough did come from a box, Pillsbury Sugar Cookie Mix.  But, who am I kidding acting as if it's a bad thing.  Pillsbury dough and mixes are wonderful and when I am in a pinch for time it is my go to baking brand. 

Step 1:  Bake cookies and let cool

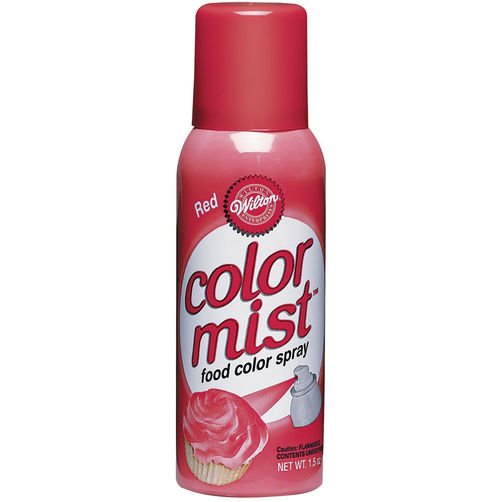
Step 2:  Create foil template for red dye veins, template below

Step 3:  Use stencil for veins on all cookies 

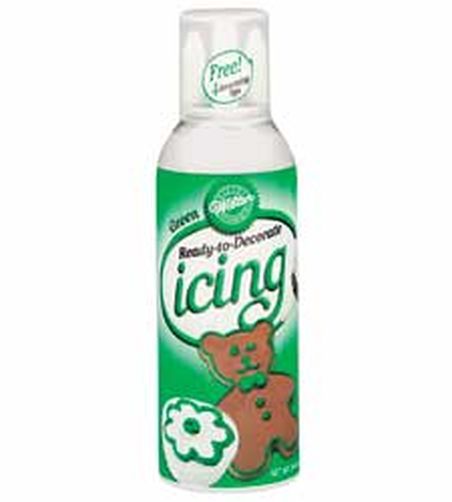
Step 4:  Use green icing to pipe circles in center of each cookie

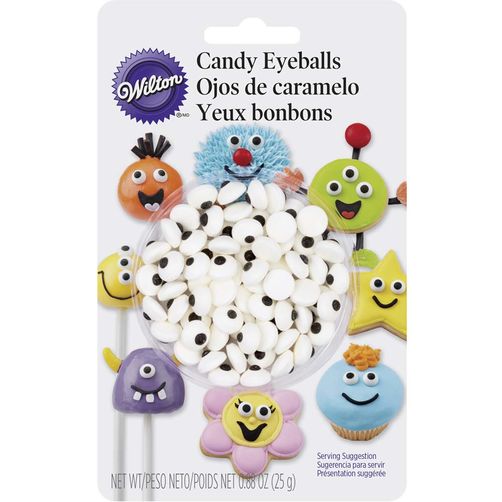
Step 5:  Place candy eyeball in center of each green icing circle

Step 6:  EAT!

Here is what you need...oh, and aluminum foil and a pencil too!


Rice Crispie Watermelon Slices

I love Rice Krispie treats and I also love watermelon.  I first saw a version of this from Teen Vogue on Instagram, and shortly after saw another version on cookingclassy.com, one of my favorite food blogs.

Here is my version, pretty much the same as Cooking Classy, but with a cute touch of bakers string and twine for the win.   These are not difficult to make, a little sticky, and adorable.  I am pretty sure all kids and people will like these!  Click source link below for original recipe.  xo RCN

 
Source: http://www.cookingclassy.com/2016/06/water...