Lemon Macarons

IMG_5127.jpg

French macarons are one of my absolute favorite desserts. I have been wanting to try and make them for years, and just haven’t. Until now! Quarantine has me baking like nobody’s business. Turns out my new lemon tree is the perfect ingredient to a nice fresh baked lemon macaron.

For starters, I scoured the internet for any and all macaron recipes, read reviews, asked for tips on baking from others, etc. Finally, I decided to narrow in on this lemon recipe from Pies & Tacos. I made some minor adjustments like amounts of lemon zest in the curd or bake time which varies based on oven, etc. I added my own little touch to decorating with some white cookie icing, yellow sprinkles and lemon leaves straight from the backyard tree.

I strongly suggest this recipe. See below for a few tips of my own. These macarons are absolutely delightful. And the lemon curd + buttercream filling to die for! Enjoy xo RCN

IMG_5128.jpg
IMG_5129.jpg
IMG_5126.jpg

Some tips:

  1. The Pies & Tacos video is super helpful. I watched in segments pausing, rewinding here and there in order to follow along as closely as possible as I mixed all ingredients, etc. Follow along with recipe instructions here.

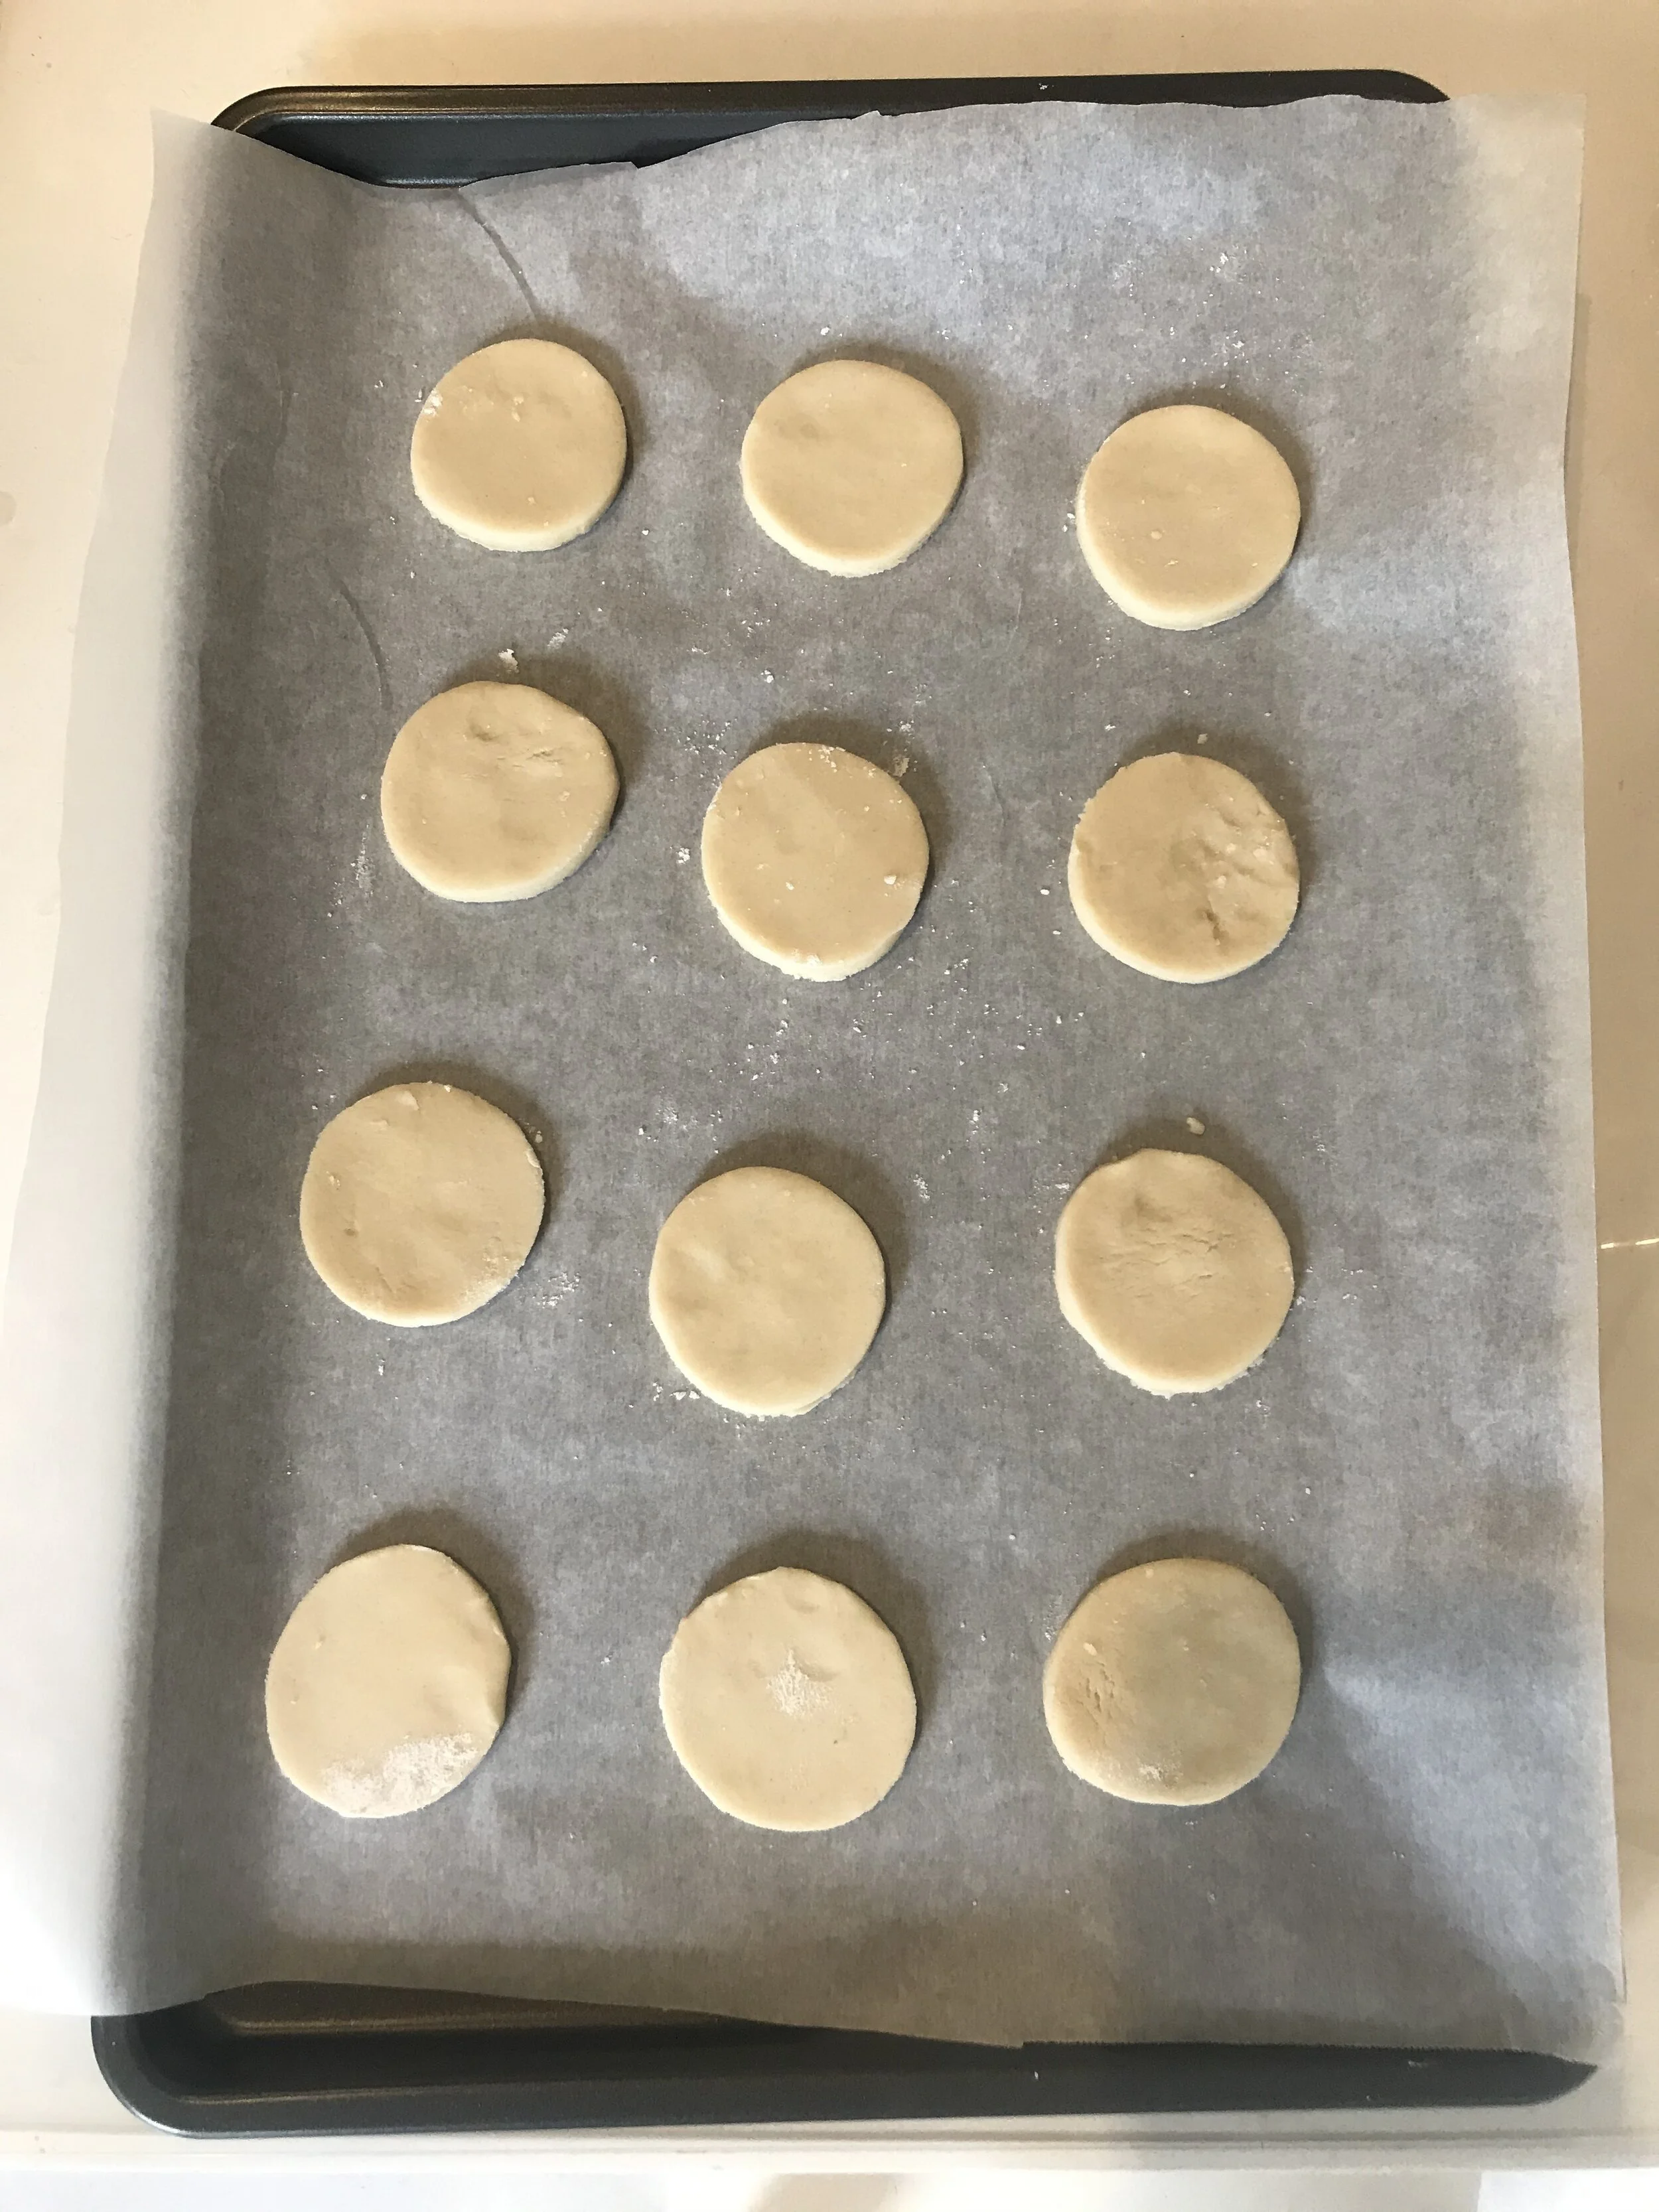
  2. Let piped macarons sit for at least 20 minutes before going into oven.

  3. If using one tray only, just bake straight through, took me roughly 12 minutes until macarons were complete

  4. I used a pre-marked macaron silicone mat. Only pipe just up to the circular border otherwise macarons will be too large and merge with it’s neighbor on the mat. Also place mat onto a cookie tray - no spraying or pre-treating necessary

  5. Add as much or as little food coloring as you wish, same goes for zest in the curd, though some is preferred.

    Ingredients:

    Macaron batter

    3 egg whites

    1/2 cups granulated sugar

    1 cup almond flour

    3/4 cup powdered sugar

    1 drop of yellow food coloring

    Lemon Curd filling

    3 tablespoons lemon zest - I used about 1 1/2 TBSP

    1/4 cup lemon juice

    1/3 cup granulated sugar 

    3 tablespoons unsalted butter room temperature

    2 large eggs

    1/8 teaspoon salt

    Buttercream

    1 1/3 cups confectioners' sugar sifted

    4 tablespoons unsalted butter softened

    1 teaspoon vanilla extract

    1/2 -1 tablespoon whipping cream as necessary

    1/2 tablespoon lemon zest optional


Spring Shortbread Cookies

My favorite cookie at Christmas is the Raspberry Jam Shortbread recipe you can find here on my blog. Since I love them so much, I decided I wanted to come up with a seasonal version for Spring, Summer and Fall. First up, Spring! Enjoy xo RCN

INGREDIENTS:

¾ cup unsalted butter, softened

½ cup confectioners’ sugar

¼ teaspoon (1 gram) vanilla extract

1½ cups all-purpose flour

½ teaspoon fresh lemon juice

¼ teaspoon kosher salt

2 tablespoons granulated sugar

1 egg white

Edible Flowers, I used 2 packs of That’s Tasty from WholeFoods which gave me enough to pick apart and create unique designs with different petals and stems.

INSTRUCTIONS:

In a stand mixer with paddle attachment beat butter, confectioner’s sugar, and vanilla at medium speed until creamy about 2-3 minutes. Stop every so many seconds to scrape mixture off sides of mixing bowl.

In another medium size bowl, sift together flour, lemon juice, and salt. Reduce mixer speed to low. Slowly and gradually add flour mixture to butter mixture. Beat until combined. Divide dough in half, and wrap in plastic wrap. Refrigerate until dough is hardened, about 45 minutes. Leave 1/2 of dough in fridge while you work on first batch of cookies.

Preheat oven to 350°F (180°C). Line 2 baking sheets with parchment paper.

Add flour to rolling pin and surface. Begin rolling 1/2 of dough. Gently roll back and forth until dough is about 1/4” thick. I used a 2” round cookie cutter that gave me about 2 dozen cookies.

HINT: Add flour to surface as you continue rolling out dough. If dough continues to flake apart or stick to rolling pin, don’t be afraid to gather dough back together and pound out flat with hands rather than with pin. I used a combination of my hands and the rolling pin to get all the cookies rolled out and cut.

Brush a thin layer of egg white onto the tops of cookies to help the flowers stick. Separate out flowers any which way you would like and place onto cookie. Gently push flowers into the cookie to help it lay flat.

Bake for about 10 minutes or until cookies become the slightest bit golden on edges. Cookies should just be set, still appear light in color and edges barely colored. The flower petals do shrink in size quite a bit, especially the pansy petals, but I was still happy with the rustic appearance. Let cookies cool completely on pans. Then, Enjoy!