


Hey Everyone,
It’s great to be back! I’m returning to Parsley and Pom Poms pretty much the same person as when I left, except happier and a whole lot busier with our daughter Vanessa and a new home to look after. A lot has happened over the past year and a half. Mostly all great stuff that gives me a lot to share and talk about. I look forward to again channeling my passions and creativity through Parsley and hope you’ll follow along with anything and everything that you too find joy in.
Here’s the update.
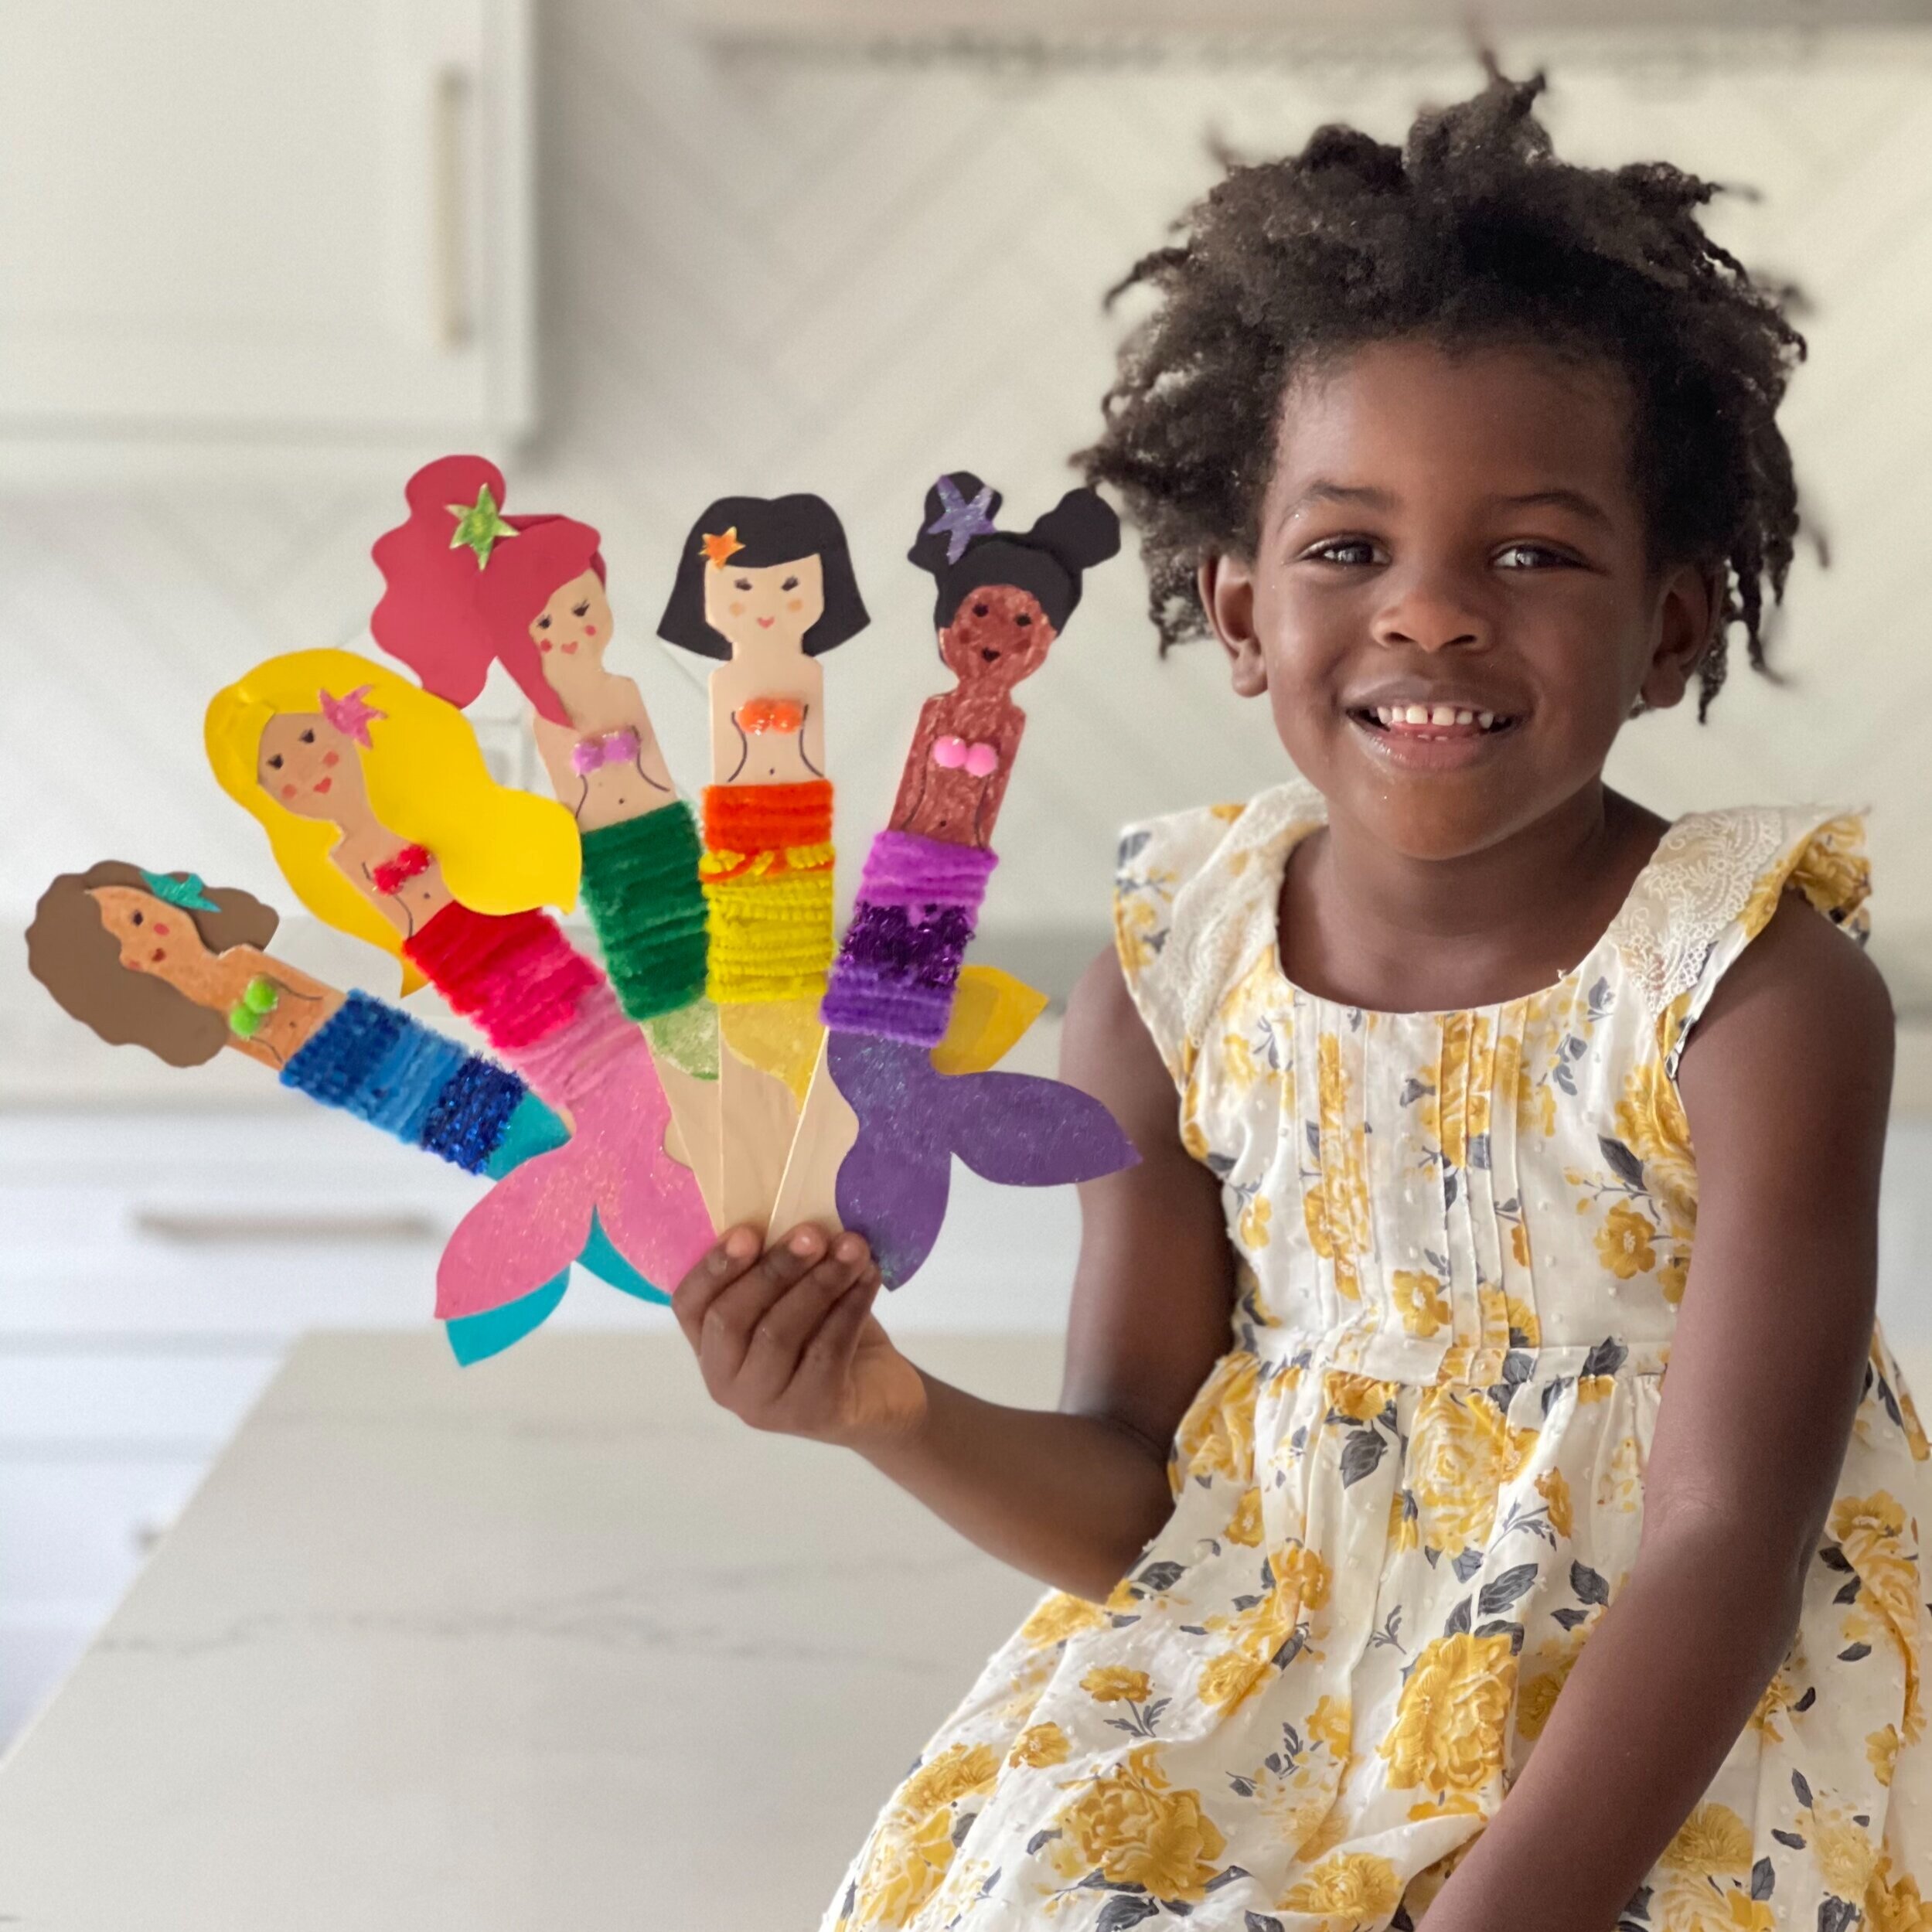
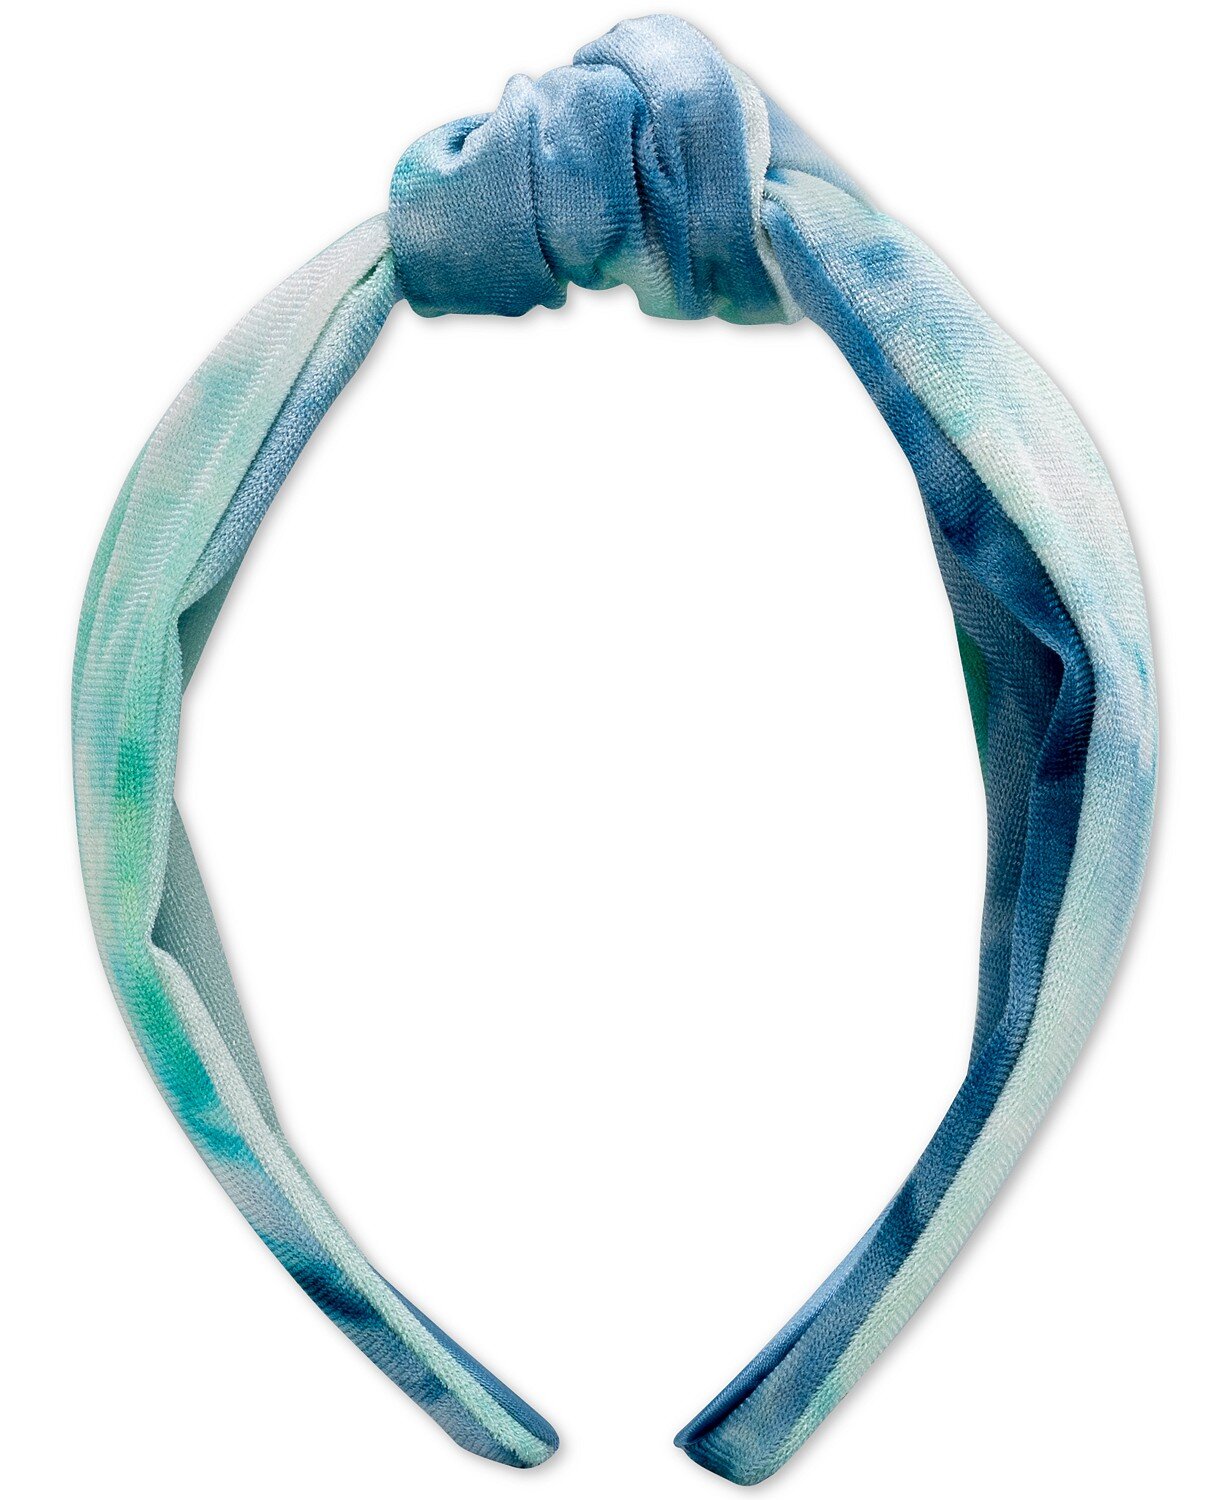
Motherhood has been lovely. We have a very happy and healthy little girl that lightens up every room with her brilliant smile. She’s pippy and smart and so darn cute. She loves the beach and broccoli, trash trucks, dresses, running, and Ethel. Yes, Ethel is still here. Vanessa keeps us on our toes and makes us laugh with her comedic personality. I look forward to sharing all the fun kiddo stuff that has come into our lives in the Nord household. Crafts, snacks, little girl fashion, you name it, it’s happening and I’ll be sharing. Just look to the new “Family” tab on the homepage and it will all live there.
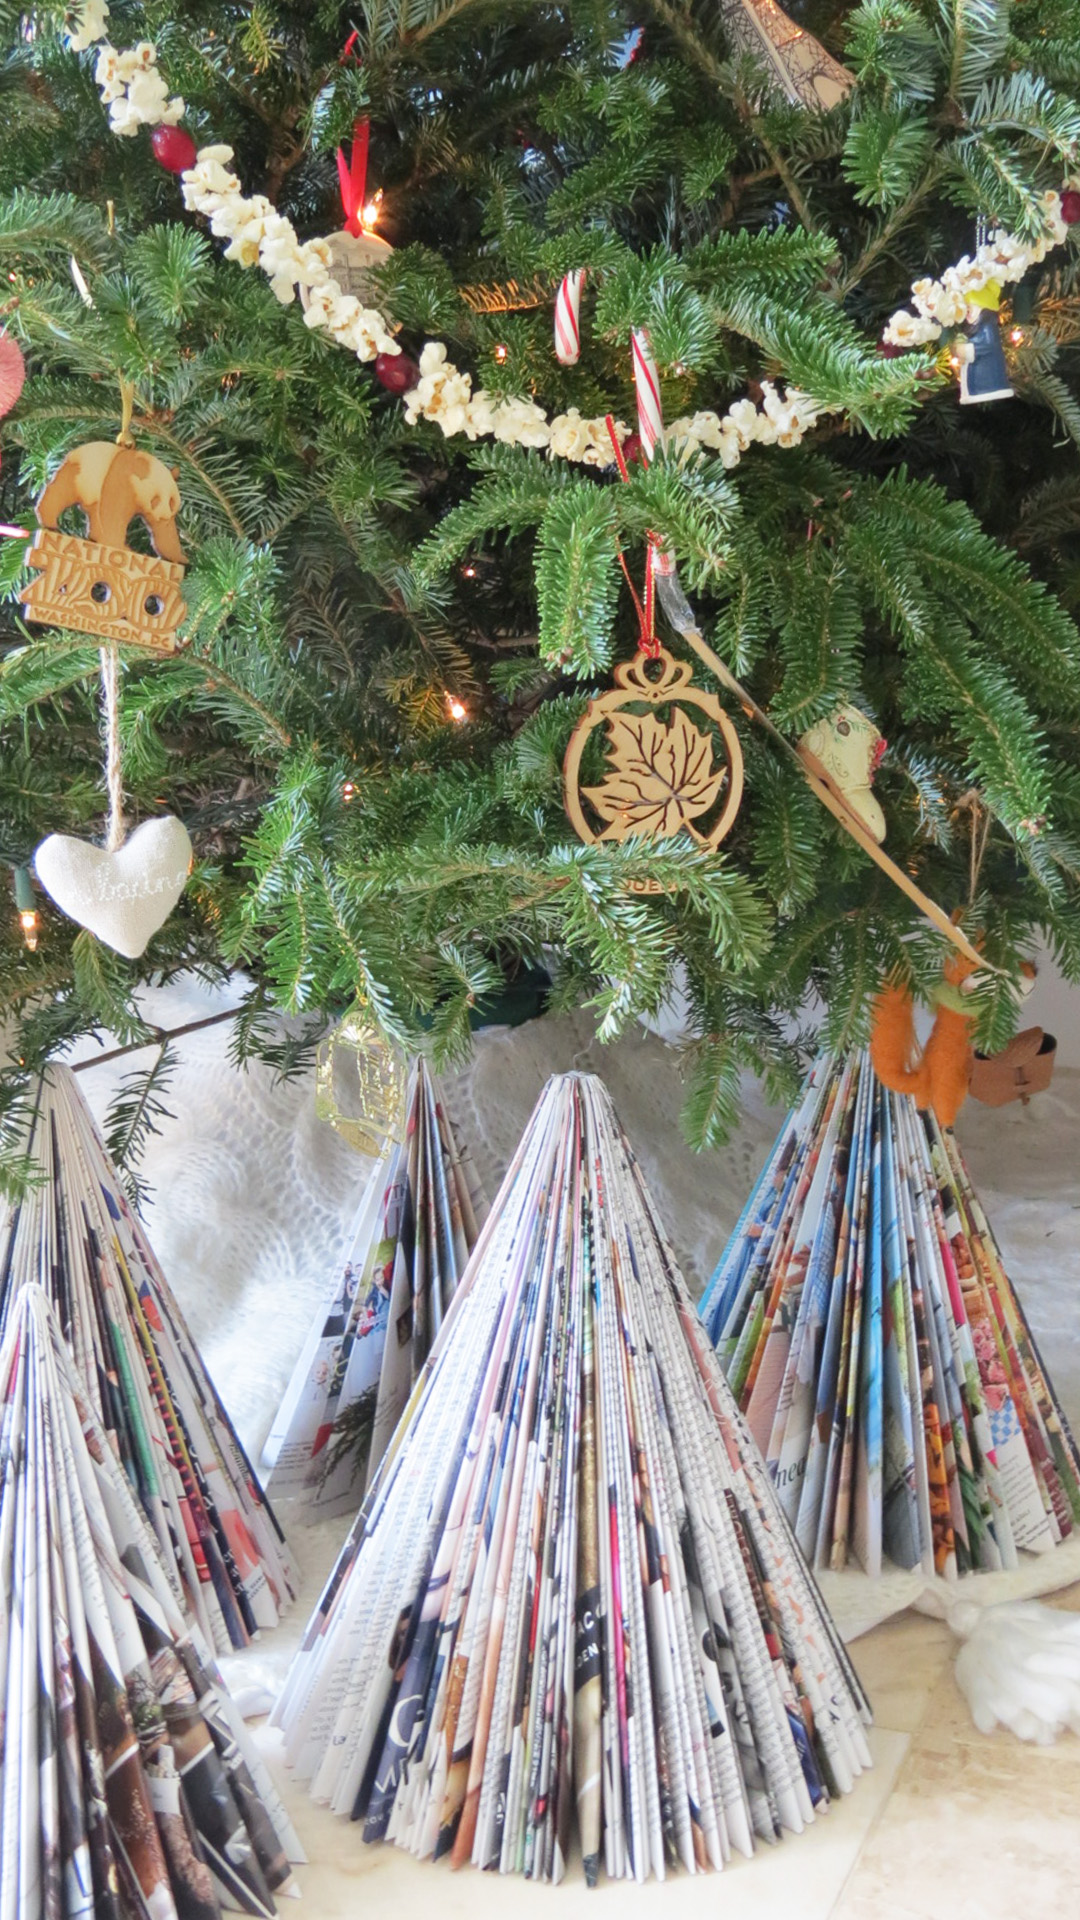
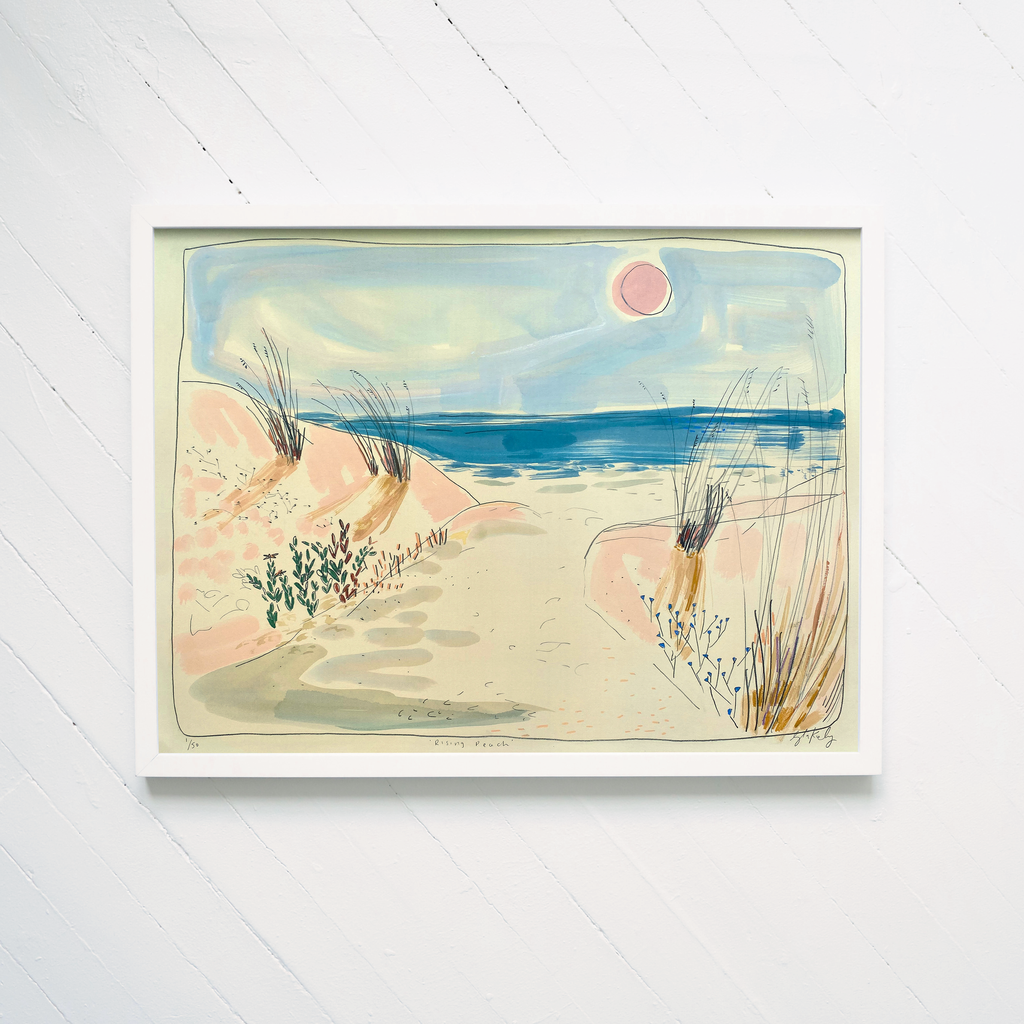
We plan on decorating our new home room by room as we wear it in day by day. Two months in and we haven’t gotten beyond getting our feet wet with Vane’s room and a kitchen that required little to no help. Stay tuned for much more to come with our 1960’s South Florida home. Just a hint…there will be wallpaper.
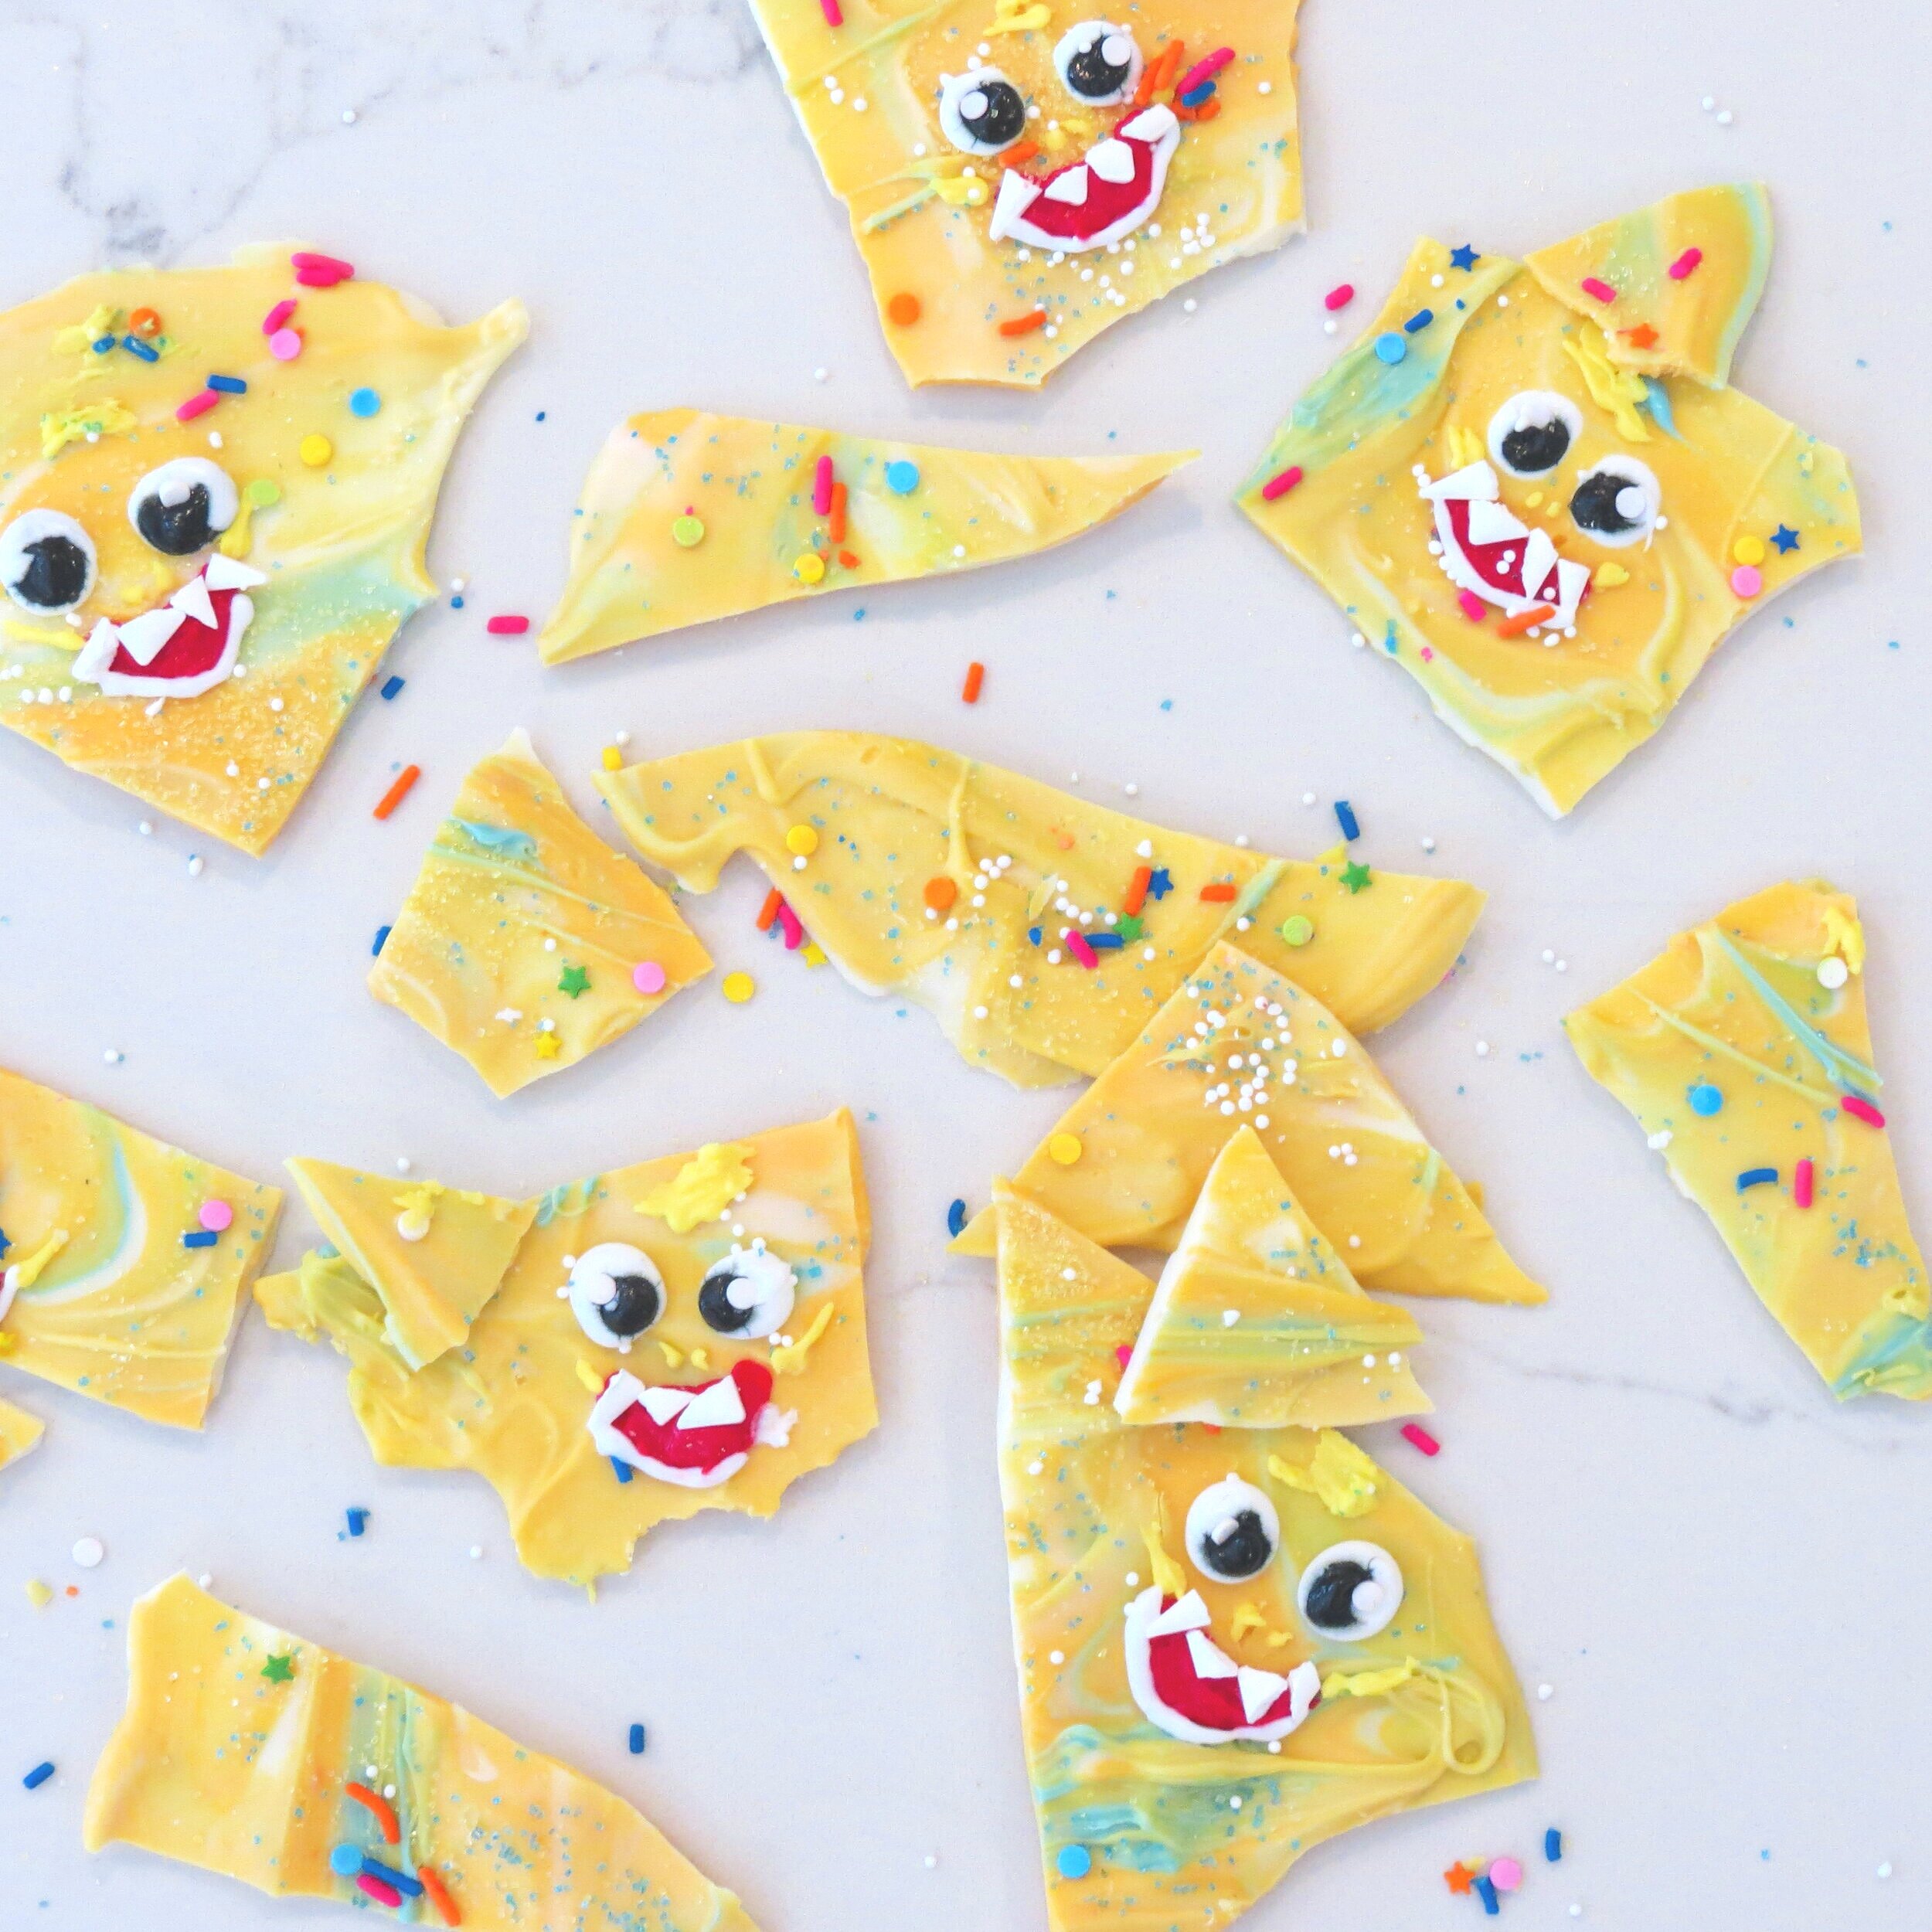
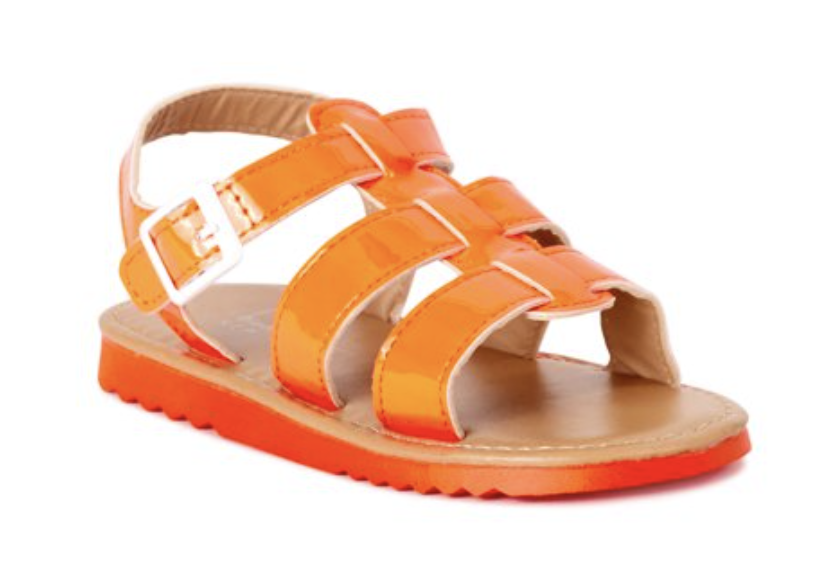
As for everything else going on in our day to day, I still bake a lot, decorate, and have an obsession with shoes. We moved off Miami Beach, but continue living in Florida and remain a bike ride away from the beach. I still love to travel when given the opportunity or something is going on with the family back in NJ. I sure do look forward to a visit there again in the (hopefully near) future when it’s safe to do so. For now, I’m giddy to get back into the grind of documenting my favorite and real moments in life right here at home. So, thanks for stopping by and now let’s get this Parsley started!
xo RCN